
 WhatsApp: +86 16626708626
 Email:
  Phone: +86 16626708626
Description
3. Key Technical Specifications
| Parameter | Value |
|---|---|
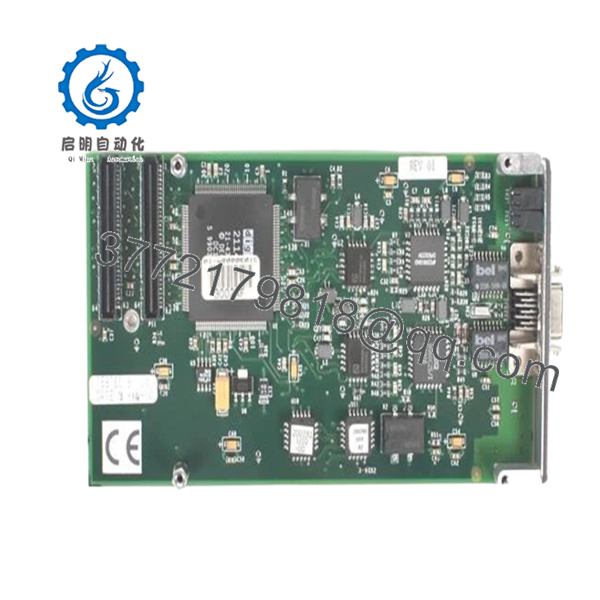
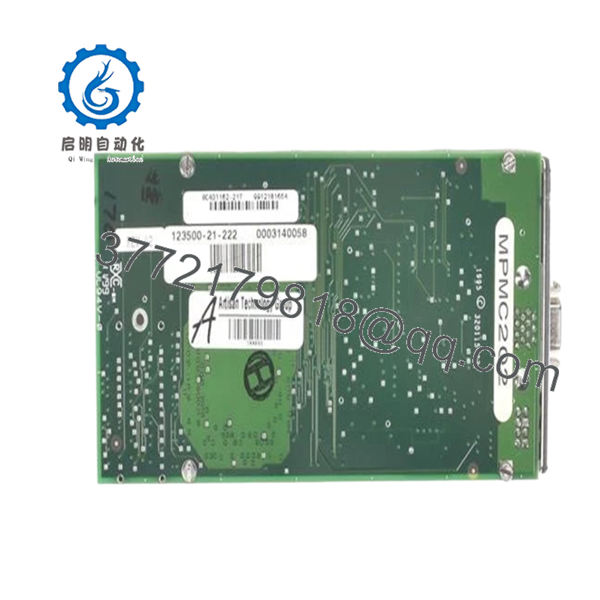
| Model | MPMC202 |
| Product Type | Fast Ethernet Adapter |
| Form Factor | Single-Width PMC (PCI Mezzanine Card) |
| Host Interface | PCI Mezzanine Card (PMC) |
| Network Standard | IEEE 802.3 Ethernet |
| Ethernet Speed | 10 Mbps / 100 Mbps |
| Media Type | 10Base-T, 100Base-TX |
| Cabling | Category 5 UTP |
| Front Connector | DB-14 Female |
| Network Connection | RJ-45 via Adapter Cable |
| PMC Connectors | Dual 64-pin PMC Connectors |
| PCI Voltage | +5 V PCI Interface |
| Application | VMEbus Embedded Computing Systems |
| Auto-Negotiation | Supported |
| Status LEDs | Link and Activity Indicators |
The MPMC202 is a PMC Fast Ethernet adapter designed for VME systems equipped with PMC carrier interfaces and provides 10/100 Mbps Ethernet connectivity through a PCI-based architecture.
4. Product Introduction
The Motorola MPMC202 is a single-width PMC Fast Ethernet adapter designed for embedded VMEbus systems requiring 10Base-T and 100Base-TX network connectivity. The module installs directly onto PMC carrier boards and communicates through a PCI interface, providing network access for PowerPC and 68K-based Motorola VME platforms.
In field deployments of MVME1600 and MVME2600 systems, the MPMC202 was commonly used to provide plant network connectivity, SCADA communication, remote diagnostics, and engineering workstation access. Unlike CPU-integrated Ethernet solutions, the MPMC202 allows network expansion without replacing the host processor board.

- MPMC202
- MPMC202
5. Installation & Configuration Guide
Stage 1: Pre-Installation Preparation (10 Minutes)
⚠️ Safety First
- Notify operations of planned downtime.
- Verify the system is in a safe operating state.
- Apply lockout/tagout procedures.
- Remove chassis power.
- Wait at least 5 minutes for power supply discharge.
Tools Required
- ESD wrist strap
- PH1 screwdriver
- Fluke 115 multimeter
- Wire labels
- Smartphone camera
- Cat5 Ethernet test cable
Data Backup
- Export operating system network configuration.
- Record IP address settings.
- Document routing tables if applicable.
- Photograph PMC installation layout.
- Record driver and firmware versions.
Stage 2: Removing the Old Module (5 Minutes)
- Shut down the operating system properly.
- Disconnect Ethernet cabling.
- Remove the carrier board if required.
- Remove PMC mounting screws.
- Carefully separate the MPMC202 from the PMC connectors.
⚠️ Note
Do not discard the original card until the replacement passes communication testing and remains stable for at least 24 hours.
Inspection
- Check PMC connectors for bent pins.
- Inspect standoffs and mounting hardware.
- Verify carrier-board connector condition.
- Remove dust and debris.
Stage 3: Installing the New Module (10 Minutes)
Critical Steps
- Wear a grounded ESD wrist strap.
- Verify the replacement is Motorola MPMC202.
- Inspect PMC connector alignment carefully.
- Install the module onto the PMC carrier board.
- Tighten mounting hardware evenly.
- Reinstall the carrier assembly.
- Connect the DB-14 to RJ-45 adapter cable.
- Connect network cabling.
Configuration Clone (Crucial)
Network modules often appear plug-and-play, but operating system driver configuration may differ between revisions.
I’ve seen technicians replace an Ethernet PMC card and spend two days troubleshooting network failures that turned out to be incorrect driver bindings after a hardware swap.
Self-Checklist
- Correct model installed
- PMC connectors fully seated
- Mounting screws secured
- Adapter cable connected
- IP settings documented
- ESD procedures followed
Stage 4: Power-On & Testing (10 Minutes)
Pre-Power Check
- Verify chassis supply voltages.
- Confirm network cable integrity.
- Verify switch port configuration.
Power-On Steps
- Power up the VME chassis.
- Boot the operating system.
- Confirm adapter detection.
- Verify Ethernet link LEDs.
- Check negotiated speed.
- Ping the local gateway.
- Verify application communications.
⚠️ Troubleshooting Note
- No link LED usually indicates cable, switch-port, or adapter-cable problems.
- Intermittent communication often points to duplex mismatches.
- If the OS cannot detect the card, inspect PMC seating and PCI enumeration.
The MPMC202 supports both 10 Mbps and 100 Mbps Ethernet operation and includes activity and link-status indicators for diagnostics.
6. Frequently Asked Questions (FAQ)
Q1. Can I hot-swap the MPMC202?
No.
PMC modules in most Motorola VME platforms are not designed for hot insertion. Removing or installing the card under power can damage the PMC connector or host carrier board.
Q2. Is the MPMC202 obsolete?
Yes.
The MPMC202 belongs to a generation of PMC networking hardware used in VMEbus systems during the late 1990s and early 2000s. Current availability is primarily through surplus inventories and tested legacy hardware suppliers.
Q3. What Ethernet speeds does it support?
The adapter supports:
- 10Base-T (10 Mbps)
- 100Base-TX (100 Mbps)
Auto-negotiation allows operation on either network type.
Q4. Does it use a standard RJ-45 connector?
Not directly.
The front panel contains a DB-14 connector that requires a Motorola adapter cable to provide a standard RJ-45 Ethernet connection. This adapter is often missing from surplus inventory, so verify availability before ordering.
Q5. Which systems commonly use the MPMC202?
Common host platforms include:
- MVME1600 Series
- MVME2300 Series
- MVME2600 Series
- Other PMC-capable VME carrier boards
Compatibility should always be verified against the carrier-board documentation.
Q6. Will I need new software drivers?
Possibly.
Most operating systems recognize replacement hardware if the same revision is installed. However, older VxWorks, AIX, Solaris, and proprietary embedded systems may require driver verification after replacement.
Q7. Why are prices so different between suppliers?
The biggest factors are:
- Inclusion of the DB-14 to RJ-45 adapter
- Tested vs. untested condition
- Warranty coverage
- Traceability documentation
- Inventory scarcity
I’ve seen bare cards sell for under $100 while tested units with warranty and accessories command substantially higher prices.
Technical Pitfall & Survival Guide
❗ Firmware Revision Mismatch
I’ve seen a replacement Ethernet card install perfectly and still refuse network communication because the host BSP expected a different hardware revision.
Avoidance: Record existing driver versions and verify compatibility before ordering.
❗ DIP Switch / Jumper Misconfiguration
Some carrier boards use jumpers to configure PMC resources and interrupt assignments.
One incorrect setting can prevent the operating system from detecting the card.
Avoidance: Photograph all carrier-board settings before removal.
❗ Connector & Adapter Problems
The DB-14 to RJ-45 adapter cable is frequently lost over the years.
I’ve seen engineers replace a perfectly good card because they assumed the Ethernet port had failed when the actual problem was a damaged adapter cable.
Avoidance: Inspect the adapter cable before condemning the card.
❗ Power Budget Considerations
PMC cards draw power from the host carrier board.
When multiple PMC modules are installed, total PCI power consumption can exceed carrier-board design limits.
Avoidance: Review carrier-board power specifications and maintain at least a 20% reserve margin.
❗ Electrostatic Discharge (ESD)
I once watched a technician handle a PMC Ethernet card directly from an antistatic bag without grounding himself. The module passed installation, established a link briefly, then failed permanently during traffic testing.
Avoidance: Use a grounded wrist strap and ESD-safe workstation whenever handling PMC hardware.
Keep these checks in mind and you’ll save yourself 90% of typical rework time.


