WhatsApp: +86 16626708626
 Email:
 Phone: +86 16626708626
Description
Key Technical Specifications
The following identifies the product at the platform level. Exact hardware details for the MVME162-220 variant should be confirmed against its Motorola assembly documentation and board identification label before procurement or installation.
- Manufacturer: Motorola
- Model Number: MVME162-220
- Product Family: MVME162
- Product Category: Embedded VMEbus controller
- System Architecture: VMEbus
- Processor: Verify the installed CPU variant against the board assembly documentation
- Memory Capacity: Verify against the specific board revision and installed memory configuration
- Communication Interfaces: Confirm onboard serial, Ethernet, and other interfaces against the exact hardware revision
- Expansion and Backplane Interface: VMEbus; confirm chassis and backplane compatibility
- Operating System / Runtime: Application-dependent; verify the existing software environment
- Operating Temperature: Confirm from the applicable Motorola hardware manual
- Mechanical Dimensions: Confirm against the MVME162 mechanical drawing
- Weight: Verify from the actual board assembly or shipping documentation
- Lifecycle: Legacy hardware; current production and support status require confirmation
Technical verification note: Do not assume that specifications published for another MVME162 variant apply to the MVME162-220. Processor configuration, memory, firmware, connectors, and installed options can affect replacement compatibility.
Product Introduction
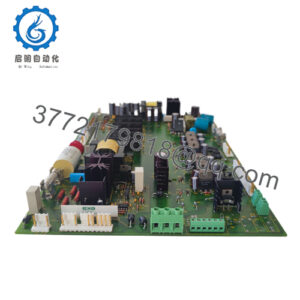
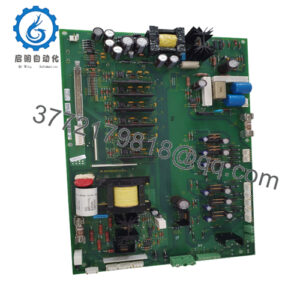
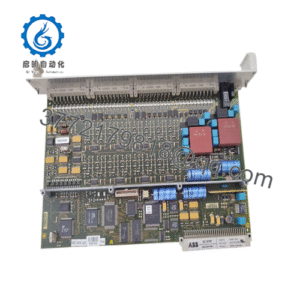
The Motorola MVME162-220 is a VMEbus embedded controller from the MVME162 family, designed for embedded computing and real-time control applications. Documentation for the MVME162-220 variant identifies a 25 MHz MC68040 processor and 4 MB of DRAM, without onboard SCSI or Ethernet interfaces. Verify the exact board revision and installed options before using these specifications for a replacement decision.
The controller is intended for systems that depend on established VMEbus hardware and legacy software. When replacing a failed board, engineers should check the backplane configuration, transition module, memory configuration, firmware, and operating environment. A board with a similar model designation is not automatically a drop-in replacement.
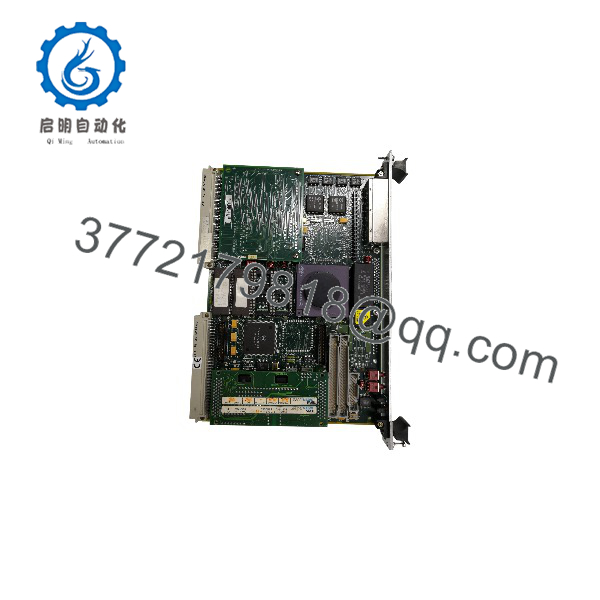
MVME162-220
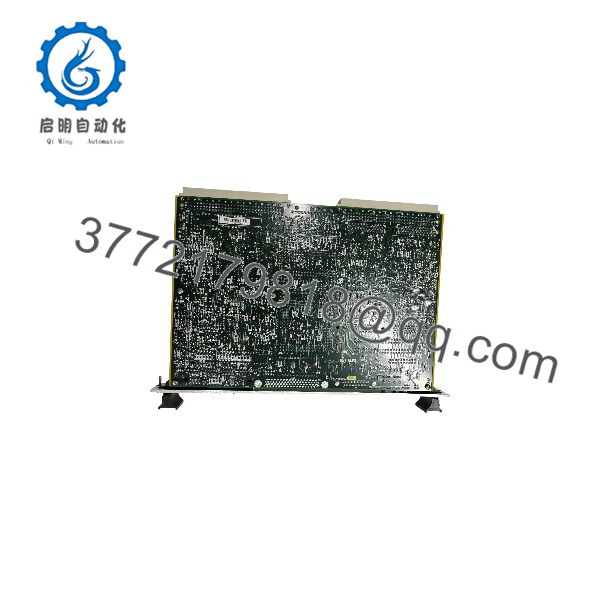
MVME162-220
Installation & Configuration Guide
Estimated replacement time: Allow 30–60 minutes for a straightforward hardware exchange, with additional time for legacy software recovery or system-level troubleshooting. This is a planning estimate, not a guaranteed commissioning time.
Stage 1: Pre-Installation Preparation
- Coordinate the shutdown. Notify operations and place the controlled equipment in its approved safe state.
- Isolate chassis power. Follow the site’s lockout/tagout procedure and verify that the VME chassis is de-energized. Do not remove the board under power unless the system documentation explicitly permits it.
- Prepare the tools. Use an ESD wrist strap, suitable screwdriver, inspection light, wire labels if external wiring is present, and a camera.
- Record the existing configuration. Photograph the board label, jumper positions, transition-module connections, and front-panel indicators.
- Back up the software environment. Preserve application software, boot settings, operating-system images, and any available configuration files. Confirm that recovery media and the required development tools are available.
Stage 2: Removing the Old Module
- Confirm the board’s exact model number and assembly revision.
- Disconnect external cables only after labeling each connection.
- Release the board’s retaining hardware and ejector handles according to the chassis instructions.
- Withdraw the board evenly, avoiding pressure on the backplane connector.
- Inspect the board edge connector, VME backplane, and transition-module connectors for damaged contacts, contamination, or signs of overheating.
- Retain the removed board until the replacement passes functional testing.
Warning: Never force a VME board into a slot. Connector damage can affect the replacement board and other installed equipment.
Stage 3: Installing the Replacement Module
- Compare the replacement board’s model, assembly number, revision, processor configuration, and memory configuration with the original.
- Inspect the replacement for physical damage and confirm its stated condition and test status.
- Verify jumper and switch settings against the original photographs and the applicable Motorola manual.
- Check compatibility with the chassis, backplane slot, system-controller configuration, and any associated transition module.
- Align the board with the card guides and insert it evenly. Secure the ejector handles and retaining hardware as specified by the chassis manufacturer.
- Reconnect cables using the recorded wiring layout. Confirm connector orientation and cable routing before applying power.
Installation checklist:
Stage 4: Power-On and Functional Testing
- Complete a pre-power inspection. Check for loose hardware, misplaced cables, foreign objects, and visible connector damage.
- Restore chassis power according to the equipment manufacturer’s startup procedure.
- Observe the board’s status indicators and compare their behavior with the relevant Motorola manual. Do not interpret a single LED as proof of successful operation.
- Connect through the established console or maintenance interface, using the appropriate cable and terminal settings.
- Verify boot behavior, processor initialization, memory detection, and firmware or monitor version where available.
- Confirm that the existing operating system and application software can start.
- Test VMEbus communication, required peripheral interfaces, and application-level functions.
- Return the equipment to service only after the responsible engineer confirms correct operation.
Troubleshooting considerations
- No startup: Check chassis power, board seating, connector condition, and the system’s startup configuration.
- Unexpected memory errors: Verify that the replacement has the required memory configuration and matches the original hardware variant.
- Console communication failure: Check the serial interface configuration, cable wiring, terminal settings, and any transition-module requirements.
- Application does not start: Review boot settings, firmware compatibility, software dependencies, and the original system configuration.
- Intermittent faults: Inspect connector seating, chassis cooling, power quality, and any relevant fault logs.
Motorola’s MVME162 documentation describes the board family, installation procedures, front-panel indicators, and hardware configuration. Consult the applicable manual for the exact board revision before changing jumpers or applying power.
Frequently Asked Questions (FAQ)
Is the Motorola MVME162-220 obsolete?
The MVME162-220 belongs to a legacy hardware family. Buyers should confirm current OEM support and availability before planning a new system around it. For an existing installation, maintaining a verified spare may be more practical than an immediate platform migration.
Is the MVME162-220 available as new original stock?
Availability and condition depend on the individual supplier’s inventory. Because this is legacy hardware, listings may include new surplus, previously installed boards, or refurbished units. Request photographs of the actual board label, serial number, connectors, and packaging. Ask for a functional test report if the board has been tested.
Can I replace the MVME162-220 with another MVME162 model?
Not without a compatibility review. MVME162 variants differ in processor type, memory capacity, and peripheral interfaces. For example, documentation identifies the MVME162-220 as a 4 MB DRAM configuration without SCSI or Ethernet, while other variants add those interfaces or use a different processor. Verify the complete part number, assembly revision, firmware, and system requirements before ordering.
Does the MVME162-220 support Ethernet or SCSI?
The published configuration for the MVME162-220 identifies neither onboard Ethernet nor onboard SCSI. Do not assume these interfaces are present because another MVME162 variant supports them. Confirm the exact board assembly and any external interface hardware used by the existing system.
Can I hothe ?
Do not assume that the MVME162-220 supports hot swapping. Unless the complete chassis and system documentation explicitly authorize live removal and insertion, shut down and isolate power before removing the board. Live insertion can damage connectors, disrupt the VMEbus, or interrupt other equipment.
Will replacing the board erase my application software?
Do not assume that application software or configuration data will transfer automatically. Software may reside in onboard memory, boot media, or other system storage, depending on the installation. Back up available software and document the existing boot configuration before removing the original board. If battery-backed memory is used, check its condition and retention requirements.
What should I verify before purchasing a replacement?
Confirm the following details with the supplier:
- Full moder:
- Board assembly number and hardware revision
- Processor and memory configuration
- Required peripheral interfaces and transition-module compatibility
- Firmware or boot-monitor requirements
- Actual stock condition and serial-number photographs
- Functional test results and warranty terms
- Shipping lead time and return policy
For legacy VME systems, the lowest purchase price is not necessarily the lowest total replacement cost. A board that requires additional configuration work or fails compatibility testing can extend downtime. Verify the hardware and software match before placing the order.