WhatsApp: +86 16626708626
 Email:
 Phone: +86 16626708626
Description
Key Technical Specifications
| Parameter | Value |
| Microprocessor | Motorola MC88100 32-bit RISC processor |
| Cache / MMU | Dual MC88200 or MC88204 Cache/Memory Management Units (CMMUs) |
| Main Memory (DRAM) | Mezzanine expansion module architecture supporting on-board DRAM configurations |
| Controller ASIC | VMEchip2 ASIC providing full VMEbus interface functions |
| Peripheral Controller | PCCchip2 ASIC managing integrated Ethernet (Intel 82596CA) and SCSI (NCR 53C710) |
| Serial / Parallel I/O | CD2401 multi-channel serial controller, 8-bit bidirectional parallel interface |
| Firmware Storage | Four 44-pin sockets supporting up to 4 MB on-board ROM/EPROM |
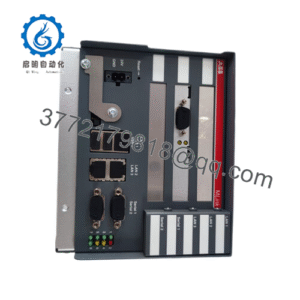
| Status & Control | 8 diagnostic status LEDs (FAIL, STAT, RUN, SCON, LAN, 12V, SCSI, VME) with Reset and Abort switches |
| Power Requirements | Standard VME backplane power rails (+5 V DC, +12 V DC, -12 V DC) |
| Form Factor | Single-height 6U VME module architecture |
Product Introduction & Supply Chain Strategy
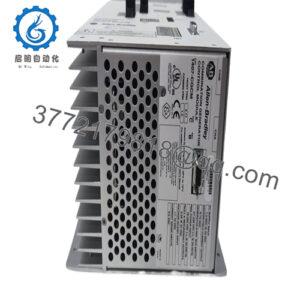
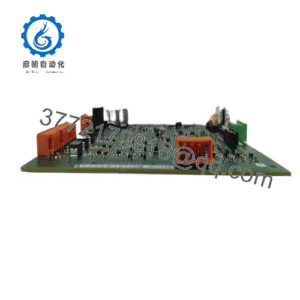
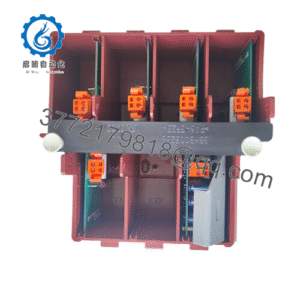
The Motorola MVME187-CP109 is an advanced RISC-based single-board computer utilizing the high-performance Motorola M88000 architecture. Designed for demanding real-time applications in defense, aerospace, and heavy industrial automation, it pairs the MC88100 processor with dedicated CMMUs and robust onboard peripheral controllers for Ethernet and SCSI communication.
Sourcing this rare RISC computing board as genuine New Surplus guarantees system integrity and shields your facility from the catastrophic risks associated with refurbished vintage hardware. Refurbished VME cards often contain heat-fatigued BGA solder connections, degraded cache RAM, and oxidized backplane pins that trigger intermittent bus faults. Maintaining a factory-fresh spare module ensures rapid restoration of legacy assets and avoids expensive unplanned downtime.
Installation & Configuration Guide
1.Pre-Installation (Prep & Safety):Tools needed: ESD wrist strap, flathead screwdriver.
Power down the VME rack completely and disconnect all external power feeds. Put on a grounded ESD wrist strap before handling the board. Verify that all mezzanine memory configurations, jumper blocks, and socketed EPROMs match your system baseline.
Verification: Confirm chassis power indicators are dark and backplane rails read 0 V DC via multimeter.
2.Removal:Hardware extraction.
Disconnect front-panel cables (Ethernet drop, SCSI interface lines, and serial leads). Loosen the top and bottom panel mounting screws and carefully slide the MVME187-CP109 straight out of the VME chassis slot.
Verification: Inspect the backplane P1/P2 connector pins inside the target slot for alignment and freedom from dust or bending.
3.Installation (Clone & Seat):Hardware mounting.
Align the board edges with the card guides of the designated VME slot. Push the module straight back until the connectors seat firmly into the backplane, then tighten the front panel screws. Reconnect all communication lines.
Verification: Confirm that the module is flush with adjacent cards and securely locked into the rack architecture.
4.Power-On & Testing:System startup.
Restore main power to the VME chassis. Monitor the on-board status LEDs (FAIL, STAT, RUN, etc.) and console terminal output during the boot sequence to verify kernel initialization and self-test diagnostics.
Verification: Check that the RUN LED stays lit, the FAIL indicator goes out, and the debugging firmware loads successfully without timeout errors.
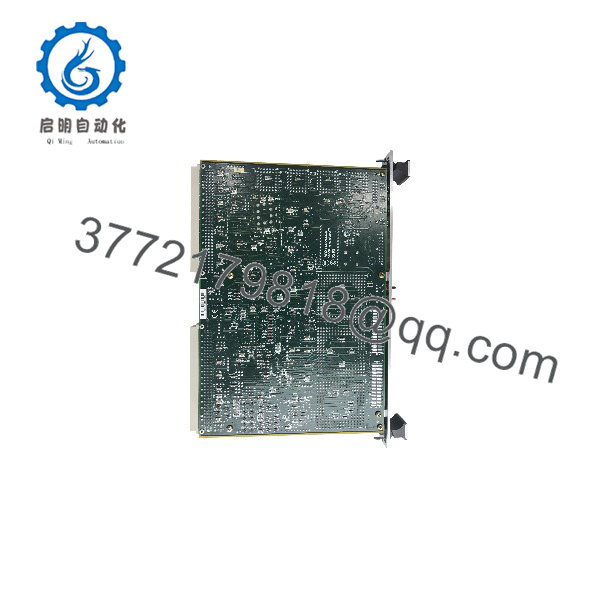
MVME187-CP109
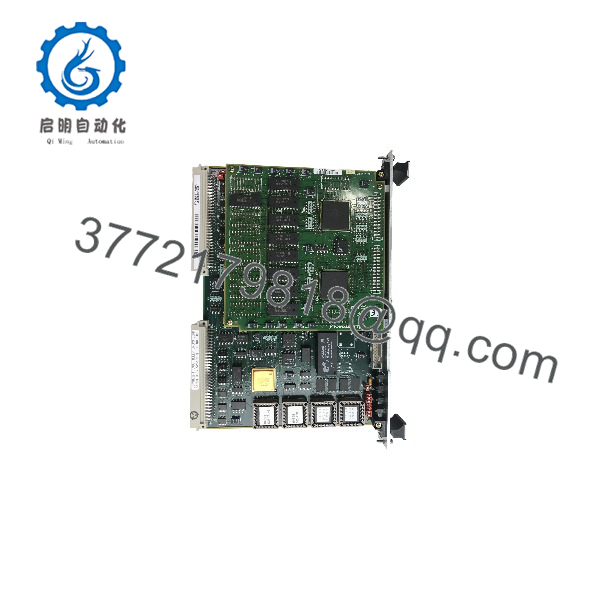
MVME187-CP109
Firmware/Software Versions & Upgrade Notes
- Firmware Configuration: Ensure EPROM sockets contain the correct revision of the 88KBUG or MVME187BUG debugging package matching your real-time operating system.
- Compatibility Notes: Requires a compatible VME backplane configuration and proper mezzanine memory module installation to support the M88k processor bus structure.
- Upgrade Risk Warning: Never swap EPROM chips or alter hardware jumpers while the rack is powered. Perform all configuration changes on a static-safe workbench with power completely isolated.
Frequently Asked Questions (FAQ)
Is this Motorola MVME187-CP109 board genuinely new and unused?
Yes. This unit is a Brand New Surplus item, preserved in original packaging with pristine backplane contacts, uncorroded pins, and zero operational service hours.
Why choose New Surplus over refurbished vintage boards?
Vintage RISC hardware relies on complex multi-chip sets that are highly sensitive to thermal degradation. Refurbished boards often feature brittle traces and exhausted components. New Surplus provides absolute factory reliability and eliminates unexpected failures.
What warranty is included with this board?
Every unit includes a comprehensive 1-year replacement warranty, safeguarding your legacy hardware investment.
Can I hot-swap the MVME187-CP109 in an active VME chassis?
No. VMEbus architecture does not support hot-swapping. You must completely power down the chassis before inserting or extracting single-board computers to prevent electrical damage.
How do I check the diagnostic status during startup?
The front panel features 8 integrated status LEDs (including FAIL, STAT, RUN, SCON, LAN, 12V, SCSI, and VME) that provide real-time visual feedback during the board’s power-on self-test (POST) sequence.