WhatsApp: +86 16626708626
 Email:
 Phone: +86 16626708626
Description
Key Technical Specifications
- Full Model: PC834-001-T
- Series: PC800–PCE800 Brushless Servo Drives (single axis)
- Drive Type: All-digital brushless servo drive
- Input Voltage: 180–265 VAC (200/208/220/230/240 VAC), 3-phase, 50/60 Hz
- Input Current: 12 A RMS (3-phase configuration)
- Continuous Output Current: 7.1 A RMS
- Peak Output Current: 21.2 A RMS
- Continuous Output Power: 3.0 kW
- Peak Output Power: 9.0 kW
- Power Stage Efficiency: 98%
- Command Interface: RS-232/485 (Simple ASCII protocol), ±10 VDC analog, Step/Direction indexing; SERCOS capability per family configuration
- Control Modes: Torque, Velocity, or Position control
- I/O: 6 user-mappable inputs, 3 user-mappable outputs, 1 mappable relay output
- Position Resolution: 24-bit
- Loop Bandwidth: 400 Hz
- Control Algorithm: DRDC (Digital Resolver to Digital Conversion)
- Compatible Motor Inductance: 1.25 mH to 1 H
- Maximum Motor Cable Length: 50 m
- Ambient Operating Temperature: 25 to +40 °C (full rating)
- Weight: Approx. 2.6 kg
- Configuration Software: 830 Tools (Windows GUI) via serial link
- “T” Suffix: Terminal board adapter connector kit — verify whether the kit is included with your purchase before ordering
- Compliance: CE Directives (PC832/PC833/PC834 family)
Product Introduction
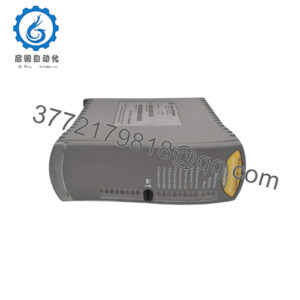
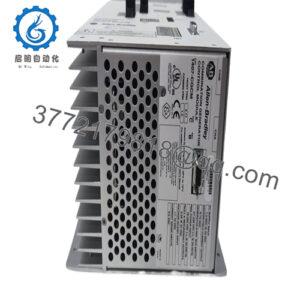
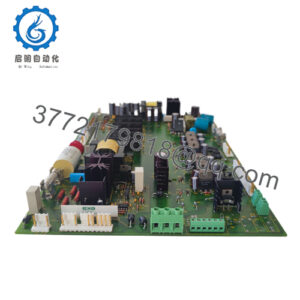
The Pacific Scientific PC834-001-T is a single-axis all-digital brushless servo drive in the PC800–PCE800 Series. It rectifies 180–265 VAC 3-phase mains input and modulates it through a 98%-efficient IGBT power stage to regulate permanent-magnet brushless servo motors at 7.1 A continuous / 21.2 A peak — 3.0 kW continuous and 9.0 kW peak output.
The drive runs torque, velocity, or position control from RS-232/485 serial commands, ±10 V analog, or step-and-direction pulses, with 400 Hz loop bandwidth, 24-bit position resolution, and the DRDC resolver-to-digital algorithm. Six mappable inputs, three mappable outputs, and one relay output cover typical machine interlocks. The “T” suffix denotes the terminal board adapter connector kit, which brings power and signal connections out to screw terminals. Typical deployments: packaging machinery, assembly equipment, robotics, and material handling. Pacific Scientific discontinued the family, so genuine remaining stock is what keeps these machines out of the scrap queue.
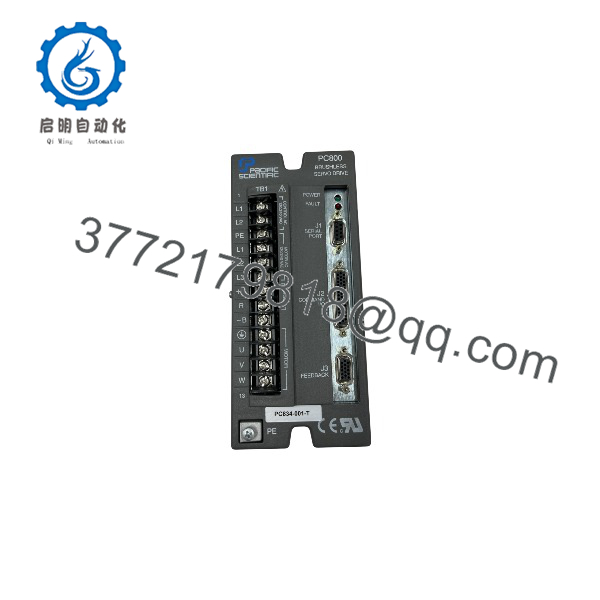
PC834-001-T
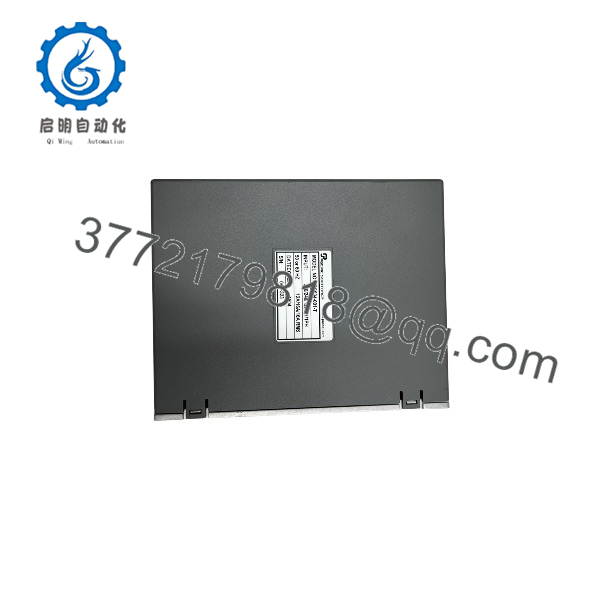
PC834-001-T
Installation & Configuration Guide
Stage 1: Pre-Installation Preparation (≈15 minutes)
⚠️ Safety First: Notify operations of downtime and put the machine in a safe state. Lock out/tag out the drive’s supply branch. Wait at least 5 minutes for the DC bus to bleed down, then meter across the + and − bus terminals — confirm below 40 VDC before touching anything. A drive at this power level stores serious energy in its bus capacitors, and it doesn’t warn you.
- Tools Required: ESD wrist strap, multimeter (Fluke 115 or equivalent), PH2 and flathead screwdrivers, torque screwdriver for power lugs, wire labels, smartphone for photos.
- Data Backup: Photograph the terminal board layout completely — power in (L1/L2/L3), motor phases (U/V/W), braking resistor if fitted, control I/O assignments, and any DIP switch positions. Then connect a laptop with 830 Tools over the RS-232/485 link and upload the full parameter set before you pull the drive. Motor tuning, gains, limits, and I/O mapping live in the drive — the replacement ships with factory defaults, and your motor will not run on them.
Stage 2: Removing the Old Drive (≈15 minutes)
- Remove terminal covers and shrouds.
- Label and disconnect all wiring. Photograph power lug positions first — U/V/W phase order must go back exactly the same, or the motor reverses or faults on start.
- Disconnect feedback (resolver/encoder) and control I/O from the terminal board.
- Remove the mounting bolts — the chassis back panel is the heat sink.
- Inspect the mounting surface and cable dressing. A heat-discolored terminal is your failure cause — fix it before the new drive goes in, or you’ll be doing this swap again next quarter.
⚠️ Keep the old drive on the bench until the replacement runs correctly. You’ll want its terminal layout and switch positions for comparison.
Stage 3: Installing the New Drive (≈15 minutes)
- Ground yourself with the ESD strap. Handle the drive by the chassis only.
- Verify the nameplate: PC834-001-T matches your application — 7.1 A class, 3-phase 240 VAC input. Confirm the terminal board adapter connector kit is present; the “T” drives sold without the kit require the old terminal board to be re-used.
- Configuration clone (crucial): Match all DIP switches and jumper positions from your photos — serial interface selection (RS-232 vs. RS-485), command source, and fault/relay configuration. Factory defaults will not match your site setup. This is the most common rookie mistake, and I can’t stress it enough: take a picture before you pull it.
- Mount on a clean, unpainted, grounded surface. Remove paint at least 12 mm (0.5 in) around each mounting bolt for electrical ground and thermal contact. Torque bolts to spec — a loose mount means thermal faults under load.
- Reattach wiring per your photos: mains input, motor phases U/V/W, brake resistor, feedback, control I/O. Torque terminal screws properly — about 0.5–0.6 N·m, not “snug with a ratchet.”
Self-Checklist: [ ] Terminal board kit present, [ ] DIPs match photo, [ ] U/V/W phases correct, [ ] Mount surface unpainted and grounded, [ ] All terminal screws torqued.
Stage 4: Power-On & Testing (≈20 minutes)
- Pre-power check: Meter L1/L2/L3 for phase-to-phase shorts, and U/V/W to each other and to ground. Confirm the ground connection reads continuity to the panel PE.
- Uncouple the motor from the load if the machine allows it for first power-up.
- Apply control power (if separately fused), then main power.
- Watch the drive’s status display — power-up self-test should complete clean, no fault codes.
- Connect 830 Tools via serial, verify firmware version, and download the saved parameter set.
- Jog at low speed. Verify rotation direction. Monitor current ripple on the DAC monitor (J2-4) with ARF0/ARF1 filtering per the manual — excessive ripple means feedback or phasing issues, not tuning.
- Re-couple the load and dry-run at reduced speed before releasing the machine to production.
⚠️ Troubleshooting Note: Immediate fault with no motor command — check feedback connector seating and resolver wiring. Motor cogging or rough running — motor phase or feedback phasing is wrong; shut down and verify against your photos, don’t tune through it. No serial comms — the RS-232/485 DIP switch doesn’t match your wiring. Solid overcurrent fault on enable — check for a shorted motor cable or a welded brake circuit.
Total time for an engineer familiar with servo hardware: 45–60 minutes plus parameter download.
Frequently Asked Questions (FAQ)
Q1: Can I hot-swap this drive under power?
No. The PC834-001-T is a 3.0 kW-class drive with a rectified DC bus on 3-phase mains. Pulling live power or motor leads generates inductive spikes that can take out the IGBT stage, the motor feedback, and on a bad day, the host controller’s serial port. Lock it out, wait 5 minutes, meter the bus, then work. Honestly, the meter check is the step everyone skips and the one that saves the most pain.
Q2: Is the PC834-001-T obsolete, and is this a genuinely new unit?
Yes — Pacific Scientific (Danaher Motion, now Kollmorgen lineage) ended production of the PC800–PCE800 family years ago. Our stock is New Original / New Surplus: genuine OEM units from cancelled machine builds and integrator liquidations, never installed. Each unit is functionally tested — power-up self-test, I/O check, and a powered run — before shipping, with test photos/videos available on request. We also carry tested refurbished units at lower cost, labeled exactly as refurbished. No blurring between conditions.
Q3: What does the “T” suffix mean, and is the terminal board kit included?
The “T” designates the terminal board adapter connector kit, which brings drive connections out to screw terminals — versus “N” (no accessories) or “A” variants. Some surplus stock ships without the kit, meaning you re-use your existing terminal board. Confirm kit inclusion at ordering — if your old terminal board was damaged in the failure, you need the kit, and finding out it’s missing during a downtime window is a bad afternoon.
Q4: What’s the direct replacement if this is out of stock?
Within the family: PC834-001, PC834-001-N, and PC834-001-A are the same 7.1 A power level with different connector kits — the PC834-001-T with the terminal board is the closest drop-in. There is no current-production Kollmorgen equivalent. If genuine stock runs dry globally, the realistic path is a modern drive (Kollmorgen AKD class) plus motor/feedback re-verification and re-commissioning — plan days and a real budget, not an hour and a part number.
Q5: Will I lose my tuning and motion configuration when I swap the drive?
The drive holds its own parameter set — motor tuning, loop gains, limits, I/O mapping, and any internal index moves. A fresh drive boots on factory defaults, and your motor will run badly or not at all on them. Upload the parameter set over RS-232/485 with 830 Tools before removing the old drive, or from your machine builder’s commissioning records. The host PLC program is unaffected. If you have neither source, budget several hours of manual tuning with the motor uncoupled first.
Q6: Can this drive run on 120 VAC or single-phase input?
No — not this variant at rated performance. The PC834-001-T is specified for 180–265 VAC 3-phase input. The PC800 family has lower-power siblings (PC832 class) with rated 1-phase and 120 VAC configurations, but a 3.0 kW drive at 7.1 A continuous on single-phase input would exceed practical input current and bus stiffness. Verify your supply against the drive nameplate before ordering — mismatched input configurations are a recurring source of dead-on-arrival claims that aren’t drive faults.
Q7: What warranty do you offer?
New Original units: 1-year replacement warranty. Refurbished units: 6 months. Both conditions are functionally tested before shipping — power-up self-test, serial comms verification, I/O check, and a minimum 24-hour powered run with thermal monitoring. Warranty failures get replaced, no restocking fees, no arguments about installation technique.