WhatsApp: +86 16626708626
 Email:
 Phone: +86 16626708626
Description
Key Technical Specifications
- Module Type: DC/DC Power Supply / Voltage Regulator
- Input Voltage Range: 18 V DC to 30 V DC (nominal 24 V DC)
- Output Voltage: 24 V DC adjustable (±5%)
- Output Current: Up to 1.5 A continuous (temperature dependent)
- Isolation Voltage: 1.5 kV (input to output / input to ground)
- Efficiency: > 85% at nominal load
- Operating Temperature: −20 to +65 °C
- Storage Temperature: −40 to +85 °C
- Relative Humidity: 5% to 95% non-condensing
- Mounting Type: DIN rail NS 35/7.5 or NS 35/15
- Dimensions: 22.5 mm x 99 mm x 114.5 mm (Width x Height x Depth)
- Weight: 0.22 kg
Product Introduction
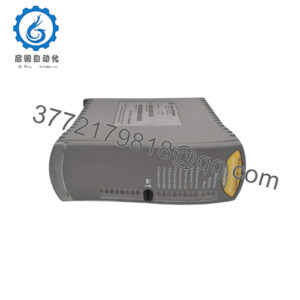
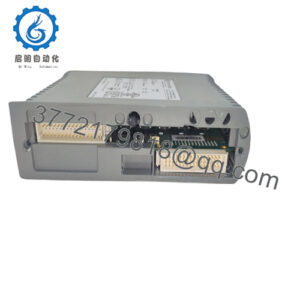
The Phoenix Contact MCR-PSP-DC is a DIN rail-mounted DC/DC power supply and conditioning module designed for industrial automation cabinets. It stabilizes and regulates secondary control voltages, isolating sensitive instrumentation loops from power supply fluctuations and electrical noise generated by heavy inductive loads on the main distribution grid.
This unit is selected by panel builders and maintenance teams for its compact 22.5 mm housing footprint and high thermal reliability. It ensures continuous 24 V DC loop power delivery in remote junction boxes and PLC enclosures without requiring forced-air cabinet cooling.
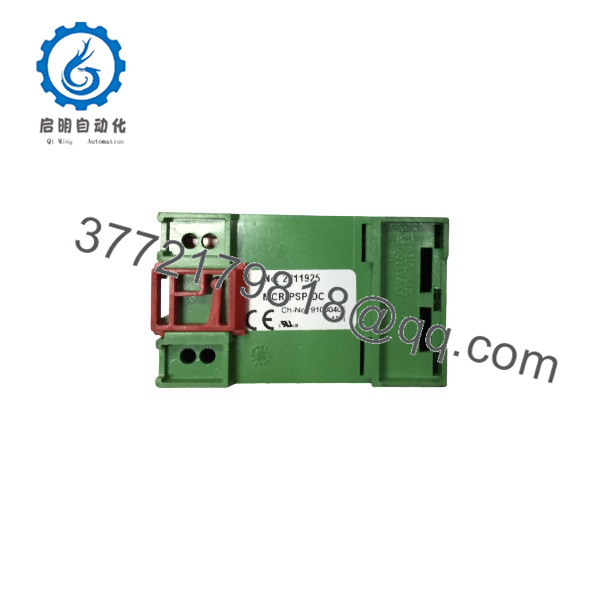
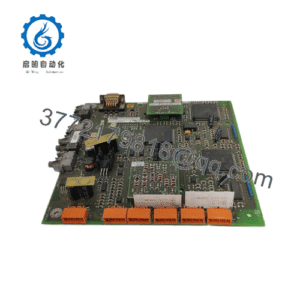
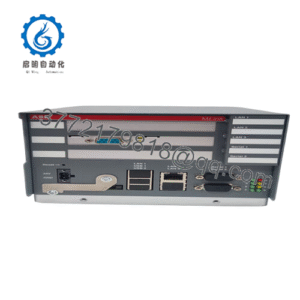
MCR-PSP-DC
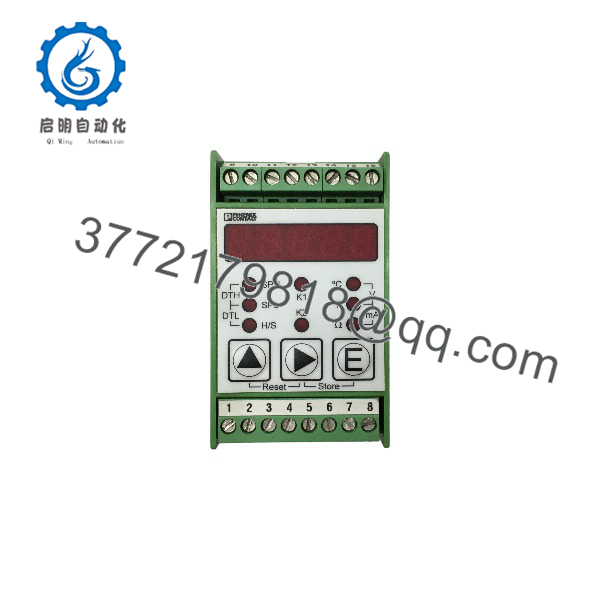
MCR-PSP-DC
Installation & Configuration Guide
Stage 1: Pre-Installation Preparation
- ⚠️ Safety First: Notify operations of potential control loop interruption, verify the cabinet sub-panel is in a safe de-energized state, execute Lock Out/Tag Out (LOTO) on the incoming 24 V DC feed, and wait 2 minutes for internal filter capacitors to discharge.
- Tools Required: ESD grounding wrist strap, flat-head and #1 Phillips screwdrivers, Digital Multimeter (Fluke 115 or equivalent), wire strippers, wire labels.
- Data Backup: Document the input and output voltage drop parameters, check cabinet distribution fusing, and photograph existing terminal block wiring connections.
Stage 2: Removing the Old Module
- De-energize the incoming power feed and verify zero voltage using a calibrated multimeter.
- Label input and output wires clearly before disconnecting them from the screw terminal blocks.
- Insert a flat-head screwdriver into the base locking latch slot, pull down gently to release the unit from the DIN rail, and lift the module off.
- Inspect the DIN rail for corrosion, burrs, or debris.
- Self-Check: Confirm that all power feeds are dead before touching terminal blocks. Keep the old module nearby for terminal mapping reference.
Stage 3: Installing the New Module
- Put on your ESD wrist strap. Verify that the replacement part number and voltage rating match your electrical schematic requirements.
- Configuration Check: Inspect any front-panel output voltage adjustment potentiometers or diagnostic jumpers to ensure they mirror your application requirements.
- Hook the upper edge of the module onto the 35 mm DIN rail, then push the lower housing firmly backward until the spring-loaded latch clicks into place.
- Reconnect input and output wiring to the designated screw terminals, ensuring proper polarity (+ and -). Torque terminal screws to 0.5–0.6 Nm.
- Self-Check: Verify that the DIN rail latch is fully engaged and tug gently on each wire to confirm mechanical security.
Stage 4: Power-On & Testing
- Pre-Power Check: Use a multimeter in resistance/continuity mode to verify there are no downstream short circuits on the 24 V DC load side.
- Power-On Steps:
- Restore power to the primary DC feed line.
- Observe the front LED status indicator. (Expected: Green DC OK solid).
- Measure the output voltage directly at the module terminals using a digital multimeter to confirm it sits precisely at the configured target (e.g., 24.0 V DC).
- Connect downstream loads incrementally and monitor thermal stability.
- ⚠️ Troubleshooting Note: If the DC OK LED is unlit or flickering, check for an input overcurrent condition, check supply wiring polarity, or verify that the load does not exceed the 1.5 A current rating of the module.
Frequently Asked Questions (FAQ)
Can this module be hot-swapped under power?
Honestly, while modular DIN rail hardware can technically be unclipped under power, hot-swapping a power supply or voltage regulator is a fast way to spark terminals, trip upstream breakers, or damage sensitive downstream cards. Always kill the incoming power feed before unhooking wiring blocks.
Is this model obsolete, and is it genuinely new?
Phoenix Contact continuously updates its industrial interface and power portfolio, but legacy MCR enclosures remain heavily deployed across industrial sites. Units designated as “New Original” or “New Surplus” are authentic factory-built components that have never been commissioned in an active facility, sourced from verified surplus stock and overstock liquidations.
What is the direct replacement if this exact model is out of stock?
You must verify electrical specifications—specifically input voltage range, output current capacity (1.5 A), and physical width—before considering an alternative series from Phoenix Contact. Substituting an under-rated supply will lead to voltage sags under load.
Will I lose configuration settings when I replace this power supply?
No. The MCR-PSP-DC is an analog power conversion and isolation module; it contains no programmable logic, firmware, or retentive memory storage. Swapping the unit is purely a physical and electrical hardware replacement.
Why is your price lower than the OEM factory list price?
Independent surplus distributors acquire excess industrial inventory from plant consolidations, canceled automation upgrades, and warehouse liquidations. By bypassing traditional multi-tier factory distribution channels, we are able to provide maintenance teams with immediate component availability at significantly reduced price points.