
 WhatsApp: +86 16626708626
 Email:
  Phone: +86 16626708626
Description
Key Technical Specifications
| Parameter | Value |
|---|---|
| Manufacturer | PILZ |
| Model | PSSDI2O |
| Product designation | PSS DI2O |
| Product family | PSS |
| Product type | Digital I/O module |
| Application | Industrial automation / safety control |
| Digital I/O architecture | Verify against OEM documentation |
| Rated voltage | Verify exact hardware revision |
| Input channels | Verify against OEM documentation |
| Output channels | Verify against OEM documentation |
| Communication interface | Verify system-specific configuration |
| Mounting | PSS system-specific |
| Firmware compatibility | Verify before replacement |
| Condition | Specify New Original, New Surplus, or Refurbished |
Technical caution: Publicly available listings confirm the PILZ PSSDI2O designation but do not provide enough authoritative data to safely state the channel count, voltage ratings, terminal assignment, or firmware requirements. Do not substitute those values from a visually similar PSS module.
Product Introduction
The PILZ PSSDI2O is a PSS-series digital I/O module used within PILZ industrial control and safety-system installations. Available product listings identify the component as PSS DI2O and associate it with PILZ PSS equipment.
This is primarily a replacement-market component for maintaining existing PSS installations. Before ordering, match the complete part marking and hardware revision, then verify electrical characteristics and system compatibility against the applicable PILZ documentation.
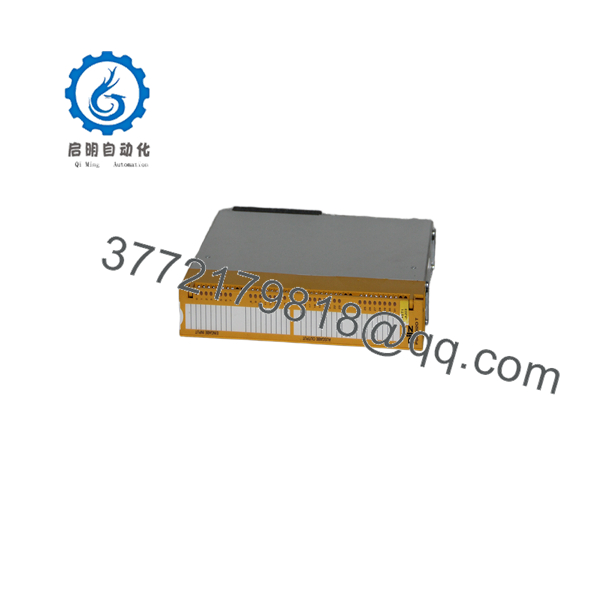
PSSDI2O
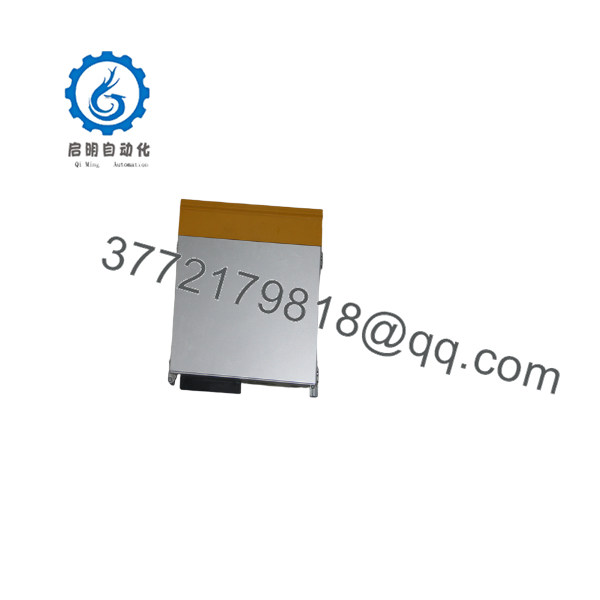
PSSDI2O
Installation & Configuration Guide
Stage 1: Pre-Installation Preparation — Approximately 5 minutes
⚠️ Safety First: Place the machine in a defined safe state. Apply the site’s lockout/tagout procedure before accessing the PSS rack.
Tools Required:
- ESD wrist strap
- PH1 screwdriver
- Digital multimeter
- Wire labels
- Smartphone or camera
Data Backup:
- Record the complete PSSDI2O identification.
- Photograph the installed module and all connectors.
- Photograph DIP switches or jumpers if present.
- Record the existing PSS configuration.
- Preserve the old module until commissioning is complete.
Stage 2: Removing the Old Module — Approximately 5 minutes
- Remove the applicable protective cover.
- Label each wire and connector before removal.
- Disconnect field wiring carefully.
- Release the module’s mechanical retaining mechanism.
- Pull the module straight out.
- Inspect the socket/backplane for contamination or damaged contacts.
⚠️ Do not discard the original PSSDI2O. Its configuration provides the most reliable reference for the replacement.
Stage 3: Installing the New Module — Approximately 5 minutes
- Ground yourself with the ESD strap.
- Confirm the replacement is PILZ PSSDI2O before insertion.
- Compare connector positions with the original.
- Reproduce documented switches/jumpers exactly.
- Insert the module without applying lateral force.
- Engage the retaining mechanism.
- Reconnect wiring according to the original wiring record.
- Check that all connectors are fully seated.
Self-Checklist:
- model confirmed
- Hardware revision checked
- Configuration copied
- Wiring labels verified
- Connectors seated
- Module mechanically locked
- ESD precautions maintained
Stage 4: Power-On & Testing — Approximately 10–15 minutes
- Check the applicable supply rail with a multimeter before energizing.
- Power the PSS system according to the site’s commissioning procedure.
- Observe module and system diagnostics.
- Verify that the controller recognizes the I/O module.
- Confirm the configuration matches the installed hardware.
- Test each applicable digital input.
- Test outputs with the machine held in a safe condition.
- Verify safety-related signals independently before returning the machine to production.
⚠️ Do not assign LED meanings, voltage ratings, or firmware requirements from another PSS module. Those details must come from the documentation for the exact variant.
Frequently Asked Questions (FAQ)
Can the PILZ be hot-swapped?
Do not assume hot-swap capability. Unless the specific PILZ PSS system documentation explicitly permits energized module replacement, shut down and isolate the equipment before removing .
Is PILZ obsolete?
It should be treated as a legacy/limited-stock replacement component for procurement planning, but the sources reviewed here do not establish an official PILZ lifecycle-discontinuation date. Current supplier listings show availability as limited or sold out in some cases.
Is a digital input module or a digital I/O module?
Listings use both descriptions. One supplier categorizes it as DIGITAL INPUT, while another explicitly describes as an industrial automation component. Because the available sources do not provide the OEM electrical specification, verify the exact I/O function from the PILZ documentation for your hardware revision.
Can I replace with another PILZ PSS module?
Not automatically. A similar physical appearance does not establish electrical or functional compatibility. Verify the PSS system type, I/O assignment, connector configuration, electrical ratings, hardware revision, and configuration requirements before substitution.
Will removing erase my safety program?
The effect depends on the architecture of the particular PSS installation and where its configuration is stored. Back up the project/configuration before replacement, and retain the old module until the replacement passes functional and safety validation.
Why is difficult to source?
appears in specialist replacement-market listings rather than as a commonly stocked current-generation component. One current listing shows the product as sold out, while another offers a used version and a separate repair service.
What condition should I specify when purchasing?
For a critical machine, specify the condition explicitly: New Original / New Surplus, Factory Sealed, or Refurbished and Tested. For refurbished units, request the test procedure and test report rather than relying solely on a visual inspection.



