
 WhatsApp: +86 16626708626
 Email:
  Phone: +86 16626708626
Description
Key Technical Specifications
| Parameter | Value |
| Operating Voltage | 18 V DC to 32 V DC (24 V Nominal) |
| Power Consumption | Maximum 10 A at full load |
| Communication Interface | CAN 2.0B / J1939 Protocol |
| Operating Temperature | -40 °C to +85 °C |
| Protection Class | IP65 (Dust-tight and water-jet resistant) |
| Vibration Resistance | Meets IEC 60068-2-6 standards |
| Connector Type | Multi-pin heavy-duty circular bayonet |
| Engine Compatibility | MTU Series 2000, Series 4000 applications |
| Firmware Type | ADEC System Logic (Software dependent) |
Product Introduction & Supply Chain Strategy
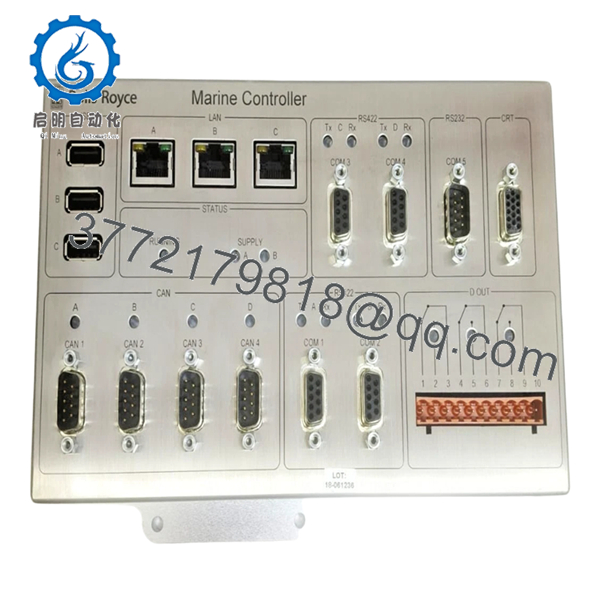
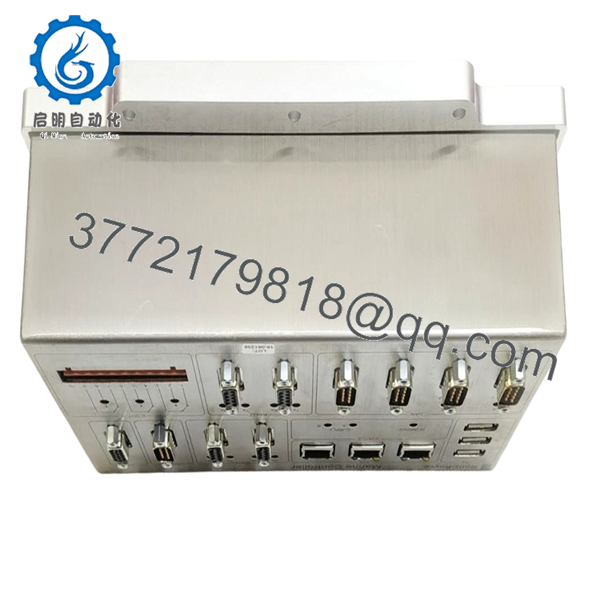
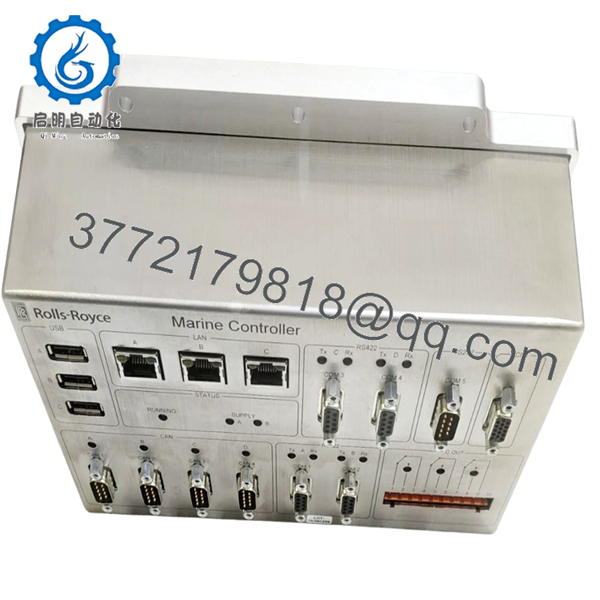
The Rolls-Royce H1151.0102 is the primary engine control module for MTU-powered industrial and marine assets. It executes complex fuel-mapping algorithms to regulate common-rail injection, ensuring the engine meets emissions standards while maintaining load stability. This module is the “brain” of the power unit; without it, the engine cannot start or synchronize with the grid.
Procuring this module as New Surplus is a strategic move to lower the Total Cost of Ownership (TCO) without sacrificing reliability. While refurbished ECUs often suffer from heat-stressed capacitors and micro-fractures in the PCB—leading to intermittent “ghost” faults—our New Surplus units offer full OEM service life. For critical power generation or marine propulsion, keeping one H1151.0102 on-site acts as a high-value insurance policy against supply chain lead time variability.

- H1151.0102
Installation & Configuration Guide
Stage 1: Pre-Installation (Prep & Safety)
Ensure the engine is in a “Safe State” by engaging the emergency stop and performing a full lock-out/tag-out on the battery disconnect switches. Use a grounded ESD wrist strap before touching the module. Photograph the existing cable harness layout and record the current engine hours and firmware version from the HMI.
Stage 2: Removal
Disconnect the heavy-duty circular connectors by rotating the locking rings counter-clockwise. Do not pull on the wires themselves. Loosen the four mounting bolts on the vibration-damping bracket. Inspect the connector pins on the wiring harness for signs of corrosion or “greening.”
Stage 3: Installation (Clone & Seat)
Verify that the part number on the new H1151.0102 matches exactly. Mount the module to the bracket, ensuring the rubber isolators are intact to prevent harmonic damage. Reconnect the harness plugs until the locking rings click firmly.
Stage 4: Power-On & Testing
Turn on the 24 V DC control power. Verify the “Power” LED is solid and no “Module Comm Error” appears on the remote display. You may need to flash the specific engine parameter file (dataset) using MTU DiaSys software to match the module to your specific engine serial number before attempting a crank.
Firmware/Software Versions & Upgrade Notes
The H1151.0102 typically ships with a base ADEC operating system. However, the specific fuel maps and torque limits (Datasets) are unique to the engine’s application (e.g., marine vs. standby power). We recommend using the same dataset version currently running on your failed unit to ensure seamless integration with the existing Engine Monitoring Unit (EMU). Avoid jumping to a newer major firmware revision unless you are also updating the connected display and sensor modules, as protocol mismatches can cause erratic throttle behavior.
Frequently Asked Questions (FAQ)
- Why is this significantly cheaper than my local MTU dealer’s price?
We source New Surplus inventory from canceled projects and overstock liquidations. This allows us to pass on significant savings to you while still providing a genuine, unused product.
- Is this a refurbished or “remanufactured” module?
No. This is a Brand New Surplus unit. It has never been installed on an engine or used in a live plant. We do not sell refurbished H1151.0102 modules because the failure risk in critical engine applications is too high.
- Do I need specialized software to install this?
Yes, usually MTU DiaSys or a similar diagnostic tool is required to upload the engine-specific dataset and calibrate the electronic actuators after hardware replacement.
- Can I “hot-swap” this module while the 24 V system is live?
Absolutely not. Hot-swapping can cause voltage spikes that may damage the internal processor or corrupt the flash memory. Always isolate power before disconnecting.
- What happens if the firmware doesn’t match my old unit?
The engine may not start, or you may see a “Configuration Mismatch” fault. You must ensure the parameter set from your original module is backed up and loaded onto the new hardware.
- What is the warranty on this surplus unit?
We provide a 1-year functional warranty. If the module fails during commissioning or normal operation within 12 months, we will replace it or offer a full refund, providing peace of mind for your procurement team.


