
 WhatsApp: +86 16626708626
 Email:
  Phone: +86 16626708626
Description
Key Technical Specifications
| Parameter | Value |
|---|---|
| Manufacturer | Schneider Electric |
| Part Number | 140CHS11000 |
| Platform | Modicon Quantum |
| Product Type | Hot Standby Module |
| Software | Concept ≥ V2.0; ProWORX 32 NxT V2.0 |
| Compatible Controllers | Legacy 140CPU with LL984; 140CPU43412A/53414 with IEC language |
| I/O Compatibility | 800 Series, Quantum, Sy/Max remote I/O |
| Transmission Rate | 10 Mbit/s |
| Transmission Medium | 3 m fiber optic |
| Switching Time | 13–48 ms |
| Fiber Connections | 1 transmitter + 1 receiver |
| Bus Current Requirement | 700 mA |
| Module Format | Standard |
| Weight | 1.06 kg |
| Operating Temperature | 0–60 °C |
| Storage Temperature | −40 to +85 °C |
| Relative Humidity | 95% non-condensing |
| Maximum Operating Altitude | ≤5,000 m |
| RFI Immunity | 27–1,000 MHz, 10 V/m |
| ESD Immunity | 8 kV air / 4 kV contact |
Schneider’s published technical data identifies the 140CHS11000 as a Modicon Quantum Hot Standby module with a 10 Mbit/s fiber-optic link and 13–48 ms switching time. The module requires 700 mA of bus current and operates from 0–60 °C.
Product Introduction
The Schneider Electric 140CHS11000 is a Hot Standby module for legacy Modicon Quantum control systems. It provides the hardware interface required for redundant controller configurations, allowing a primary and standby Quantum controller to exchange status and control information over a fiber-optic connection.
The module is intended for legacy Quantum architectures using LL984 and specified IEC-based 140CPU controllers. Its documented fiber transmission rate is 10 Mbit/s, with a specified switching time of 13–48 ms.
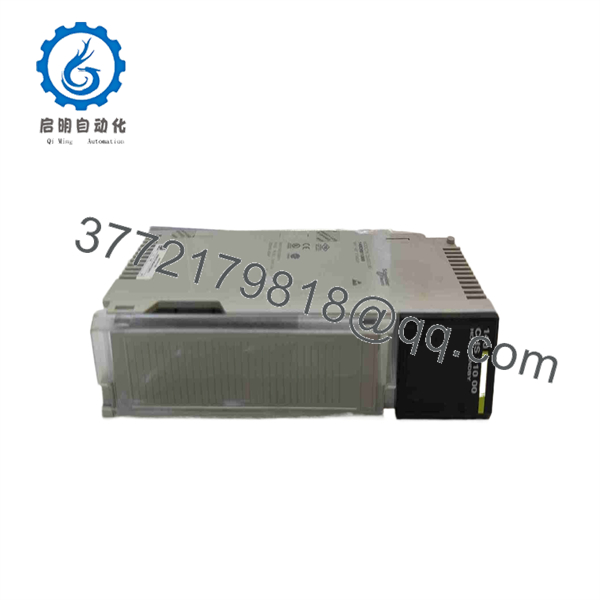
140CHS11000
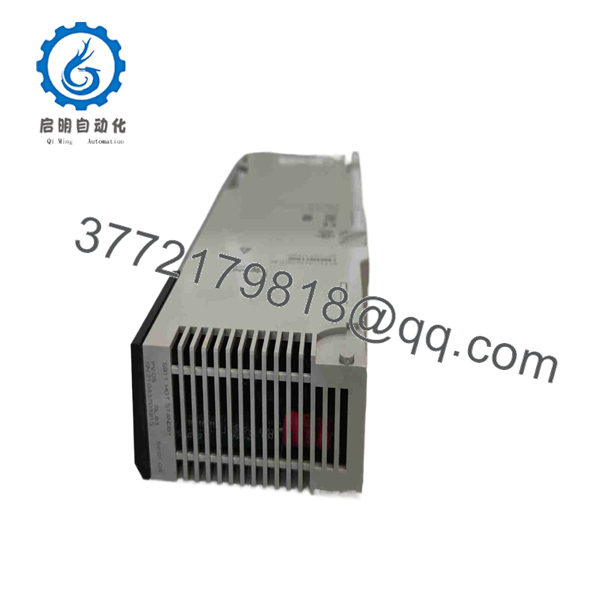
140CHS11000
Installation & Configuration Guide
Stage 1: Pre-Installation Preparation — Approximately 15 Minutes
⚠️ Safety First: Place both Quantum controllers in the approved maintenance state before disturbing a Hot Standby installation. Follow plant lockout/tagout procedures and the site’s redundancy maintenance procedure.
Tools Required:
- ESD wrist strap
- Digital multimeter
- Appropriate screwdriver
- Fiber-optic inspection/cleaning equipment
- Camera or smartphone
- Connector labels
- Quantum programming documentation
Data Backup:
- Record the complete 140CHS11000 part number.
- Photograph the existing module and rack position.
- Record the primary/standby controller arrangement.
- Document the fiber transmitter and receiver connections.
- Record the installed controller CPU models.
- Document the existing Concept or ProWORX configuration.
- Back up the application before beginning the replacement.
⚠️ Do not disturb both sides of a redundant controller system simultaneously without following the approved Hot Standby maintenance procedure.
Stage 2: Removing the Old Module — Approximately 5 Minutes
- Verify the Hot Standby system’s current operating state.
- Confirm which controller is primary and which is standby.
- Establish ESD protection.
- Photograph both fiber connections.
- Label the transmitter and receiver fibers.
- Inspect the fiber connectors before disconnecting them.
- Release the module retaining mechanism.
- Remove the 140CHS11000 from the Quantum rack.
- Inspect the backplane connector.
- Keep the removed module for comparison until commissioning is complete.
⚠️ Do not swap the transmit and receive fiber connections. Preserve the original fiber routing.
Stage 3: Installing the New Module — Approximately 5 Minutes
- Verify the replacement marking: 140CHS11000.
- Confirm the module is intended for the existing Quantum Hot Standby architecture.
- Inspect the backplane connector.
- Use ESD protection when handling the module.
- Seat the module fully into the rack.
- Secure the module using the appropriate retention hardware.
- Connect the fiber transmitter and receiver exactly as documented.
- Check the fiber connectors for contamination.
- Confirm that the fiber is not sharply bent or mechanically stressed.
- Verify the module position against the original configuration.
Self-Checklist:
- Part number verified
- Correct Quantum rack
- Controller compatibility confirmed
- TX fiber correctly connected
- RX fiber correctly connected
- Fiber connectors clean
- Module fully seated
- Retaining hardware secured
Stage 4: Power-On & Testing — Approximately 15 Minutes
- Restore power according to the approved Quantum procedure.
- Observe the module LEDs.
- Confirm the Ready indication.
- Check the communication-with-I/O indication.
- Verify the control-process indication.
- Confirm that no communication-error LED is active.
- Verify the primary/standby controller relationship.
- Check the fiber link between the two Hot Standby modules.
- Perform the applicable redundancy diagnostic test.
- Verify that the standby controller reaches the expected ready state.
- Review the PLC diagnostic information.
- Record the module status and replacement date.
The module provides separate indications for ready status, control process, I/O communication, standby status, and communication error, making the LED pattern useful during commissioning.
⚠️ Troubleshooting Note: If the Hot Standby link does not establish, check TX/RX fiber orientation, fiber cleanliness, controller compatibility, software version, module seating, and the existing Hot Standby configuration before replacing additional hardware.
Frequently Asked Questions (FAQ)
What is the Schneider 140CHS11000?
The 140CHS11000 is a Modicon Quantum Hot Standby module used in legacy Quantum controller redundancy architectures. Schneider identifies it specifically as a Hot Standby module rather than a conventional I/O module.
Which software supports the 140CHS11000?
Published specifications identify Concept version ≥ V2.0 and ProWORX 32 NxT V2.0.
Which Quantum CPUs are compatible?
The published compatibility data includes legacy 140CPU controllers using LL984 and 140CPU43412A/140CPU53414 controllers using IEC language. Always verify the exact CPU and application architecture before replacement.
What communication connection does it use?
The module uses a fiber-optic connection, with separate transmitter and receiver connections. The documented transmission rate is 10 Mbit/s, using a 3 m fiber-optic medium in the specified configuration.
What is the Hot Standby switching time?
The published specification gives a switching time of 13–48 ms. Actual system behavior depends on the complete controller, application, I/O, and network configuration.
Is 140CHS11000 obsolete?
Yes, it is a legacy/discontinued product. Schneider’s current U.S. page lists September 27, 2024 as its discontinuation date, while Schneider regional pages show different historical lifecycle dates.
Does Schneider provide a direct replacement?
Schneider’s current product page states that 140CHS11000 has not been replaced. Schneider’s legacy Quantum migration documentation states that applications using the 140CHS11000 should migrate to Unity Pro Hot Standby processors in the 140CPU67••• family rather than treating the old module as a plug-in replacement.
Can I replace 140CHS11000 with another 140CHS module?
Do not assume interchangeability across the 140CHS family. Schneider documentation identifies separate modules and kits, including 140CHS21000, 140CHS32000, 140CHS41010, and 140CHS41020. Verify the exact Hot Standby architecture and function before substitution.
What condition should I specify when buying a discontinued unit?
Specify the physical condition explicitly: Factory Sealed, New Original/New Surplus, or Refurbished/Tested. For this legacy module, request photographs of the nameplate, serial number, fiber connectors, and front-panel LEDs before purchasing. Current industrial suppliers list multiple condition categories for this part.



