
 WhatsApp: +86 16626708626
 Email:
  Phone: +86 16626708626
Description
Key Technical Specifications
| Parameter | Value |
|---|---|
| Product Range | Modicon Momentum |
| Model | 170AAI03000 |
| Product Type | Analog input module |
| Number of Inputs | 8 |
| Input Type | Analog |
| Resolution | 16 bit |
| Input Signal | Current / voltage, depending on configuration |
| Mounting | Momentum I/O base |
| Communication Architecture | Modicon Momentum distributed I/O |
| Application | Industrial process and machine control |
| Configuration | Determined by Momentum I/O architecture and application software |
| Lifecycle | Legacy / discontinued family |
Technical verification note: The supplied source establishes the required product-page format and specifically requires exact model numbers, technical parameters, compatibility notes, and transparent handling of unknown specifications. It does not provide a dedicated datasheet entry for 170AAI03000, so input ranges, channel isolation, accuracy, power consumption, dimensions, and terminal assignments should be verified against the Schneider Electric/OEM documentation before procurement.
Product Introduction
The Schneider Electric 170AAI03000 belongs to the Modicon Momentum distributed I/O family and is used for analog signal acquisition in industrial control applications. It is intended for systems where field analog measurements must be brought into a Momentum-based controller architecture.
For replacement work, the exact hardware revision and existing Momentum configuration should be checked before installation. Do not substitute another Momentum analog module solely because its physical form appears similar. The supplied product-page specification requires compatibility and version details to be verified rather than assumed.
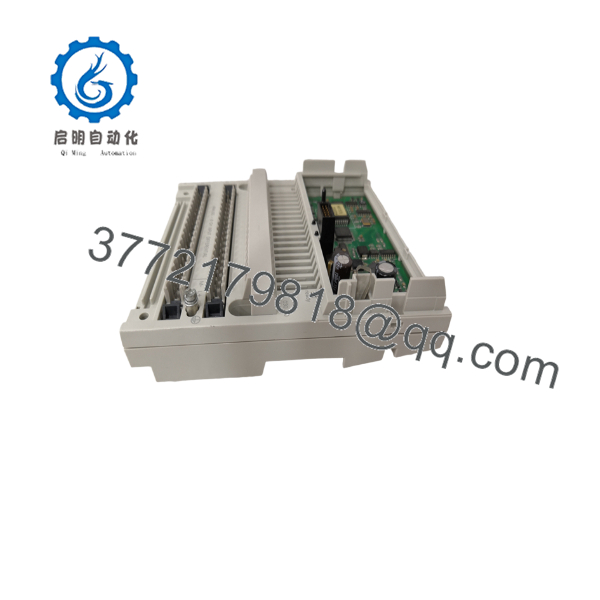
170AAI03000
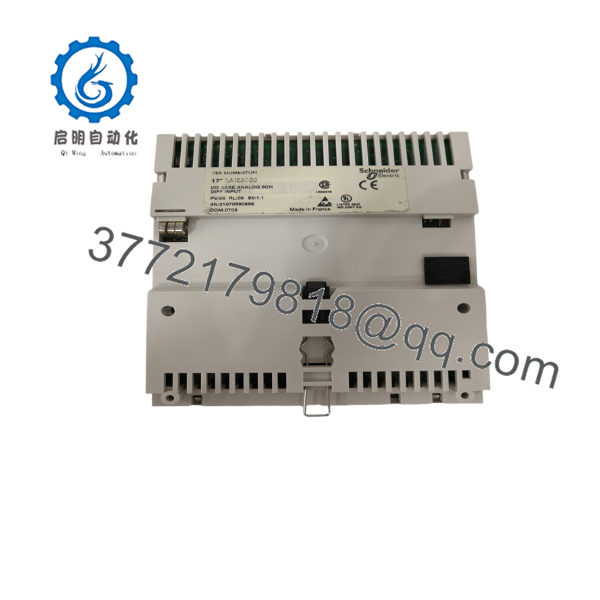
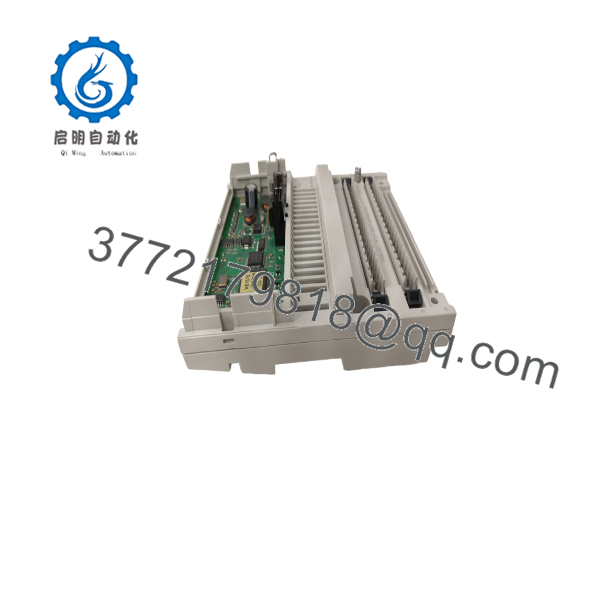
170AAI03000
Installation & Configuration Guide
Stage 1: Pre-Installation Preparation — approximately 5 minutes
⚠️ Safety First: Place the controlled equipment in a safe state, notify operations, and follow the site’s lockout/tagout procedure before removing the module.
Tools Required:
- ESD wrist strap
- Digital multimeter
- Appropriate screwdriver
- Wire labels
- Smartphone or camera for documentation
Before removal:
- Back up the running control configuration.
- Record the controller and Momentum I/O configuration.
- Photograph the existing module and terminal wiring.
- Record all channel assignments.
- Verify that the replacement is specifically marked 170AAI03000.
The supplied installation standard calls for documenting wiring, configuration, and physical switch/jumper settings before removing an installed module.
Stage 2: Removing the Old Module — approximately 5 minutes
- Isolate power according to the approved maintenance procedure.
- Confirm the absence of hazardous voltage with a properly rated meter.
- Label each field conductor.
- Disconnect the wiring without forcing the terminals.
- Release the module’s mechanical retaining mechanism.
- Pull the module straight out.
- Inspect the Momentum mounting/base connection for damaged contacts or contamination.
- Keep the removed module available until commissioning is complete.
⚠️ Do not discard the original module immediately. It remains the most useful reference for checking terminal arrangement, labeling, hardware revision, and field wiring.
Stage 3: Installing the Replacement — approximately 5 minutes
- Use ESD protection before handling the module.
- Verify the complete part number: 170AAI03000.
- Compare the replacement against the old unit before installation.
- Check the terminal assignment against the applicable Schneider Electric documentation.
- Install the module onto the correct Momentum I/O base.
- Ensure it is mechanically seated.
- Reconnect field wiring according to the recorded terminal documentation.
- Check each termination for mechanical security.
Self-Checklist:
- Exact model verified
- Correct Momentum base verified
- Channel wiring verified
- Configuration documented
- Terminations secured
- ESD precautions observed
The source specifically emphasizes matching exact model numbers and duplicating existing hardware configuration rather than relying on memory during replacement.
Stage 4: Power-On & Testing — approximately 10-15 minutes
- Check the supply and field wiring before energizing the system.
- Power the Momentum I/O assembly according to the approved procedure.
- Observe module and controller status indications.
- Verify that the controller recognizes the I/O configuration.
- Check each configured analog channel.
- Apply a known test signal where the commissioning procedure permits it.
- Compare the engineering value against the expected signal.
- Check for channel diagnostics or configuration faults.
- Perform an I/O dry run before returning the process to automatic operation.
⚠️ If the controller does not recognize the module, do not immediately assume the replacement is defective. First check the I/O configuration, base compatibility, addressing, wiring, and hardware revision.
Frequently Asked Questions (FAQ)
Can I hot-swap the 170AAI03000?
Do not assume that it can be hot-swapped. Unless the applicable Schneider Electric documentation and site procedure explicitly permit live replacement for the installed architecture, isolate power before removing the module.
Is the 170AAI03000 obsolete?
The 170AAI03000 is a legacy Modicon Momentum product, so procurement should be handled as legacy spare-parts sourcing. Confirm current OEM lifecycle status and remaining stock before planning a long-term replacement strategy.
Is 170AAI03000 a digital or analog module?
It is an analog input module used within the Modicon Momentum I/O family. The exact supported signal ranges and channel configuration should be confirmed from the applicable OEM documentation before wiring.
Can I replace it with another Momentum analog module?
Not automatically. Similar physical construction does not establish electrical or software compatibility. Check the complete part number, I/O base, channel configuration, controller configuration, and application requirements before substitution.
Will removing the module erase the PLC program?
Removing an I/O module does not normally constitute deletion of the controller application program. However, you should still back up the control configuration before maintenance and verify the I/O configuration after replacement.
What condition should I specify when purchasing a 170AAI03000?
Specify the condition explicitly. Recommended descriptions include Factory Sealed, New Original/New Surplus, or Refurbished (tested). Ask for photographs of the actual unit and identification label when purchasing legacy stock.
What should I verify before ordering?
At minimum, verify 170AAI03000, the existing Momentum hardware configuration, required analog signal type/range, physical I/O base compatibility, hardware revision, and the required condition of the replacement. The supplied procurement standard specifically prioritizes technical specification accuracy, availability/lead time, supplier credibility, and price.



