
 WhatsApp: +86 16626708626
 Email:
  Phone: +86 16626708626
Description
Key Technical Specifications
| Parameter | AI3281 Information |
|---|---|
| Model | AI3281 |
| Brand / Family | Triconex / Invensys — identification requires revision confirmation |
| Module Type | Analog Input Module |
| Application | Safety Instrumented System / industrial process input acquisition |
| Input Signal | Analog field signals; exact supported ranges not sufficiently verified |
| Channel Count | Not reliably verified for the exact Triconex revision |
| Resolution | Not reliably verified from OEM documentation located |
| Accuracy | Not reliably verified from OEM documentation located |
| System Interface | Tricon safety-system I/O architecture |
| Part Number Association | AI3281-A-V001 reported by secondary sources |
| Operating Voltage | Not verified for the exact AI3281 revision |
| Lifecycle | Legacy/older hardware; verify availability and revision |
Some third-party listings describe AI3281 as a 32-channel analog input module, while another listing describes an 8-channel isolated configuration. These conflicting specifications are not suitable grounds for publishing a fixed channel count without the exact hardware revision.
Product Introduction
The Triconex AI3281 is identified in multiple industrial automation sources as an analog input module used for acquiring field analog signals within safety-oriented control systems. It is associated with the Triconex family and is also cross-referenced with the designation.
For replacement work, the important issue is exact hardware identification rather than relying on the model number alone. Public documentation contains conflicting channel and electrical specifications, so the nameplate, revision, terminal arrangement, and installed system platform should be checked before ordering a replacement.
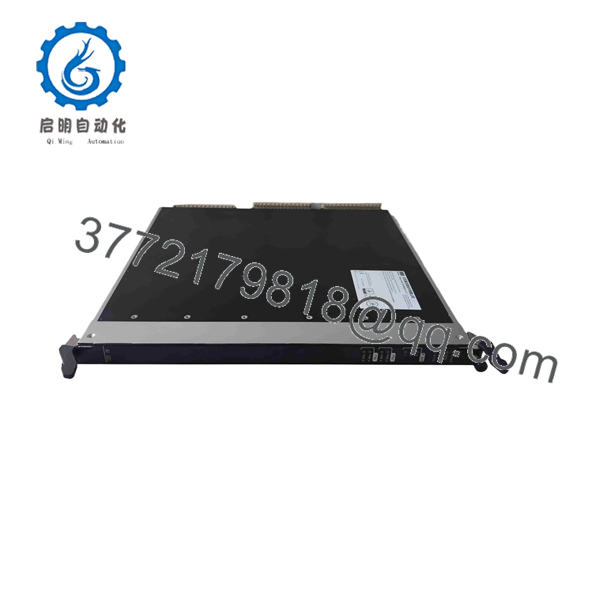
AI3281
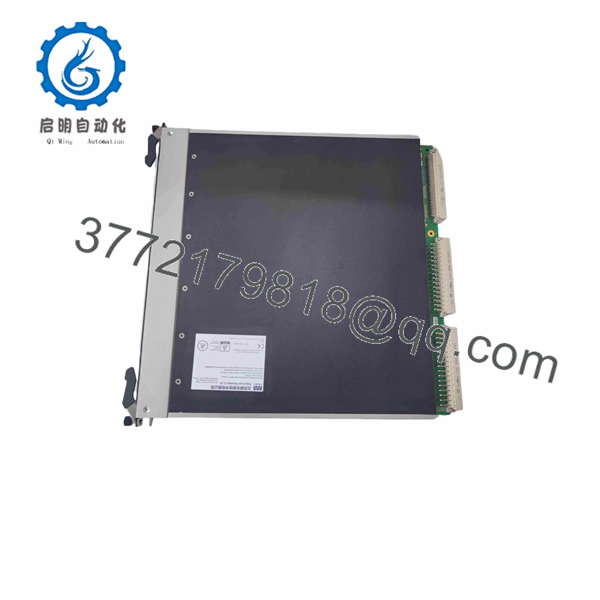
AI3281
Installation & Configuration Guide
Stage 1 — Pre-Installation Preparation (~10 min)
- Confirm that the existing module is marked and record the complete part number, revision, and serial information.
- Compare the replacement’s nameplate and connector arrangement with the installed module.
- Back up the current safety-system configuration before removing hardware.
- Review the approved maintenance procedure for the applicable Triconex/SIS installation.
- Prepare ESD protection, insulated tools, labels, and the appropriate terminal documentation.
⚠️ Do not assume that another listing is electrically interchangeable. Public sources show conflicting specifications for this model.
Stage 2 — Removing the Existing Module (~5 min)
- Place the process and safety system in the approved maintenance state.
- Follow the plant’s shutdown/bypass procedure before disconnecting safety I/O.
- Label field wiring and terminal positions before removal.
- Disconnect the wiring using the approved terminal procedure.
- Inspect connectors, terminal blocks, backplane contacts, and mounting hardware for contamination or mechanical damage.
Stage 3 — Installing the Replacement Module (~5 min)
- Verify the replacement against the complete part number and hardware revision, not only “.”
- ⚠️ Use ESD precautions when handling the circuit board and connectors.
- Seat the module correctly in its designated position.
- Secure the module according to the applicable rack or chassis procedure.
- Reconnect field wiring using the original terminal identification.
- Verify polarity, shielding, grounding, and channel assignments before energizing the system.
Stage 4 — Power-On & Testing (~10–15 min)
- Restore power according to the approved maintenance sequence.
- Check module status indicators and system diagnostics.
- Confirm that the controller recognizes the installed I/O module.
- Verify each configured analog channel against a known field value or calibrated signal source.
- Check for channel faults, open-circuit indications, scaling errors, or diagnostic alarms.
- Perform a controlled functional test before returning the safety loop to normal service.
- Document the replacement part number, revision, test results, and configuration changes.
FAQ
Is an analog input or analog output module?
It is identified primarily as an analog input module. One third-party page incorrectly titles it as an analog output module while its own technical description identifies it as an analog input module, so the input classification should be confirmed against the physical unit and system documentation.
Is a Triconex module?
Yes, is widely listed in association with the Triconex safety-system product family. However, the same model designation also appears in SIS/TSxPlus documentation, making exact hardware identification important.
Can I replace any with another ?
Not automatically. Check the manufacturer, system family, full part number, hardware revision, connector arrangement, and configured signal type. The public specifications available for are inconsistent across suppliers.
Does support hot replacement?
Some secondary Triconex listings claim online replacement capability, but I would not treat this as a universal installation rule. Follow the approved maintenance procedure for the specific Triconex/SIS hardware revision and application.
Does require programming after replacement?
The answer depends on the controller configuration and the exact hardware revision. A replacement may require configuration verification even when the I/O assignment itself remains unchanged. Always back up and compare the existing configuration before commissioning.
Is obsolete?
is associated with legacy/older safety-system hardware, but an exact OEM lifecycle status could not be established from sufficiently authoritative public documentation. For procurement, verify whether the offered unit is original, new surplus, refurbished, or previously installed.
What should I provide when requesting an replacement?
Provide a clear photograph of the module nameplate, complete part number, hardware revision, connector/terminal side, and the controller or rack model. This is particularly important because the designation is used across more than one automation platform.



