
 WhatsApp: +86 16626708626
 Email:
  Phone: +86 16626708626
Description
Key Technical Specifications
| Parameter | XCP02B |
|---|---|
| Manufacturer | Yaskawa Electric |
| Robot brand | Motoman |
| Controller family | XRC |
| Board designation | XCP02B |
| Common full designation | JANCD-XCP02B-1 |
| Board type | XRC sensor / interface PCB |
| Primary application | Sensor / seam tracking |
| Related function | Arc communication |
| Installation | Motoman XRC controller |
| Board revision | Application-dependent; verify physical PCB |
| Replacement status | Legacy equipment / spare-parts market |
| Related variant | JANCD-XCP02B-2 |
| Variant difference | -1: sensor/seam tracking; -2: conveyor tracking |
Public spare-parts references identify XCP02B as an “XRC Sensor Board/COM ARC,” while separate listings identify JANCD-XCP02B-1 as an XRC sensor board for seam tracing.
Product Introduction
The is a legacy Motoman XRC controller PCB associated with sensor and arc-related functions. References for the full designation specifically associate the board with XRC sensor/seam-tracking applications. It is therefore important to treat as a controller-board identifier rather than as a generic PLC or CPU module.
A critical procurement issue is the suffix. is separately identified as a conveyor-tracking board, including descriptions of panel-mounted, multi-channel conveyor tracking hardware. It should not be assumed interchangeable with the /-1 sensor or seam-tracking configuration.
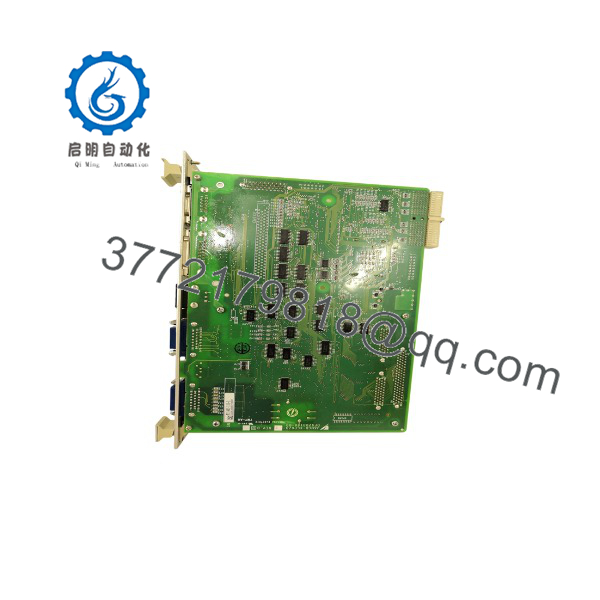
XCP02B
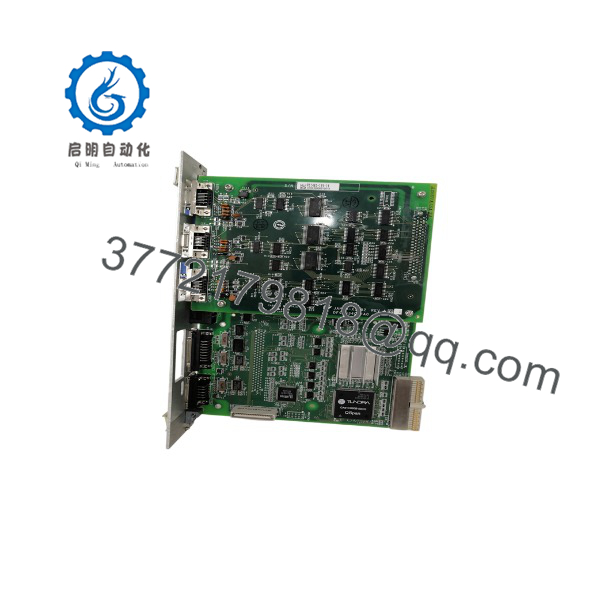
XCP02B
Installation & Configuration Guide
Stage 1 — Pre-Installation Preparation (~5 minutes)
- Apply the robot cell’s lockout/tagout procedure.
- Record the XRC controller model and software revision.
- Photograph the existing board and all connected cables.
- Record the complete part number, including JANCD-, suffix, and revision.
- Document connector positions and cable routing.
- Prepare ESD protection, a PH1 screwdriver, labels, and a multimeter.
- Preserve the original board until the replacement has completed testing.
⚠️ Do not order solely from “.” Verify whether the installed board is , another revision, or the distinct variant.
Stage 2 — Removing the Existing Board (~5 minutes)
- Shut down the Motoman controller according to the maintenance procedure.
- Isolate the controller from its electrical supply.
- Confirm that residual electrical hazards have been addressed.
- Label every connector before removal.
- Disconnect the cables without stressing the PCB connectors.
- Release the board mounting hardware.
- Remove the PCB using ESD precautions.
- Inspect connectors, sockets, and the controller backplane for contamination or damage.
Keep the removed PCB available as the physical reference until the replacement has passed commissioning.
Stage 3 — Installing the Replacement (~5 minutes)
- Compare the replacement PCB against the removed board.
- Verify the complete identification and revision.
- Check connector locations and board markings.
- Install the PCB without forcing the edge connector or mounting hardware.
- Secure the board using the original mounting hardware.
- Reconnect each cable according to the photographs and maintenance documentation.
- Inspect the completed installation for loose connectors or trapped wiring.
⚠️ Do not substitute a JANCD–2 merely because the base designation matches. The available documentation associates the -2 board with conveyor tracking rather than the XRC sensor/seam-tracking function.
Stage 4 — Power-On & Functional Testing (~10–15 minutes)
- Perform a final wiring and connector inspection.
- Verify that no loose hardware remains inside the controller.
- Restore power according to the XRC maintenance procedure.
- Check controller alarms and board diagnostics.
- Verify the relevant sensor or arc-related function.
- For seam-tracking applications, perform a controlled dry-run before production welding.
- Confirm that the robot responds correctly to the sensor input.
- Record controller alarms, software revision, and replacement-board revision.
- Retain the failed PCB for comparison if intermittent faults remain.
Technical Pitfall & Survival Guide
The biggest replacement mistake is confusing the family variants.
Yaskawa/Motoman spare-parts references separately identify:
- — XRC sensor board / seam tracing.
- — conveyor tracking / automation conveyor tracking.
- — commonly used as the shorter XRC sensor board / COM ARC designation.
A board can physically fit and still be the wrong functional variant. On legacy Motoman equipment, the complete JANCD part number and PCB revision should be treated as procurement-critical information.
Frequently Asked Questions (FAQ)
What is the Yaskawa ?
The is a Yaskawa Motoman XRC controller PCB associated with sensor and arc-related functions. References specifically identify the as an XRC sensor board/COM ARC and associate JANCD–1 with sensor/seam-tracing applications.
Is a CPU board?
It should not be treated as the main XRC CPU simply because it is a controller PCB. Available references classify as an XRC sensor/arc-related board. The XRC system’s exact board architecture should be checked against the controller’s hardware documentation.
What is the difference between -1 and -2?
They serve different functions. is identified with XRC sensor/seam-tracing applications, whereas is identified with conveyor tracking. They should not be assumed to be interchangeable.
Is obsolete?
belongs to the legacy Motoman XRC ecosystem, and current replacement-market references exist for JANCD–1 and -2. However, “obsolete” should be confirmed against Yaskawa’s lifecycle documentation for the specific controller and board revision rather than inferred solely from third-party availability.
Can I replace an directly?
Only after verifying the complete part number and application. Check the existing board’s JANCD designation, suffix, revision, connectors, XRC controller model, and installed sensor/arc or seam-tracking configuration. A matching base name alone is not sufficient.
What should I provide when sourcing an replacement?
For a high-confidence match, provide:
- Complete PCB label
- JANCD number
- Board revision
- Controller model
- Front and rear PCB photographs
- Connector photographs
- Existing application: seam tracking, arc sensing, or another function
This is particularly important because -1 and -2 have different documented applications.



