
 WhatsApp: +86 16626708626
 Email:
  Phone: +86 16626708626
Description
3. Key Technical Specifications
- Application: ZYGO laser interferometer systems (ZMI series integration)
- Function: Provides regulated power to laser head assembly
- Input Voltage: Typically 100–240 V AC (system dependent)
- Output Type: Multi-rail regulated DC (exact values model-specific)
- Interface: Proprietary connector to laser head
- Mounting: Rack or enclosure-mounted (tool-dependent)
- Cooling: Passive or forced-air (depends on host system)
- Operating Temperature: 0 to +40°C (typical metrology environment)
- Protection Features: Overvoltage / overcurrent protection
- System Role: Critical for interferometer signal stability
- Weight: ~2–4 kg (estimate based on PSU class)
Field Note: This unit is not a generic PSU. It is tightly coupled to the ZYGO laser head and interferometer electronics. Compatibility must be verified against system configuration.
4. Product Introduction
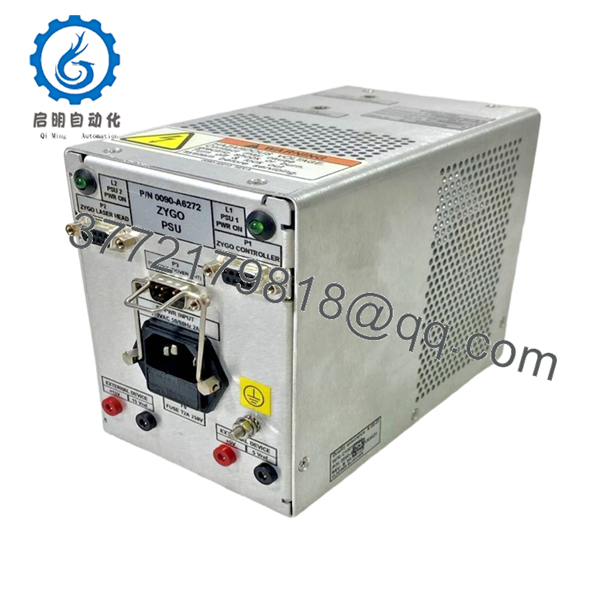
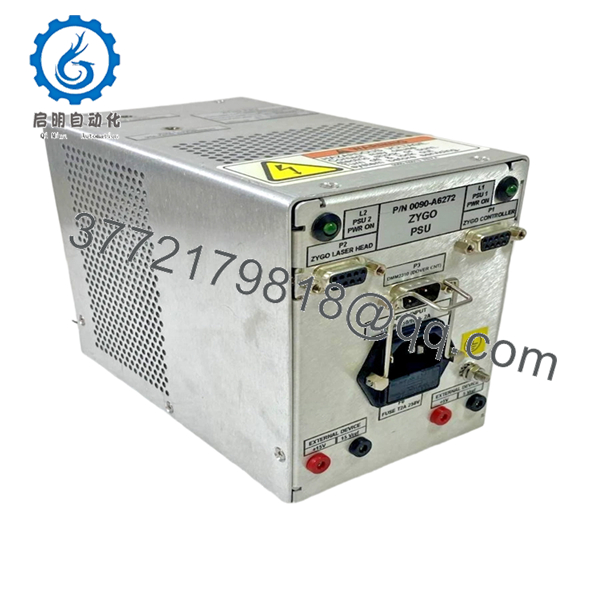
The ZYGO 0090-A6272 REV. B is a dedicated power supply unit used to drive laser heads in ZYGO interferometer systems. These systems are commonly deployed in semiconductor metrology, precision positioning, and nanometer-scale measurement platforms.
In practice, this PSU directly impacts interferometer stability. Any ripple, noise, or voltage drift will show up as measurement error. That’s why these units are application-specific rather than off-the-shelf power supplies. Replacement must match both electrical characteristics and connector interface exactly.
5. Installation & Configuration Guide
Stage 1: Pre-Installation Preparation (15 minutes)
- ⚠️ Safety First: Shut down interferometer system, isolate AC input, discharge capacitors (wait 10 minutes).
- Tools Required: ESD strap, multimeter, insulated screwdriver, labeling tags, smartphone.
- Data Backup:
- Record system configuration and PSU wiring
- Photograph connector orientation and cable routing
- Note system fault logs before shutdown
Stage 2: Removing the Old PSU (10–15 minutes)
- Disconnect AC input power.
- Label all output connectors (laser head, control board).
- Remove mounting screws or rack brackets.
- Carefully disconnect proprietary connectors (do not twist).
- Inspect connectors for burn marks or oxidation.
- ⚠️ Note: Keep the old PSU for connector pinout reference.
Stage 3: Installing the New PSU (15–20 minutes)
- Verify exact model: 0090-A6272 REV.B (revision mismatch can cause instability).
- Mount PSU securely in rack or enclosure.
- Reconnect all cables exactly as documented.
- Ensure proper grounding and shielding continuity.
- Double-check connector seating — these are not forgiving.
- Self-Checklist:
- Model matches revision
- Connectors aligned correctly
- Grounding secure
- No loose terminals
Stage 4: Power-On & Testing (20 minutes)
- Pre-Power Check: Verify no short circuits on output rails.
Power-On Steps:
- Apply AC power without enabling laser.
- Measure output voltages with multimeter.
- Enable system and monitor laser initialization.
- Check interferometer signal stability.
- Run calibration routine.
- ⚠️ Troubleshooting Note:
- No laser output → check PSU output rails
- Unstable measurement → suspect voltage ripple or grounding
- System fault → verify connector pinout

- 0090-A6272 Rev.B
- 0090-A6272 Rev.B
6. Frequently Asked Questions (FAQ)
Q1: Can I replace this with a generic industrial power supply?
No. This is a system-specific PSU. The output rails, noise characteristics, and connector pinout are tailored to ZYGO laser heads. Substituting a generic PSU will likely cause measurement instability or system faults.
Q2: Is this model still in production?
No. Most units available are surplus or refurbished. Listings typically show “tested working” condition rather than factory new.
Q3: What happens if the PSU output is unstable?
You’ll see it immediately in measurement drift. Interferometers operate at nanometer resolution—power noise translates directly into signal noise.
Q4: Can I swap REV.A with REV.B?
Not recommended without verification. Even minor revision changes can alter output characteristics or connector pinouts. Always match revision exactly unless confirmed by OEM documentation.
Q5: Why is this unit relatively expensive for a power supply?
Because it’s not just a PSU—it’s part of a precision metrology chain. Voltage stability and noise characteristics are tightly controlled.
Q6: What’s the most common failure mode?
Capacitor aging and output ripple increase. I’ve seen systems pass basic power checks but fail calibration due to noise.
Q7: Do you provide test verification?
A proper supplier should provide:
- Output voltage measurements
- Load test results
- Functional verification with a compatible laser head
Ask for test reports or videos before purchase.
Quality Control & Testing SOP (Transparency)
1. Inbound Inspection & Traceability
- Verified part number: 0090-A6272 REV.B
- Serial number traceability recorded
- Visual inspection: no burnt components, no PCB discoloration
- Connector pins checked under magnification
2. Live Functional Testing
- Tested with compatible ZYGO laser head simulator
- Power-on sequence verified
- Output voltage rails measured under load
- 24-hour continuous run test
- Thermal monitoring using Fluke IR thermometer
- Test report generated
3. Electrical Parameter Testing
- Insulation resistance >10 MΩ @ 500 V
- Output ripple measurement under load
- Ground continuity verified
4. Firmware & Configuration Verification
- N/A (hardware PSU), but revision and labeling documented
5. Final QC & Packaging
- Anti-static protection applied
- Foam-secured packaging
- QC Passed label with date and inspector ID
Test reports and videos available upon request.
Technical Pitfalls & Survival Guide
❗ Wrong Revision Installed
I’ve seen engineers install REV.A in place of REV.B—system powered up, but measurement drifted uncontrollably.
Match the revision. Don’t assume compatibility.
❗ Connector Misalignment
These proprietary connectors are fragile.
Force it once, and you bend pins—now you’ve got intermittent faults.
❗ Grounding Issues
Poor grounding introduces noise directly into the interferometer signal.
This isn’t a PLC—you’ll see micrometer-level drift instantly.
❗ Ignoring Output Ripple
Voltage might look correct on a multimeter but still be noisy.
If you have access, use an oscilloscope. It matters here.
❗ ESD Damage
Sensitive analog circuitry inside.
I’ve watched a PSU pass all checks, then fail after handling without grounding.


