WhatsApp: +86 16626708626
 Email:
 Phone: +86 16626708626
Description
Key Technical Specifications
- Model Number: PBSE5117 (Rev. 1)
- ABB Part Number: 3HAC14178-1
- DSQC Number: DSQC609
- Input Voltage: 220–240 VAC (50/60 Hz)
- Output Voltage: 24 VDC
- Output Current: 4.16 A max
- Output Power: 120 W
- Protection Rating: IP20 (cabinet-mount)
- Mounting: DIN-rail / panel mount inside IRC5 controller cabinet
- Primary Application: ABB IRC5 robot controller (M2004 and related cabinet variants)
- Operating Temperature: 0 to +45 °C (inside-cabinet environment)
- Weight: Approx. 0.9 kg
- Recommended Fuse: Verify per IRC5 product manual for your cabinet revision
Verify precise compatibility against your IRC5 cabinet’s product manual and the OEM datasheet before ordering — DSQC609 units shipped under different revisions are not always pin-for-pin interchangeable.
Product Introduction
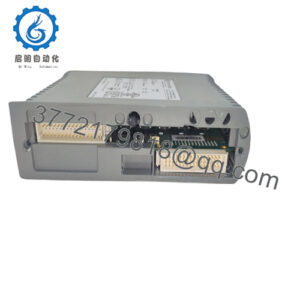
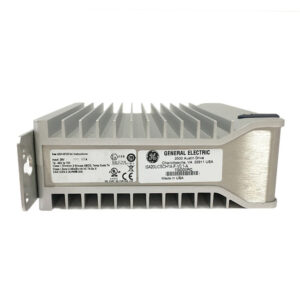
The ABB PowerBox PBSE5117 (DSQC609, 3HAC14178-1) is an AC/DC power supply module that converts 220–240 VAC mains input to a regulated 24 VDC / 4.16 A output, rated at 120 W. It powers the 24 V control electronics inside ABB IRC5 robot controller cabinets — the shelf computer, I/O boards, and customer I/O chains.
ABB has discontinued this unit, and plants running IRC5 cabinets still need spares. The PBSE5117 is a direct plug-in replacement: same footprint, same terminal layout, no wiring rework. That’s why integrators buy it instead of redesigning the cabinet power section around a generic third-party supply — a generic PSU means rewiring, re-labeling, and explaining yourself to the safety auditor.
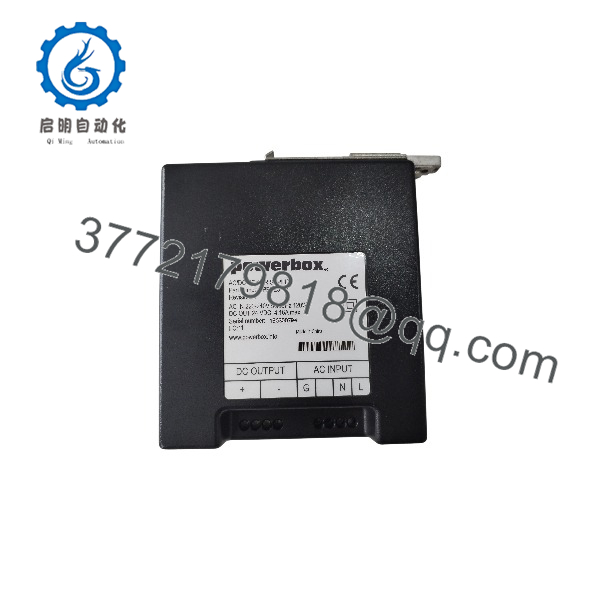
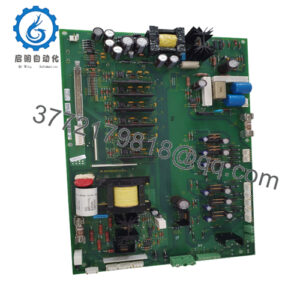
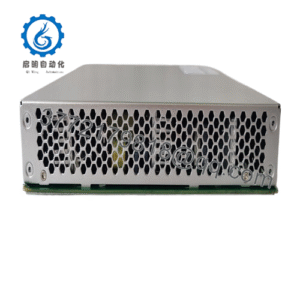
PBSE5117
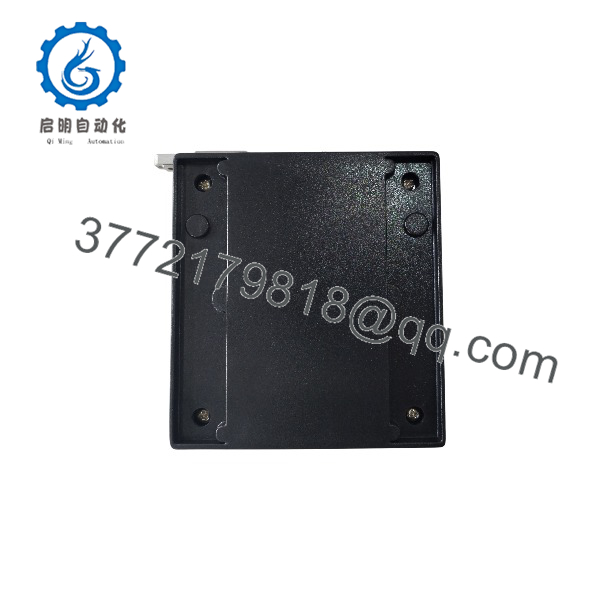
PBSE5117
Installation & Configuration Guide
Stage 1: Pre-Installation Preparation (≈10 minutes)
⚠️ Safety First: Notify operations of the downtime window. Drive the robot to a safe parked position and verify the mechanical brakes hold before you cut power. Lock out/tag out the main cabinet disconnect. Wait at least 5 minutes — the main rectifier and DC bus capacitors in an IRC5 cabinet hold a lethal charge after power-off. Verify with a meter, don’t assume.
- Tools Required: ESD wrist strap, multimeter (a Fluke 115 or equivalent), flathead and PH2 screwdrivers, wire labels, a smartphone for photos.
- Data Backup: Photograph the existing PBSE5117 terminal wiring — both the mains input side and the 24 V output side. Record which output terminals feed which cabinet sections. Export the robot’s current backup (RobotStudio or a FlexPendant backup) while the system is down anyway.
Stage 2: Removing the Old Module (≈10 minutes)
- Open the controller cabinet and locate the PBSE5117 — it sits in the power section, follow the 24 V distribution wiring.
- Label and disconnect all wiring. Note the input L/N terminal assignments and the output polarity. Do not force terminals; the screw-terminal blocks crack if you overtighten.
- Release the DIN-rail clip and pull the unit straight out. Rocking it side to side stresses the rail and adjacent modules.
- Inspect the DIN rail and terminals for discoloration or loose strands — a heat-marked terminal means a loose connection killed the old supply, and it will kill the new one too if you don’t fix it first.
⚠️ Keep the old module on the bench until the replacement is running perfectly. You’ll want it for terminal-layout comparison if anything looks off.
Stage 3: Installing the New Module (≈10 minutes)
- Ground yourself with the ESD strap before opening the ESD bag. This is a 24 V board-level unit, not a contactor — static kills it.
- Verify the nameplate: PBSE5117 Rev. 1, 3HAC14178-1 matches the unit you removed.
- Configuration check: Unlike a CPU, this supply has no DIP switches, but verify the input voltage rating on the label matches your mains (220–240 VAC). The Rev. level matters — a different DSQC609 revision may have a different terminal arrangement.
- Snap the unit onto the DIN rail until the clip locks audibly.
- Reattach wiring exactly per your photos. Tighten terminal screws firmly — about 0.5–0.6 N·m with a screwdriver, not a ratchet.
Self-Checklist: [ ] Terminal layout matches photo, [ ] Input wiring on correct terminals, [ ] DIN clip locked, [ ] No loose wire strands outside terminals.
Stage 4: Power-On & Testing (≈10 minutes)
- Pre-power check: Meter across the 24 V output terminals — no shorts. Meter input terminals to ground — no shorts.
- Keep field loads disconnected initially if the original failure mode is unknown.
- Restore mains at the cabinet disconnect. Watch the cabinet power-up sequence; on the PBSE5117 there is no status LED array — verify output with your multimeter: 24 VDC ±5% at the output terminals under load.
- Reconnect output distribution, power the cabinet fully, and let the IRC5 shelf computer boot through its normal sequence.
- Dry-run test: jog the robot through a short program, and check the 24 V rail under load — a supply that reads 24 V unloaded but sags under load has failed output capacitors.
⚠️ Troubleshooting Note: If the cabinet boots then browns out when the robot moves, the replacement supply can’t hold load — request an exchange. If output reads near zero immediately, check the input fuse and the mains terminal assignment before blaming the module.
Total swap time for an engineer familiar with IRC5 cabinets: 30–40 minutes including the safety lockout.
Frequently Asked Questions (FAQ)
Q1: Can I hot-swap this module with the cabinet powered up?
No. The PBSE5117 is not hot-swappable, and honestly, you shouldn’t want it to be — you’d be pulling 220–240 VAC input terminals live, and the cabinet electronics will brown out hard mid-cycle. Kill the disconnect, verify capacitor discharge, then swap it. Five minutes of downtime beats an arc flash and a dead shelf computer.
Q2: Is the PBSE5117 obsolete, and is this a genuinely new unit?
Yes, ABB has discontinued the PBSE5117 (DSQC609) as newer IRC5 cabinet generations moved to different supply designs. Our stock is New Original / New Surplus — units manufactured by ABB, never installed, typically from cancelled projects or distributor liquidation. Every unit ships with our test report. We also stock tested refurbished units at a lower price, clearly labeled as such. We never mix the two conditions or use vague language about it.
Q3: What’s the direct replacement if this is out of stock?
The genuine cross-reference is DSQC609 / 3HAC14178-1 — same unit under different ABB numbering schemes. If genuine stock is exhausted worldwide, the practical option is a panel-mount industrial 24 VDC supply (120 W minimum) wired into the cabinet’s 24 V distribution. That works, but budget real rewiring time and update your cabinet documentation. Verify against your specific IRC5 cabinet revision before going that route.
Q4: Will I lose my robot program or configuration when I swap this power supply?
No. The PBSE5117 only provides 24 V operating power — your robot program, system parameters, and calibration data live on the shelf computer’s memory, which is backed up regardless. That said, take a FlexPendant backup before any cabinet work as standard practice. I’ve never regretted a backup I took; I’ve regretted the ones I skipped.
Q5: Can this unit handle a US 120 VAC mains input?
Verify before ordering. The Rev. 1 PBSE5117 nameplate specifies 220–240 VAC input. IRC5 cabinets deployed in North America with 120 V mains use different cabinet power architectures or step-up arrangements. Order against your cabinet’s actual product manual, not against the model number alone — this is the single most common ordering mistake we see on this part.
Q6: Why is your price lower than the OEM list price?
Because ABB no longer manufactures this unit, and genuine remaining stock comes from cancelled integrator projects and distributor clearances — we buy that inventory at a discount and pass it on. It’s the same OEM part, tested and warranted, not a clone. Every unit is functionally load-tested before shipping, and test photos/videos are available on request.
Q7: What warranty do you offer?
New Original units carry a 1-year replacement warranty. Refurbished units carry a 6-month warranty. Both conditions are functionally tested under load for a minimum of 24 hours with thermal monitoring before they ship. If a unit fails within the warranty period, we replace it — no restocking fees, no arguing over whether it was “installed correctly.”