
 WhatsApp: +86 16626708626
 Email:
  Phone: +86 16626708626
Description
Key Technical Specifications
| Parameter | Value |
|---|---|
| Product Type | ControlLogix Processor Module |
| Manufacturer | Allen-Bradley / Rockwell Automation |
| Model Number | 1756-L61 |
| Product Series | ControlLogix 5560 |
| User Memory | 2 MB |
| I/O Memory | 478 KB |
| Optional Nonvolatile Storage | 1784-CF128 CompactFlash (128 MB) |
| Programming Software | RSLogix 5000 / Studio 5000 (firmware dependent) |
| Programming Port | One RS-232 Serial Port |
| Maximum Digital I/O | 128,000 points |
| Maximum Analog I/O | 4,000 points |
| Backplane Current | 1,200 mA @ 5.1 V DC; 14 mA @ 24 V DC |
| Power Dissipation | 3.5 W |
| Isolation Voltage | 30 V continuous (RS-232 to system) |
| Operating Temperature | 0 to 60 °C |
| Storage Temperature | −40 to 85 °C |
| Compatible Chassis | 1756-A4, A7, A10, A13, A17 |
The 1756-L61 is a ControlLogix 5560 controller with 2 MB of user memory. Rockwell Automation discontinued this model on June 1, 2017, and recommends migration to a functional replacement for long-term lifecycle planning.
Product Introduction
The Allen-Bradley 1756-L61 is a ControlLogix 5560 processor designed to execute deterministic control logic for discrete manufacturing, process automation, material handling, and utility systems. It supports Ladder Diagram, Function Block Diagram, Structured Text, and Sequential Function Chart programming within the Logix platform.
Although discontinued, the 1756-L61 remains widely installed in production facilities where validated control systems continue to operate reliably. Many plants maintain spare controllers to minimize downtime while preparing long-term migration plans to newer ControlLogix platforms.
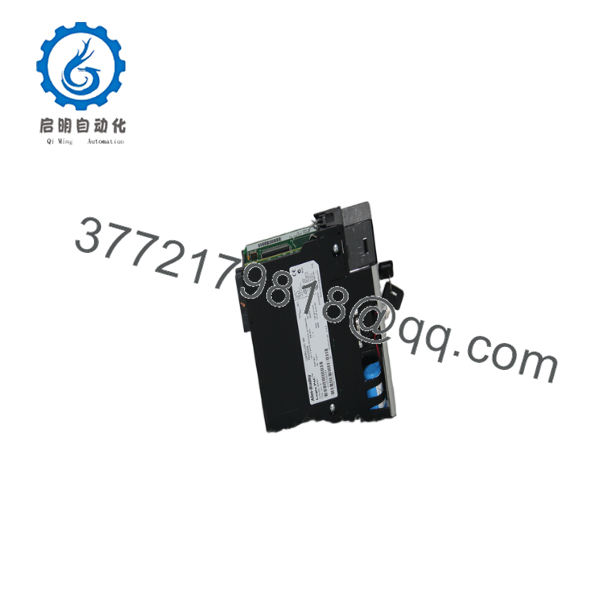
1756-L61
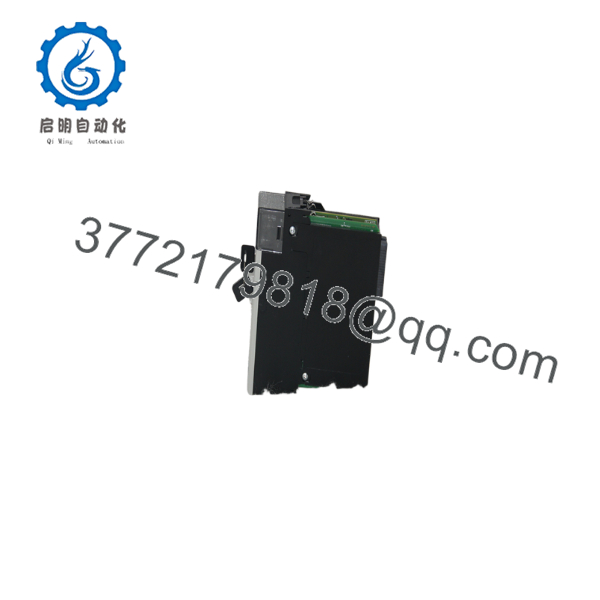
1756-L61
Installation & Configuration Guide
Stage 1 – Pre-Installation Preparation (Estimated Time: 15 Minutes)
⚠️ Safety First
- Notify operations and schedule controlled downtime.
- Bring the machine or process to a safe operating condition.
- Apply lockout/tagout procedures.
- Remove chassis power.
- Wait 5 minutes for internal power supplies to discharge.
Tools Required
- Grounded ESD wrist strap
- PH1 screwdriver
- Fluke 115 digital multimeter
- Laptop with RSLogix 5000 or Studio 5000
- 1756-CP3 or 1747-CP3 serial cable
- Smartphone for documentation
Data Backup
- Upload the complete controller project.
- Record the firmware revision.
- Backup communication parameters.
- Photograph chassis slot assignments.
- Verify CompactFlash card contents if installed.
- Check backup battery condition.
Stage 2 – Removing the Old Controller (Estimated Time: 10 Minutes)
- Verify chassis power is OFF.
- Disconnect the serial cable.
- Label communication cables.
- Remove any CompactFlash card if required.
- Release the locking tabs.
- Pull the controller straight out without twisting.
- Inspect the backplane connector for bent pins or contamination.
⚠️ Do not dispose of the original controller until the replacement has successfully completed commissioning.
Stage 3 – Installing the New Controller (Estimated Time: 20 Minutes)
- Wear a grounded ESD wrist strap.
- Verify the replacement catalog number is 1756-L61.
- Install the controller into the original chassis slot.
- Install the correct battery and CompactFlash card if required.
- Connect the programming cable.
- Verify firmware compatibility.
- Restore the application if necessary.
Self-Checklist
- Correct controller installed
- Firmware verified
- CompactFlash installed (if used)
- Battery inspected
- Controller fully seated
Stage 4 – Power-On & Testing (Estimated Time: 20 Minutes)
Pre-Power Checks
- Verify chassis power supply.
- Confirm battery installation.
- Verify CompactFlash card seating.
- Inspect serial communication cable.
Commissioning Steps
- Energize the chassis.
- Observe the OK, RUN, and FORCE LEDs.
- Connect using RSLogix 5000.
- Verify controller identity and firmware revision.
- Download or verify the application.
- Confirm I/O communications.
- Perform functional testing before returning the machine to production.
⚠️ Troubleshooting Notes
- Solid FAULT LED: Verify firmware compatibility before downloading the project.
- Unable to communicate: Check serial cable type and communication settings.
- Controller fault after startup: Review major fault codes before cycling power.
- Memory restoration issues: Verify CompactFlash compatibility and configuration. Firmware v20.019 is the latest firmware available for this controller.
Common Field Pitfalls
❗ Firmware Revision Mismatch
This is probably the most common issue with legacy Logix processors. Record the original firmware before removing the controller. Installing a controller with an incompatible firmware revision can prevent project downloads or produce electronic keying faults. Community experience confirms that firmware compatibility deserves careful attention during replacements.
❗ CompactFlash Configuration
If the controller uses nonvolatile CompactFlash storage, verify both the card and its contents before replacement. A missing or outdated image can delay startup after power restoration.
❗ Battery Maintenance
A weak lithium battery may not trigger immediate failures but can compromise retained memory during extended power outages. Replace aging batteries during scheduled maintenance rather than waiting for a low-battery alarm.
❗ Software Version Compatibility
The 1756-L61 supports firmware revisions that correspond to specific RSLogix 5000 or Studio 5000 versions. Do not assume the newest software can edit every legacy project without compatibility verification.
❗ Electrostatic Discharge
The processor contains high-density electronic components. Always use a grounded wrist strap and ESD-safe work surface during installation.
Keep these checks in mind and you’ll eliminate most legacy controller replacement problems before production resumes.
Frequently Asked Questions (FAQ)
Q1. Is the Allen-Bradley 1756-L61 obsolete?
Yes.
Rockwell Automation officially discontinued the 1756-L61 on June 1, 2017. Repair services and documentation remain available, but new production has ended. Plants supporting legacy ControlLogix systems often purchase New Surplus inventory or professionally tested refurbished units for maintenance stock.
Q2. What is the recommended replacement for the 1756-L61?
Rockwell classifies the replacement as a functional replacement, not a direct drop-in substitute. Migration typically involves newer ControlLogix 5570 or 5580 controllers, along with firmware validation, project conversion, and compatibility checks for communication and I/O modules.
Q3. Will replacing the controller erase my PLC program?
Not if proper backups exist.
The safest approach is to upload the project before removing the original controller. If the controller relies on battery-backed memory or a CompactFlash card, verify both are functioning correctly before maintenance.
Q4. Why is New Surplus inventory less expensive than OEM pricing?
Most available 1756-L61 controllers originate from canceled capital projects, unused maintenance inventory, or system upgrades. Lower pricing reflects inventory sourcing rather than hardware capability. Always request serial number verification, firmware documentation, inspection records, and warranty information.
Q5. How is each 1756-L61 tested before shipment?
Each controller should complete a documented inspection process:
- Inbound Inspection & Traceability
- Verify OEM labels and serial numbers.
- Inspect housing, PCB, connectors, and backplane interface.
- Check for corrosion, repairs, scratches, and UV discoloration.
- Functional Testing
- Install in a genuine ControlLogix chassis.
- Verify startup diagnostics.
- Test RS-232 communications.
- Download and execute a validation project.
- Perform continuous operation for more than 24 hours while monitoring controller stability.
- Electrical Testing
- Insulation resistance verification where applicable.
- Ground continuity inspection.
- Power consumption measurement.
- Firmware & Configuration Verification
- Record firmware revision.
- Verify CompactFlash operation.
- Test battery-backed memory retention.
- Final QC & Packaging
- QC inspector approval.
- Anti-static ESD packaging.
- Heavy-duty corrugated shipping carton.
- QC Passed label with inspection date.
Test reports, photographs, and operational videos should be available upon request.
Q6. Which programming software supports the 1756-L61?
The controller supports RSLogix 5000 and compatible Studio 5000 releases that match the controller firmware. Always verify the firmware revision before selecting software. For example, firmware v20 requires the corresponding major software version.
Q7. What should I verify before installing a replacement 1756-L61?
Before commissioning, verify:
- Exact catalog number (1756-L61)
- Firmware revision
- Controller project backup
- RSLogix 5000/Studio 5000 version
- CompactFlash card contents
- Battery condition
- Chassis slot assignment
- Power supply capacity
From practical field experience, most replacement delays result from firmware mismatches, missing project backups, or memory device issues—not from defective controllers. Careful documentation before removing the original CPU typically prevents hours of unnecessary recovery work.



