
 WhatsApp: +86 16626708626
 Email:
  Phone: +86 16626708626
Description
Key Technical Specifications
| Parameter | Value |
|---|---|
| Product Type | Integrated PLC Controller |
| Series | MicroLogix 1000 |
| Power Supply | 120/240 VAC, 47–63 Hz |
| Digital Inputs | 20 × 24 VDC sinking/sourcing |
| Digital Outputs | 12 relay outputs |
| Total I/O Points | 32 |
| Program Memory | 1 K words EEPROM |
| Communication Port | RS-232 (DF1/DH-485 capable) |
| Expansion Capability | None (fixed I/O design) |
| Mounting | DIN rail or panel mount |
| Operating Temperature | 0 °C to 55 °C |
| Protection | Built-in EEPROM program retention |
The 1761-L32BWA is a fixed-I/O MicroLogix 1000 controller featuring 20 DC inputs, 12 relay outputs, an integrated 120/240 VAC power supply, and an onboard RS-232 communication port. Rockwell Automation discontinued this model in May 2017, and it is now considered a legacy product.
Product Introduction
The Allen-Bradley 1761-L32BWA is a compact PLC designed for standalone machine control where integrated digital I/O is sufficient without expansion modules. Typical applications include conveyor systems, packaging equipment, small material handling systems, pumps, compressors, and OEM machinery.
Unlike larger ControlLogix or CompactLogix platforms, the MicroLogix 1000 uses a fixed-I/O architecture. This reduces installation complexity and cabinet space but requires careful planning because additional local I/O cannot be added later. For small automation projects, it remains a reliable replacement option for existing MicroLogix 1000 installations.
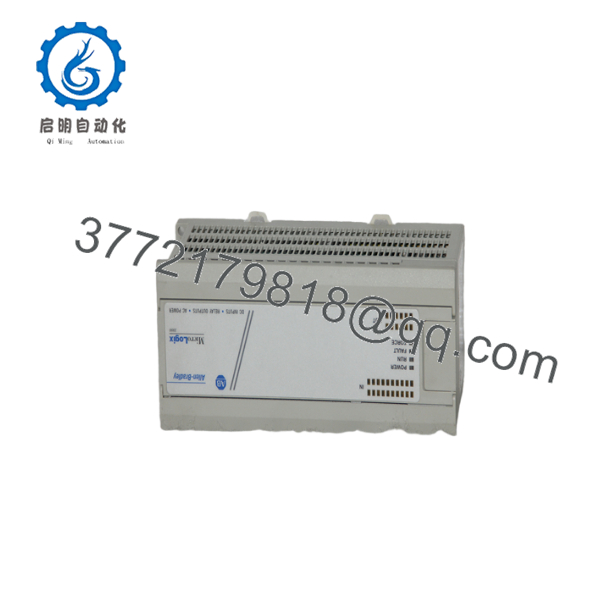
1761-L32BWA
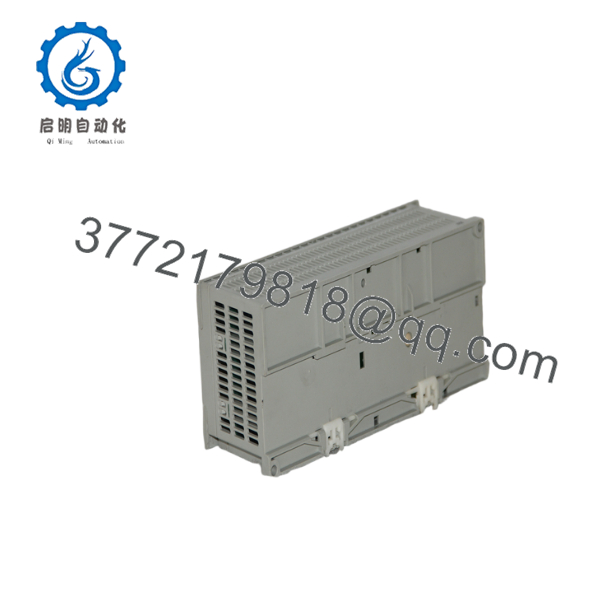
1761-L32BWA
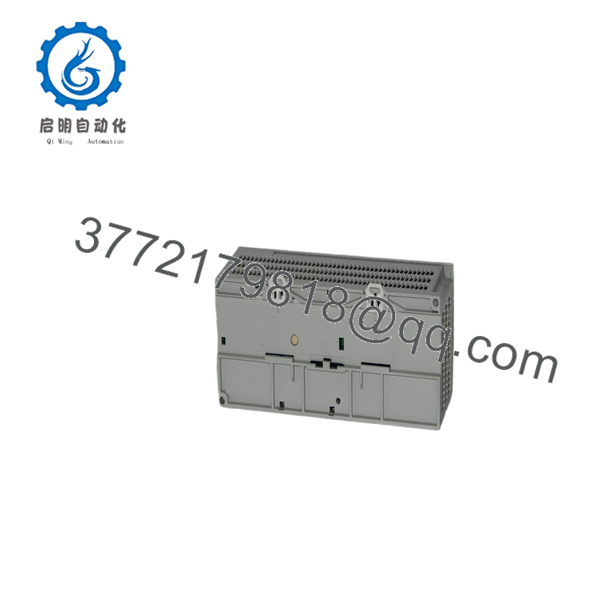
1761-L32BWA
Installation & Configuration Guide
Stage 1 – Pre-Installation Preparation (10 Minutes)
⚠️ Safety First
- Notify production personnel.
- Apply Lock-Out/Tag-Out procedures.
- Disconnect the 120/240 VAC supply.
- Verify zero voltage before servicing.
Required Tools
- ESD wrist strap
- Digital multimeter
- Phillips screwdriver
- Wire labels
- Laptop with RSLogix 500
Before Removal
- Upload the PLC program.
- Record communication settings.
- Photograph all field wiring.
- Label every input and output conductor.
Stage 2 – Remove Existing Controller (10 Minutes)
- Verify AC power is OFF.
- Disconnect field wiring.
- Remove communication cable.
- Release the DIN rail clip or panel fasteners.
- Inspect terminals for heat damage or loose conductors.
⚠️ Keep the original controller until the replacement has completed a successful startup.
Stage 3 – Install the New Controller (10 Minutes)
- Verify the replacement catalog number is 1761-L32BWA.
- Mount the controller securely.
- Connect the 120/240 VAC power supply.
- Reconnect all field wiring according to the original terminal layout.
- Connect the programming cable.
- Download or verify the application program.
Installation Checklist
- ✔ Correct catalog number
- ✔ AC power verified
- ✔ I/O wiring checked
- ✔ RS-232 communication confirmed
Stage 4 – Power-Up & Functional Testing (15 Minutes)
- Apply AC power.
- Verify the POWER and RUN indicators.
- Establish communication using RSLogix 500.
- Confirm the controller enters RUN mode.
- Test all digital inputs.
- Verify each relay output operates correctly under load.
⚠️ Troubleshooting
- No power: verify L1 and L2/N wiring and incoming AC voltage.
- No communication: confirm RS-232 cable type and DF1 communication settings.
- Relay outputs not switching: verify external load power and relay wiring.
Frequently Asked Questions
Q1. Is the 1761-L32BWA still manufactured?
No. Rockwell Automation discontinued the 1761-L32BWA in May 2017. Most available units are new surplus or professionally refurbished.
Q2. Can I add expansion I/O modules?
No. The MicroLogix 1000 is a fixed-I/O controller and does not support local expansion modules. If future I/O expansion is required, consider migrating to a newer MicroLogix or CompactLogix platform.
Q3. What programming software is required?
The controller is programmed with RSLogix 500 and communicates through the onboard RS-232 interface using DF1 or DH-485 protocols.
Q4. What is the difference between the 1761-L32BWA and 1761-L32BWB?
The primary difference is the power supply:
- 120/240 VAC input
- 1761-L32BWB: 24 VDC input
Selecting the wrong version can prevent startup or damage the controller if the incorrect supply voltage is applied.
Q5. Will I lose my PLC program during replacement?
Not if the program has been uploaded and backed up beforehand. The controller stores its application in onboard EEPROM, but replacing the controller requires restoring the correct project and communication settings.
Q6. What should I verify before ordering?
Confirm the following:
- Catalog number ()
- 120/240 VAC power availability
- 20 DC input and 12 relay output requirements
- RSLogix 500 project compatibility
- Terminal wiring configuration
- Required communication cable and protocol
One of the most common replacement mistakes is confusing the 1761- (AC-powered) with the 1761-L32BWB (DC-powered). Always verify the suffix before installation, as the power input terminals and supply requirements are different.



