
 WhatsApp: +86 16626708626
 Email:
  Phone: +86 16626708626
Description
3. Key Technical Specifications
- Manufacturer: Alstom
- Model: PS 451
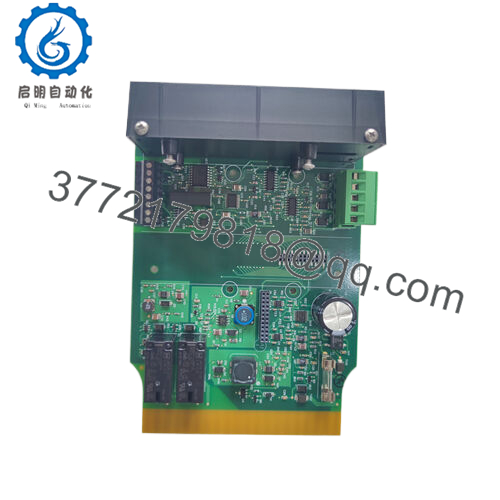
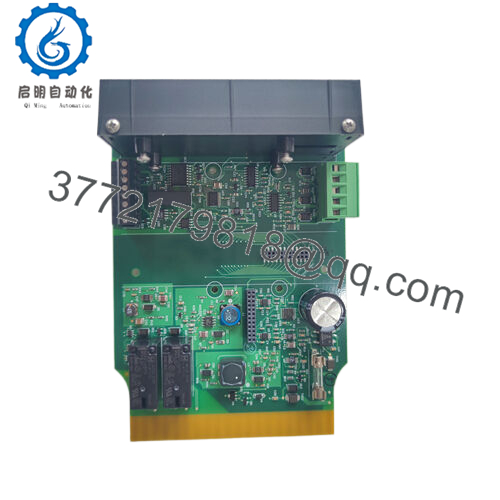
- Product Type: Industrial Power Supply Module
- Primary Function: Supplies regulated power to Alstom control system electronics
- Application: Legacy automation and industrial control platforms
- Mounting Type: Rack/module installation (system dependent)
- Input Voltage: Configuration dependent; verify OEM documentation before installation
- Output Voltage: Configuration dependent; verify nameplate data before replacement
- Protection Features: Overvoltage/overcurrent protection (design dependent)
- Cooling Method: Natural cabinet cooling / forced airflow depending on rack design
- Operating Environment: Industrial electrical cabinet environment
- Service Status: Legacy spare part, availability depends on remaining inventory
Alstom industrial control and power conversion equipment includes modular architectures where converter and auxiliary power components are integrated into larger control systems.
4. Product Introduction
The Alstom PS 451 is an industrial power supply module used in legacy Alstom control and automation equipment. It provides regulated electrical power for control electronics and associated system modules where the original hardware platform remains in operation.
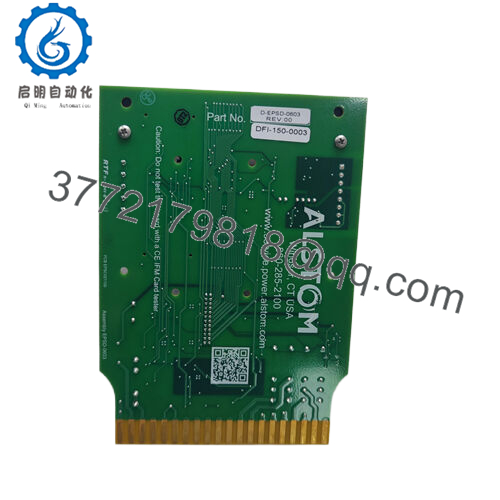
This component is typically sourced for maintenance replacement and spare inventory. Before installation, verify the complete part marking, rack position, input/output voltage ratings, and compatibility with the existing Alstom control system.

- PS 451
5. Installation & Configuration Guide
Stage 1: Pre-Installation Preparation (Approx. 10 minutes)
⚠️ Safety First
- Inform operations about the planned shutdown.
- Place the equipment into a safe maintenance state.
- Apply lockout/tagout procedures.
- Remove incoming power.
- Wait for stored energy discharge before touching the module.
Tools Required
- ESD wrist strap
- PH1 screwdriver
- Digital multimeter
- Wire labels
- Smartphone/camera for documentation
Data Backup
- Record the existing PS 451 installation position.
- Photograph:
- Module label
- Wiring
- Rack position
- Adjacent modules
- Document:
- Input power rating
- Output connections
- Alarm indications
Stage 2: Removing the Old Module (Approx. 10 minutes)
- Remove cabinet access covers.
- Confirm zero voltage condition with a multimeter.
- Label all power connections.
- Disconnect terminals carefully.
- Release module retaining hardware.
- Pull the module straight out.
⚠️ Inspection Note
- Inspect the backplane connector.
- Check for oxidation, contamination, or damaged contacts.
- Keep the original module until the replacement is verified.
Stage 3: Installing the New Module (Approx. 15 minutes)
- Wear ESD protection.
- Confirm:
- Model: PS 451
- Hardware revision
- Connector condition
Configuration Clone (Critical)
- Match the original mounting position.
- Verify:
- Input voltage selection if applicable
- Output connections
- Jumper/switch settings if present
- Insert the module into the rack.
- Secure locking hardware.
- Reconnect wiring using the labels created during removal.
Self Checklist
[ ] Correct PS 451 installed
[ ] Voltage ratings verified
[ ] Wiring matched
[ ] Module seated correctly
[ ] Retaining hardware locked
Stage 4: Power-On & Testing (Approx. 20 minutes)
Pre-Power Check
- Verify supply wiring polarity.
- Check for short circuits.
- Confirm grounding.
Power-On Steps
- Energize the control cabinet.
- Observe module indicators.
- Measure output voltage.
- Verify downstream modules start normally.
- Check system diagnostics.
- Confirm stable operation under load.
⚠️ Troubleshooting Note
- No output voltage: Check input supply, fuse/protection devices, and connector seating.
- System not starting: Verify correct PS 451 version and output compatibility.
- Repeated trips: Check downstream load current and wiring faults.
6. Frequently Asked Questions (FAQ)
Q1: Can I hot-swap the Alstom PS 451 power supply?
No. Unless the specific Alstom system documentation confirms hot replacement, remove power before replacement. Power supply modules connect directly to system power rails, and incorrect removal can damage equipment.
Q2: Is the Alstom PS 451 obsolete?
The PS 451 is treated as a legacy Alstom spare part. Availability depends on remaining industrial inventory and maintenance stock. Alstom continues supporting certain legacy equipment through service and component programs, depending on platform and lifecycle status.
Q3: Is this PS 451 new original or refurbished?
Confirm the supply condition before purchase.
Available categories:
- New Original / New Surplus: Unused OEM inventory.
- Factory Sealed: Original packaging condition.
- Refurbished (tested): Previously installed unit inspected and function tested.
Request label photos and test documentation for critical applications.
Q4: What should I check before ordering a replacement PS 451?
Verify:
- Exact model marking
- Input voltage
- Output voltage
- Rack type
- Connector layout
- Existing system model
A similar-looking power module may not be electrically compatible.
Q5: Will replacing the PS 451 affect my control logic?
Normally, the power supply does not contain the application logic. However, a power interruption can affect controllers, memory retention, and communication modules. Back up system parameters before planned replacement.
Q6: Why is surplus PS 451 pricing lower than OEM pricing?
Legacy industrial components are often available through surplus channels after project changes, plant upgrades, or inventory liquidation. Price depends on condition, testing records, packaging, and availability.
Q7: What quality checks should be completed before installation?
Recommended inspection process:
- Part number verification
- Serial/label inspection
- Visual inspection for corrosion or repair marks
- Electrical output testing
- Load testing
- QC documentation
For critical control systems, request test evidence before returning the module to service.



