
 WhatsApp: +86 16626708626
 Email:
  Phone: +86 16626708626
Description
Key Technical Specifications
- Model: GES501W48V0180
- Manufacturer: APC
- Product Type: DC Rectifier Power Supply
- Input Voltage: 115/230 VAC
- Output Voltage: 48 VDC
- Output Current: 10.5 A
- Rated Output Power: 180 W
- Full-Load Efficiency: 87.0%
- Maximum Operating Temperature: 40 °C
- Application: Rack-mounted power systems and telecommunications/network equipment
- Conversion Type: AC-to-DC rectification
- Part Number: GES501W48V0180
- Related Identification: 920-0082A / 920-0082B appear in aftermarket listings; verify the exact label revision before substitution.
The published specifications consistently identify GES501W48V0180 as a 48 VDC, 10.5 A rectifier supplied from 115/230 VAC. Its 180 W rating is also reported by multiple listings.
Product Introduction
The APC GES501W48V0180 is an AC-to-DC rectifier power supply designed to provide a 48 VDC output for rack-mounted power equipment. It accepts 115/230 VAC input and delivers up to 10.5 A at 48 VDC, corresponding to approximately 180 W of rated output power.
This unit is associated with APC rack-mounted power equipment and is also listed for networking and telecommunications applications. Before replacement, verify the input configuration, output rating, connector arrangement, and chassis compatibility against the installed unit.
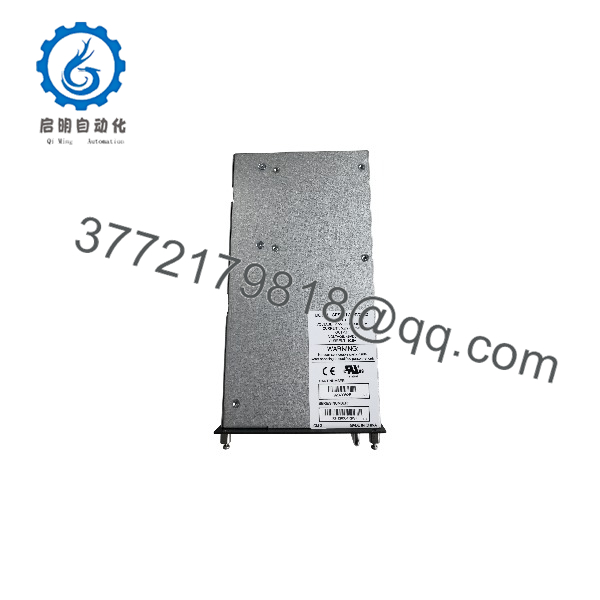
GES501W48V0180
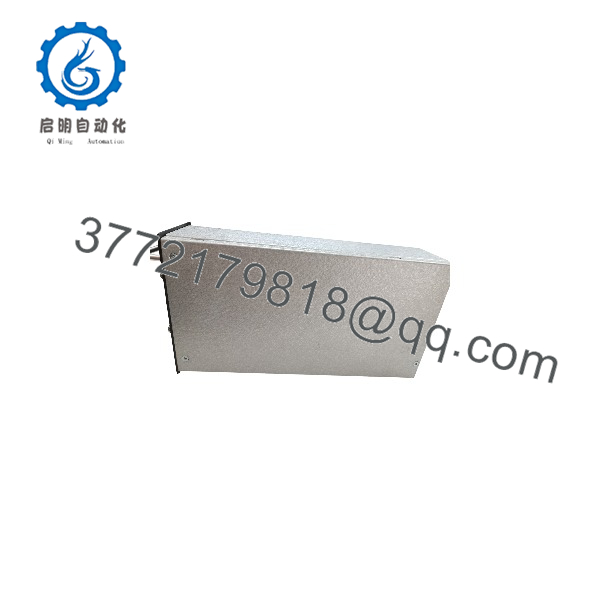
GES501W48V0180
Installation & Configuration Guide
Stage 1: Pre-Installation Preparation — Approx. 10 Minutes
⚠️ Safety First:
This is a mains-powered power supply. Disconnect AC input power before removing the module and verify that hazardous voltage is absent.
Tools Required:
- ESD wrist strap
- Digital multimeter
- Insulated screwdriver
- Wire labels
- Smartphone for connector photographs
Data Backup:
Before removal:
- Record the installed model and revision.
- Photograph AC input and DC output connections.
- Record rack slot position.
- Document the connected load.
- Check whether other rectifier modules are operating in parallel.
Stage 2: Removing the Old Module — Approx. 10 Minutes
- Shut down the affected equipment according to the rack manufacturer’s procedure.
- Disconnect and isolate the AC input.
- Verify the input terminals are de-energized.
- Label DC output and control connections.
- Release the mounting hardware or rack retention mechanism.
- Remove the rectifier without forcing the connector.
⚠️ Important: Keep the original GES501W48V0180 available until the replacement has passed output-voltage and load testing.
Stage 3: Installing the New Module — Approx. 15 Minutes
- Verify the replacement is APC GES501W48V0180.
- Compare the connector arrangement with the original.
- Install the module in the correct rack position.
- Secure the mounting hardware.
- Reconnect AC and DC connections according to the original wiring.
Configuration Check:
- Confirm 115/230 VAC input arrangement.
- Confirm 48 VDC output requirement.
- Verify polarity of the DC output.
- Confirm the connected equipment does not exceed the 10.5 A rating.
- Check that the rack’s rectifier-sharing arrangement is compatible.
Self-Checklist:
- Exact model verified
- AC input verified
- 48 VDC polarity checked
- Connector fully seated
- Mounting hardware secured
Stage 4: Power-On & Testing — Approx. 15 Minutes
Pre-Power Check:
- Check AC wiring for shorts.
- Verify DC output polarity.
- Confirm the connected load is within the power rating.
- Check rack ventilation.
Power-On Steps:
- Energize AC input.
- Measure the DC output with a properly rated multimeter.
- Confirm approximately 48 VDC under normal operating conditions.
- Connect or enable the equipment load.
- Monitor output stability.
- Check rectifier and rack alarms.
- Verify normal operation under load.
⚠️ Troubleshooting Note:
If the output is absent, first check AC input and rack enable/interlock conditions. If the output collapses when the load is connected, investigate the downstream load and DC distribution before assuming the rectifier itself is defective.
Frequently Asked Questions (FAQ)
Q1: What is the output of APC ?
The published rating is 48 VDC at 10.5 A, with a stated output power capacity of 180 W.
Q2: What input voltage does require?
Available product documentation lists 115/230 VAC input. Confirm the actual input configuration on the unit’s nameplate before energizing a replacement.
Q3: Is a UPS battery module?
No. It is a DC rectifier power supply. Its primary function is converting AC input into 48 VDC power for the connected equipment.
Q4: Can I replace it with another 48 VDC power supply?
Not based on voltage alone. Verify output current, power rating, physical dimensions, connector/pinout, AC input arrangement, rack compatibility, and any monitoring or protection interfaces.
Q5: Is still available?
Current aftermarket availability varies. One supplier currently lists the part as out of stock, while other industrial suppliers list new or used inventory.
Q6: What condition should I specify when purchasing a replacement?
For critical equipment, specify the exact condition: New Original / New Surplus, Factory Sealed, or Refurbished/Tested. Do not treat “in stock” as proof that a unit is new.
Q7: What should I verify before ordering ?
Verify the exact part number, input voltage, 48 VDC output, 10.5 A current rating, connector configuration, rack compatibility, and nameplate revision. Some aftermarket listings associate 920-0082A/B with this model, so the physical label should be checked before accepting a substitute.



