WhatsApp: +86 16626708626
 Email:
 Phone: +86 16626708626
Description
Key Technical Specifications
| Parameter | Value |
|---|---|
| Manufacturer | Baumer |
| Article Number | 10144605 |
| Measuring Range | 50 … 300 mm |
| Light Source | Pulsed red laser diode |
| Beam Type | Laser line, approx. 2.5 mm wide |
| Output Signal | 4–20 mA / 0–10 VDC, selectable |
| Teach-In | Button or external; min. 5 mm range |
| Supply Voltage | 12–28 VDC |
| Current Consumption | ≤ 100 mA |
| Output Type | PNP, analog |
| Connection | M12 connector, 8-pin, rotatable |
| Ambient Temperature | 0 to +50 °C |
| Protection Rating | IP 67 |
| Dimensions (H × W × D) | 65 × 20.6 × 50 mm |
| Weight | 0.5 lb (approx. 230 g) |
| LED Indicators | Green (power), red (soiled lens / fault) |
| Laser Class | Laser class 2 (pulsed red light) |
Product Introduction
The Baumer OADM 20I6572/S14F is a laser triangulation distance sensor that measures 50 to 300 mm with a 2.5 mm line beam and outputs an analog 4–20 mA or 0–10 V signal. It’s built for close-range precision tasks on production lines: edge detection on opaque plastics, thickness checks on rubber profiles, part presence and position verification where a point beam can’t handle textured or uneven surfaces.
Two things set it apart in this range. First, the line beam — instead of a laser dot, it projects a 2.5 mm line, so surface texture, grooves, and minor tilt don’t wipe out your reading the way they do with point-beam sensors. Second, the 5 mm minimum teach-in window: you can program a custom measurement band around your actual target position, which concentrates the full 4–20 mA span exactly where you need resolution. The red soiled-lens LED tells you when the optics need cleaning before your readings drift. It’s a Baumer unit in current production — verify against datasheet 10144605 for your mounting geometry before ordering.
Troubleshooting Quick Reference
| Symptom | Possible Cause | Relevance to this Part | Quick Check Method | Recommendation |
|---|---|---|---|---|
| No output, green LED off | Supply voltage missing | ❌ Low | Measure 12–28 VDC at the M12 connector with a multimeter (pin 1 / pin 2 per datasheet pinout) | Fix wiring or PSU before replacing |
| Output stuck at 0 mA / 0 V, green LED on | Target outside 50–300 mm window | ❌ Low | Check actual distance with a ruler or gauge; confirm the target is within range | Re-mount sensor or re-teach the range |
| Erratic or jumping readings | Dirty lens or contaminated optics | ✅ High | Look for the red soiled-lens LED; inspect the optics window | Clean the lens with a lint-free cloth — do not use solvents |
| Output frozen at one value | Teach-in lost or never programmed | ✅ High | Re-teach: hold the teach button within 5 minutes after power-up, per the quick start guide | Teach both endpoints of your measurement range |
| Correct output, wrong scaling | 4–20 mA vs 0–10 V output mismatch with PLC input card | ❌ Low | Verify output mode against your analog input card type; check jumper/wiring config | Match output mode to input card — most wiring errors are here |
| Readings drift over time | Thermal expansion or ambient heat near sensor | ❌ Low | Measure ambient temperature at the sensor; spec is 0 to +50 °C | Shield or relocate sensor; add fan if inside an enclosure |
Straight talk: this sensor rarely dies on its own. In the field, 80% of “bad sensor” calls come down to a dirty lens, a target drifting out of the 50–300 mm window, or a current/voltage output wired into the wrong input mode. Run through the table first. If the unit still misbehaves, contact technical support with photos of the wiring, the LED states, and your measurement setup — we’ll help you isolate it before you order a replacement.
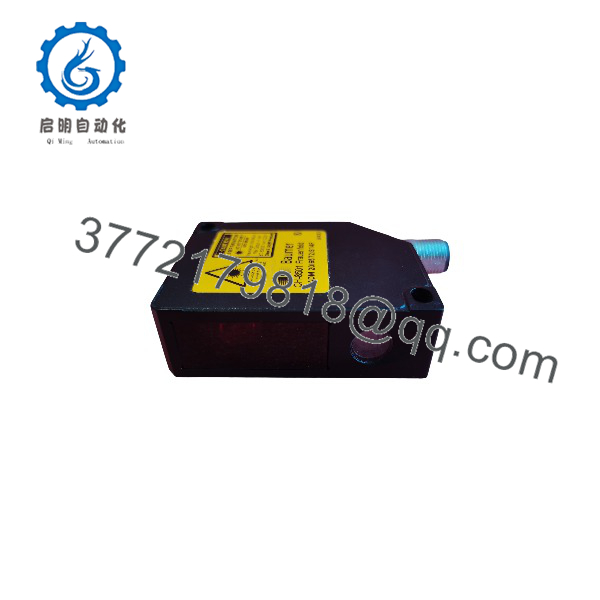
OADM 20I6572S14F
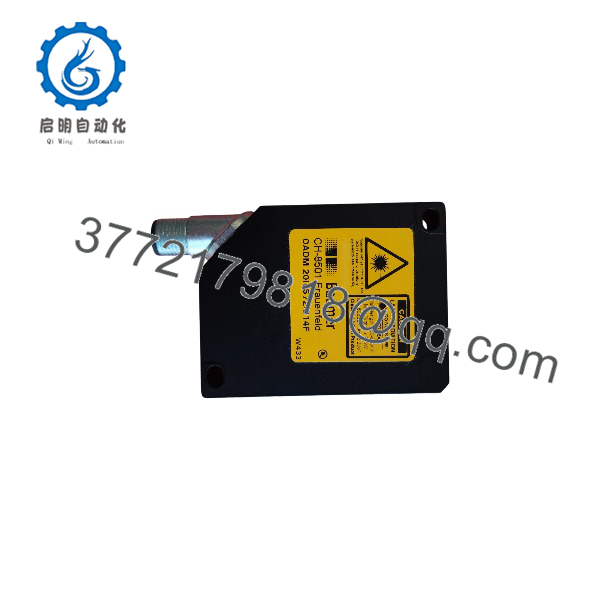
OADM 20I6572S14F
Frequently Asked Questions
Q1: Can I hot-swap this sensor?
Yes, actually — it’s an M12-connected analog sensor, not a backplane card. You can disconnect it under power. But be careful: when you pull it, your analog input goes floating or reads full-scale depending on the input card, which can trigger alarms. Inhibit the alarm or put the loop in manual before unplugging. And re-teach the range after the swap — the new unit ships with factory settings, not yours.
Q2: What’s the difference between this and the OADM 20I6472/S14F?
The beam. The 20I6572/S14F (this unit) projects a 2.5 mm line beam; the 20I6472/S14F uses a point beam over the same 50–300 mm range. If you’re measuring smooth, flat, consistently aligned surfaces, the point beam is fine. If your target is textured, curved, or doesn’t always sit perfectly perpendicular to the beam, the line beam handles it. We’ve seen integrators spec point-beam units on rubber profiles and then chase noisy signals for weeks. Don’t do that.
Q3: How do I set the measurement range?
Teach-in, either by button on the sensor or via the external teach input line. Within 5 minutes after power-up, you present a target at each endpoint of your desired range and press teach at each one — minimum teach window is 5 mm. The full 4–20 mA (or 0–10 V) span maps to exactly the band you taught. It’s straightforward, but it’s also the single most common thing people skip and then blame the sensor. Read the quick start guide (Baumer provides a 4-page DE/EN/FR version) before first power-up.
Q4: What condition is this unit in, and why is your price below list?
This listing is New Original / New Surplus — genuine Baumer product, unused, in original or equivalent packaging, sourced through surplus channels. It’s cheaper than factory-direct because surplus inventory is bought right and passed on. We test every unit before it ships: visual inspection for optics damage, power-up on our bench supply at 24 VDC, output verification across the full range on a calibrated target slide, teach-in function check, and a 24-hour continuous-run burn-in. Test reports and photos available on request. The sensor is identical to a factory unit — the supply route is the only difference.
Q5: What warranty do you offer?
A 1-year replacement warranty covering functional failure under normal operating conditions — 12–28 VDC supply, 0 to +50 °C ambient, per the Baumer datasheet. Not covered: physical damage from impact, liquid ingress beyond IP 67 limits (submersion, high-pressure washdown), laser window scratches from abrasive wiping, and over-voltage from a miswired supply. That last one comes up a lot — check your PSU before energizing.
Q6: Can I use this on transparent or shiny metal targets?
Be careful here. The OADM 20I6 series is designed for opaque, matte targets. Highly reflective surfaces can saturate the receiver and mirror-like targets can throw the beam off the detector geometry. Transparent material is a hard no for triangulation. If your target is shiny metal, tilt the sensor a few degrees off perpendicular and test first, or ask us about Baumer’s models rated for reflective surfaces. Verify target suitability against the datasheet before committing to the install — this is the #1 application error we see.
Q7: Do you ship internationally, and what’s the lead time?
Yes. In-stock units ship within 1–2 business days via DHL, FedEx, or UPS worldwide. Baumer lists this as an active production article, so if we’re out of stock, factory lead time typically runs 3–6 weeks. Each unit ships in ESD-safe packaging, bubble-wrapped, in a heavy-duty box with a QC Passed label and inspection date. For a line-down situation, call us directly — we’ll confirm actual stock on the shelf before you commit.