
 WhatsApp: +86 16626708626
 Email:
  Phone: +86 16626708626
Description
3. Key Technical Specifications
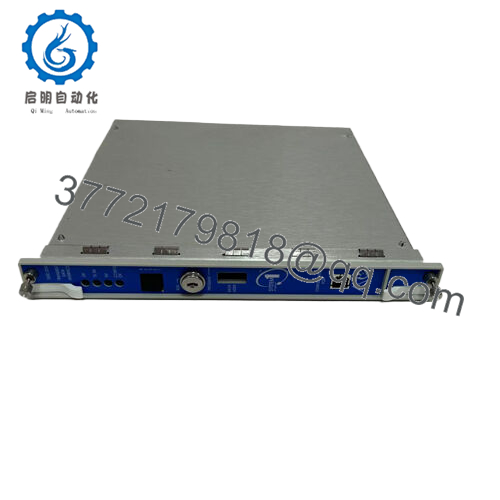
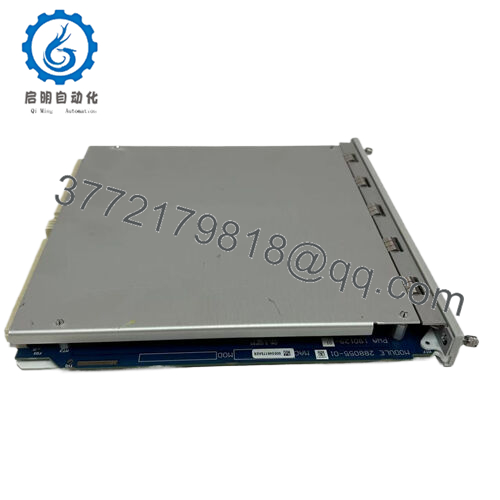
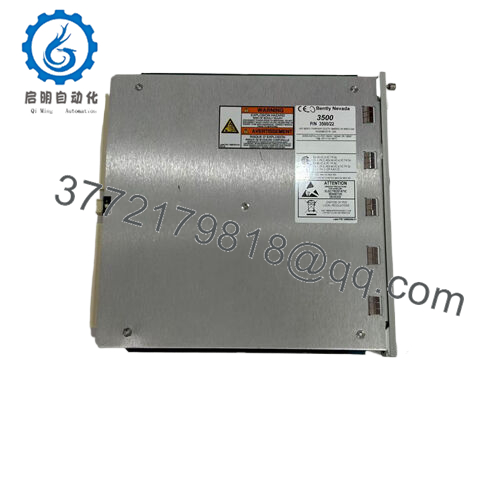
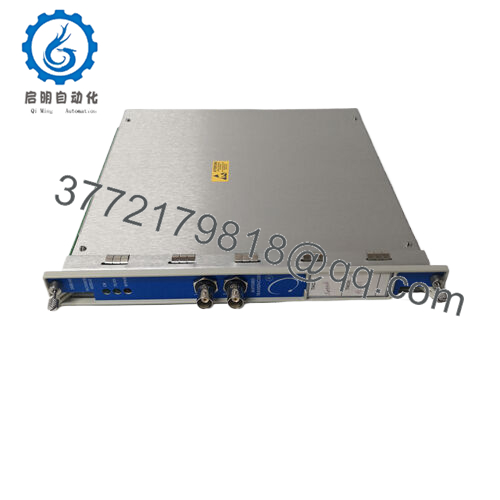
- Model Number: 3500/40M
- Manufacturer: Bently Nevada
- Product Series: 3500 Machinery Protection System
- Module Type: Proximitor Monitor Module
- Channels: 4 input channels
- Power Supply: 24 VDC system power (via 3500 rack backplane)
- Input Signal: Proximity transducer signals from Bently Nevada probes
- Communication: 3500 rack communication interface
- Configuration Software: 3500 System Configuration Software
- Rack Compatibility: Bently Nevada 3500 monitoring rack
- Operating Temperature: Typically −30 to +65 °C (verify exact datasheet revision)
- Installation Method: 3500 rack slot mounting
4. Product Introduction
The Bently Nevada 3500/40M is a four-channel Proximitor Monitor Module designed for the 3500 Machinery Protection System. It processes proximity probe signals used for shaft vibration and position monitoring in rotating equipment such as turbines, compressors, and pumps.
The module integrates with Bently 3500 racks for continuous machinery condition monitoring and alarm protection. In field replacements, firmware compatibility, rack configuration, and channel setup must be verified against the existing 3500 system configuration before installation.

- 3500/40M
5. Installation & Configuration Guide
Stage 1: Pre-Installation Preparation (Approx. 10 minutes)
⚠️ Safety First
- Notify plant operations about planned downtime.
- Verify equipment is in a safe maintenance condition.
- Apply lockout/tagout procedures before removing the module.
- Wait at least 5 minutes after power isolation for capacitor discharge.
Tools Required
- ESD wrist strap
- PH1 screwdriver
- Digital multimeter
- Wire labels
- Smartphone/camera for configuration records
Data Backup
- Export existing 3500 configuration using 3500 System Configuration Software.
- Record rack slot position of the existing 3500/40M.
- Photograph module labels, wiring, and channel configuration.
- Record existing firmware and alarm settings.
Stage 2: Removing the Old Module (Approx. 5 minutes)
- Remove the 3500 rack front cover if installed.
- Label all connected wiring before removal.
- Disconnect terminals carefully without pulling wires.
- Release rack locking mechanism.
- Pull the module straight outward to avoid damaging backplane connectors.
⚠️ Note: Keep the removed module until the replacement is fully commissioned. The old unit provides a reference for firmware, configuration, and wiring verification.
Stage 3: Installing the New Module (Approx. 10 minutes)
- Wear an ESD strap before handling the replacement module.
- Verify the replacement matches Bently Nevada 3500/40M exactly.
- Confirm rack slot position matches the original installation.
Configuration Clone (Critical)
- Copy all channel settings from the saved configuration.
- Verify:
- Probe type
- Input scaling
- Alarm setpoints
- Channel assignments
- Trip logic configuration
- Insert the module into the correct 3500 rack slot.
- Push firmly until fully seated.
- Reinstall retaining screws if applicable.
Self-Checklist
- Correct model number verified
- Rack slot confirmed
- Configuration restored
- Module fully seated
- Wiring checked
Stage 4: Power-On & Testing (Approx. 15 minutes)
Pre-Power Check
- Use a multimeter to check for abnormal voltage or short conditions.
- Verify rack power supply status.
Power-On Steps
- Power up the 3500 rack.
- Observe module LEDs.
- Connect 3500 configuration software.
- Confirm module identification.
- Verify firmware compatibility.
- Restore saved configuration.
- Perform channel simulation or loop verification.
⚠️ Troubleshooting Note
- Communication failure: Check rack slot address, configuration file, and module compatibility.
- Incorrect vibration readings: Verify probe gap voltage and transducer type.
- Module fault indication: Check firmware revision and rack configuration database.
6. Frequently Asked Questions (FAQ)
Q1: Can the Bently 3500/40M be hot-swapped while the rack is powered?
No. The replacement procedure should follow the approved Bently Nevada 3500 maintenance process. Removing modules under power can create unexpected faults or damage sensitive electronics. Always isolate power unless your specific system documentation confirms hot replacement capability.
Q2: Is the Bently 3500/40M obsolete, and is this unit genuinely new?
The 3500/40M belongs to the established Bently Nevada 3500 platform, which remains widely installed in industrial plants. Availability depends on inventory condition. New surplus units should be verified through serial number checks, visual inspection, and functional testing before installation.
Q3: Will I lose my vibration monitoring configuration when replacing the module?
The 3500/40M does not store the complete system configuration by itself. Configuration is managed through the 3500 system software and rack setup. Export the existing configuration before replacement and restore it after installation.
Q4: What should I verify before ordering a replacement 3500/40M?
Confirm:
- Exact module number
- Rack type
- Firmware compatibility
- Existing configuration file
- Channel requirements
- Probe/transducer type
A similar-looking module may not operate correctly if the system configuration does not match.
Q5: Why is a surplus Bently 3500/40M priced lower than OEM factory supply?
Industrial automation pricing varies based on availability, lifecycle status, and sourcing channel. New surplus units are typically unused inventory from previous projects or spare stock. The important checks are authenticity, test records, and traceability.
Q6: What inspection should be completed before installing a used or surplus module?
A proper inspection should include:
- Serial number verification
- Visual inspection for corrosion or damage
- Firmware identification
- Rack communication test
- Functional channel testing
- 24-hour operational test where possible
Test reports and inspection records should be available for critical applications.
Q7: What is the most common replacement mistake with a 3500/40M?
Firmware and configuration mismatch. I have seen maintenance teams install a physically correct module, only to spend hours chasing alarms because the rack database and module settings did not match. Always save the original configuration before removal.


