
 WhatsApp: +86 16626708626
 Email:
  Phone: +86 16626708626
Description
Key Technical Specifications
| Parameter | Specification |
|---|---|
| Manufacturer | Bosch Rexroth |
| Product Family | IndraDrive |
| Control Family | CSH Advanced Control System |
| Full Model | CSH01.1C-PB-ENS-NNN-MEM-S2-S-NN-FW |
| Material Number | R911328483 |
| Axis Configuration | Single-axis |
| Master Communication | PROFIBUS |
| Primary Encoder Interface | ENS |
| Encoder Compatibility | IndraDyn, Hiperface, 1 Vpp, TTL |
| Analog Outputs | 2 |
| Safety Technology | Safe Motion, S2 |
| Engineering Software | IndraWorks |
| Drive Architecture | Control section + separate power section |
| Mounting | Installed with compatible IndraDrive power section |
| EMC Classification | Category C3 according to IEC 61800-3 |
The CSH control section operates as part of an IndraDrive system and is normally paired with a compatible power section. The PROFIBUS master interface handles higher-level drive communication, while the ENS interface provides motor feedback evaluation.
Product Introduction
The Bosch Rexroth CSH01.1C-PB-ENS-NNN-MEM-S2-S-NN-FW is an IndraDrive CSH advanced control section for single-axis servo applications. It provides PROFIBUS master communication, ENS encoder evaluation, two analog outputs, and the S2 Safe Motion option.
This configuration is particularly relevant when maintaining an existing IndraDrive installation where the complete type code, encoder interface, safety configuration, and firmware compatibility must match the installed system. Material number R911328483 is associated with this exact configuration.
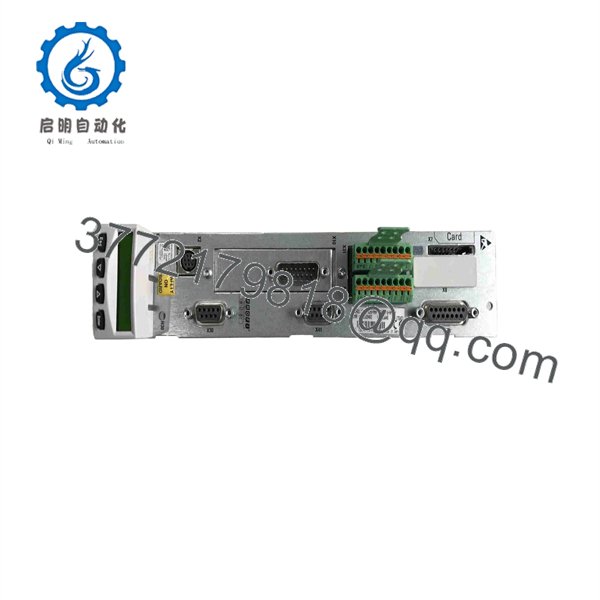
CSH01.1C-PB-ENS-NNN-MEM-S2-S-NN-FW
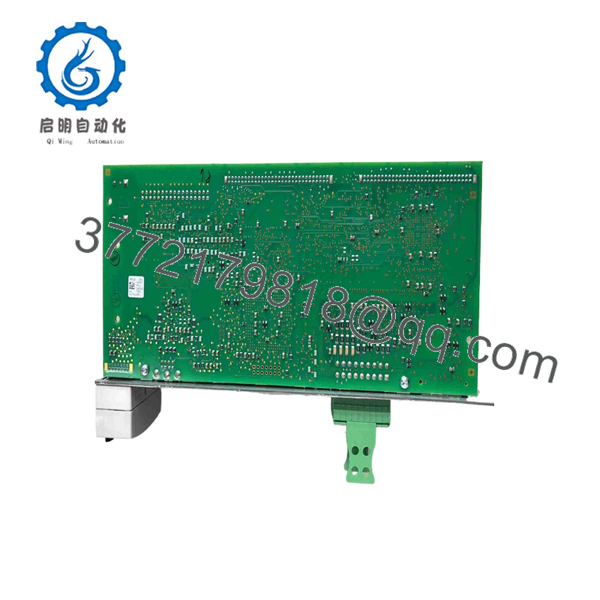
CSH01.1C-PB-ENS-NNN-MEM-S2-S-NN-FW
Installation & Configuration Guide
Stage 1 — Pre-Installation Preparation
Estimated time: 15–30 minutes
- Place the controlled machine in a safe operating state.
- Notify operations and apply the site’s lockout/tagout (LOTO) procedure.
- Isolate the drive from hazardous energy sources.
- Wait at least 5 minutes for DC-link capacitors to discharge, then verify the absence of hazardous voltage using an appropriately rated meter.
- Wear an ESD wrist strap when handling the control section.
- Record the complete existing type code and material number.
- Photograph the installed connectors, wiring, parameter settings, and identification labels.
- Back up the drive parameters and document PROFIBUS node/address settings before removal.
⚠️ Do not use a generic CSH01.1C-PB module as a substitute solely because the front-panel designation appears similar. The encoder, memory, safety, and firmware configuration fields can affect compatibility.
Stage 2 — Removing the Existing Control Section
Estimated time: 10–20 minutes
- Confirm that the drive is electrically isolated.
- Remove the required covers or access hardware.
- Label connectors before disconnecting them.
- Disconnect the communication, encoder, and auxiliary connections without pulling on the cable.
- Release the control section’s mechanical retention points.
- Pull the module straight out to avoid stressing connectors or adjacent components.
- Inspect the mating connectors and surrounding hardware for contamination, bent contacts, or mechanical damage.
- Keep the removed module until the replacement has completed commissioning successfully.
Stage 3 — Installing the Replacement
Estimated time: 15–30 minutes
- Compare the replacement nameplate against CSH01.1C-PB-ENS-NNN-MEM-S2-S-NN-FW / R911328483.
- Verify that the replacement is intended for the same IndraDrive power-section configuration.
- Confirm the encoder interface and safety configuration before energizing the system.
- Check that the firmware requirement matches the machine’s existing configuration.
- Install the control section carefully and seat it fully.
- Reconnect PROFIBUS, encoder, and auxiliary connections according to the machine documentation.
- Verify connector seating and cable routing.
- Confirm that no connector has been installed in an incorrect position.
Stage 4 — Power-On & Testing
Estimated time: 30–60 minutes
- Before energizing, check for unintended shorts and wiring errors.
- Energize the control system according to the OEM commissioning procedure.
- Observe the drive status indicators for initialization or fault conditions.
- Connect the engineering workstation using the supported IndraWorks environment.
- Verify the detected control-section identification.
- Check firmware compatibility before loading machine parameters.
- Restore the documented configuration only after confirming hardware compatibility.
- Verify PROFIBUS communication and the configured station address.
- Check encoder feedback with the motor stationary.
- Perform a controlled jog or dry-run before returning the machine to automatic production.
⚠️ If the drive reports a communication, encoder, safety, or configuration fault, stop commissioning rather than repeatedly resetting the drive. Check the complete type code, firmware, encoder configuration, PROFIBUS parameters, and power-section compatibility first.
FAQ
1. Is CSH01.1C-PB-ENS-NNN-MEM-S2-S-NN-FW a complete servo drive?
No. It is a control section within the IndraDrive architecture. The control section works with a compatible power section to form the complete drive system.
2. What is the material number for this exact configuration?
The associated Bosch Rexroth material number is R911328483. Verify both the material number and complete type code against the installed unit before ordering.
3. Does this model use PROFIBUS?
Yes. The PB configuration provides PROFIBUS master communication. This is an important distinction when replacing CSH variants with different communication configurations.
4. What encoder types are supported?
The ENS primary encoder interface is listed with support for IndraDyn, Hiperface, 1 Vpp, and TTL encoder systems. Actual compatibility still depends on the motor, feedback device, cabling, and configured drive parameters.
5. What does S2 indicate?
The S2 designation identifies the Safe Motion configuration. Safety functions must be verified against the machine’s actual safety architecture and commissioning documentation rather than assumed from the designation alone.
6. Can I replace another CSH01.1C-PB module with this model?
Not automatically. The MEM configuration, encoder option, safety technology, firmware, and associated power section must be checked. A similar-looking CSH control section can have a different functional configuration.
7. Does the replacement retain the original machine program and parameters?
Do not assume that it does. Back up the existing drive configuration before replacement and verify firmware and parameter compatibility. After installation, restore and validate the required configuration using the appropriate Bosch Rexroth engineering tools.



