
 WhatsApp: +86 16626708626
 Email:
  Phone: +86 16626708626
Description
Key Technical Specifications
| Parameter | Value |
|---|---|
| Manufacturer | CORRECT Vision |
| Model | FVL-2X-65D-CA-LED |
| Product Type | Machine vision LED illumination system |
| Lighting Configuration | Dual-head (2X) linear LED illumination |
| Optical Design | 65 mm diffuse coaxial-style illumination configuration |
| Power Supply | 24 VDC constant-current drive |
| Interface | CA cable assembly with connector/flying leads |
| Working Distance | 65 mm optical configuration |
| Mounting Type | Adjustable bracket mounting |
| Protection Rating | IP54 |
| Operating Temperature | 0 to +45 °C |
| LED Lifetime | Approximately 50,000 hours (L70) |
| Application | Automated optical inspection systems |
| Camera Compatibility | Industrial machine vision cameras |
| Light Control | Constant-current brightness control |
The CORRECT Vision FVL-2X-65D-CA-LED is a dual-head machine vision LED illumination unit designed for industrial optical inspection applications. It provides controlled lighting for camera-based inspection systems where consistent image contrast and reduced glare are required.
The FVL-2X-65D-CA-LED uses a 65 mm optical configuration with a CA cable interface and 24 VDC constant-current drive. The unit is intended for applications such as surface inspection, dimensional measurement, barcode reading, OCR/OCV, and automated assembly verification.
Product Introduction
The CORRECT Vision FVL-2X-65D-CA-LED is an industrial machine vision lighting component used to provide stable illumination for automated inspection systems. The dual-head LED structure produces controlled lighting from opposing directions, helping cameras capture clearer images on reflective or uneven surfaces.
This lighting unit is selected based on optical geometry, working distance, camera sensor size, and inspection requirements. Before replacement, verify the mounting position, cable configuration, voltage supply, and lighting angle because similar-looking machine vision lights may not provide identical imaging results.
Installation & Configuration Guide
Stage 1: Pre-Installation Preparation — Approximately 15 Minutes
⚠️ Safety First:
Turn off the machine vision controller power supply before replacing the FVL-2X-65D-CA-LED. Disconnect the 24 VDC supply and wait for stored energy discharge in the controller or lighting driver.
Tools Required:
- ESD wrist strap
- Digital multimeter
- Screwdriver set
- Wire labels
- Smartphone for installation photos
- Machine vision system documentation
Data Backup:
- Record:
- FVL-2X-65D-CA-LED model marking
- Serial number
- Cable type
- Photograph:
- Light mounting position
- Camera alignment
- Cable routing
- Connector wiring
- Document:
- Supply voltage
- Trigger/control wiring
- Brightness settings
- Camera working distance
⚠️ Important:
Machine vision lighting is part of the imaging setup. A replacement with incorrect optical characteristics can change inspection results even if the electrical connection matches.
Stage 2: Removing the Old Light Unit — Approximately 10 Minutes
- Switch off the 24 VDC lighting supply.
- Confirm zero voltage at the connector.
- Label all cables.
- Disconnect the CA cable assembly.
- Remove mounting brackets carefully.
- Remove the existing FVL light unit.
- Inspect:
- Connector condition
- Cable insulation
- Mounting hardware
- Lens/diffuser surface
- Mechanical alignment points
⚠️ Keep the original unit until image validation is completed.
The original installation provides the best reference for optical positioning.
Stage 3: Installing the New — Approximately 15 Minutes
- Verify the replacement model matches .
- Confirm:
- 24 VDC supply requirement
- Correct cable interface
- Correct optical configuration
- Install the light using the original mounting position.
- Align both light heads relative to the camera optical axis.
- Connect the CA cable.
- Verify power polarity.
- Secure all mounting hardware.
Self-Checklist:
- Correct model confirmed
- Supply voltage verified
- Cable connection secured
- Light angle matched
- Mounting screws tightened
- Lens surface clean
Stage 4: Power-On & Testing — Approximately 20 Minutes
- Inspect wiring before applying power.
- Restore 24 VDC power.
- Turn on the machine vision lighting controller.
- Check LED illumination.
- Capture test images.
- Verify:
- Image brightness
- Contrast level
- Reflection control
- Camera exposure settings
- Inspection repeatability
- Adjust mounting angle if required.
- Save the validated vision recipe.
⚠️ Troubleshooting Note:
- LED does not illuminate: Check 24 VDC supply, polarity, and controller output.
- Image quality changes: Verify working distance and light angle.
- Uneven illumination: Check dual-head alignment and optical surface contamination.
- Camera saturation: Reduce brightness or adjust exposure settings.
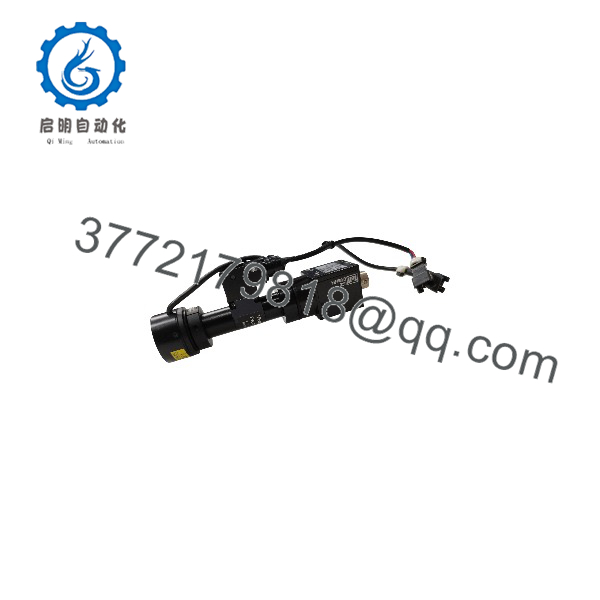
FVL-2X-65D-CA-LED
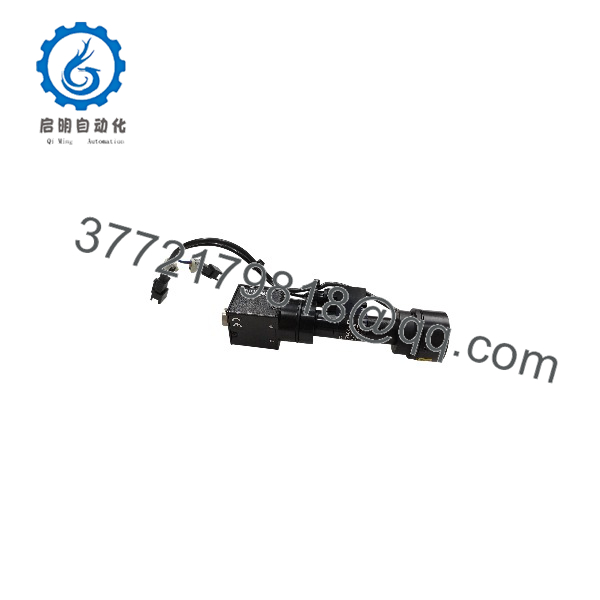
FVL-2X-65D-CA-LED
Frequently Asked Questions (FAQ)
Can the CORRECT be hot-swapped?
No. Disconnect the 24 VDC supply before replacement. Although the unit operates at low voltage, connecting or disconnecting lighting hardware under power can damage drivers or connectors.
What is the main function of ?
The provides controlled LED illumination for industrial machine vision systems. It helps cameras capture consistent images for inspection and measurement applications.
Is compatible with any industrial camera?
Not automatically. Compatibility depends on:
- Camera sensor size
- Lens working distance
- Inspection target surface
- Mounting arrangement
- Controller interface
The lighting geometry must match the complete vision system.
What does “2X-65D-CA” mean in this model?
The designation identifies the optical configuration:
- 2X: Dual-head illumination arrangement
- 65D: 65 mm optical configuration
- CA: Cable/interface configuration
Exact mechanical dimensions should be verified from the manufacturer documentation before replacement.
Does replacing the LED light require software changes?
Usually no. The light itself does not store inspection programs. However, camera exposure, brightness settings, and inspection recipes may need adjustment after replacement.
Why is a surplus available below original pricing?
Industrial vision components often remain available through unused automation inventory, machine upgrades, and system replacement projects. Pricing depends on condition, testing records, warranty terms, and stock availability.
What should I request before purchasing ?
Request:
- Actual product photos
- Model label photo
- Cable and connector images
- Operating test record
- Condition confirmation:
- New Original / New Surplus
- Refurbished (tested)
- Warranty details
For automated inspection systems, verify the optical configuration before installation.



