
 WhatsApp: +86 16626708626
 Email:
  Phone: +86 16626708626
Description
Key Technical Specifications
| Parameter | Value |
|---|---|
| Manufacturer | Emerson Process Management / Ovation |
| Model | 5X00121G01 |
| Module Role | Personality Module (PMOD) |
| RTD Channels | 8 |
| Companion Electronics | 5X00119G01; later Ovation documentation also lists 5X00119G02/G03 combinations |
| RTD Wiring | 3-wire and 4-wire configurations |
| Resolution | 12 bit |
| Channel-to-Channel Isolation | 200 V AC/DC |
| Channel-to-Logic Isolation | 1,000 V AC/DC |
| Input Impedance | 100 MΩ; 50 kΩ in power-down condition |
| Module Power | 3.6 W typical; 4.2 W maximum |
| Operating Temperature | 0 to 60 °C (32 to 140 °F) |
| Storage Temperature | -40 to 85 °C (-40 to 185 °F) |
| Humidity | 0–95%, non-condensing |
| Self-Calibration | On demand by Ovation Controller |
| Common-Mode Rejection | 120 dB at DC and nominal power-line frequency |
| Normal-Mode Rejection | 100 dB at DC and nominal power-line frequency |
The published Ovation reference data specifies 8 channels, 12-bit resolution, the stated isolation levels, power consumption, environmental limits, and rejection characteristics for the 5X00119/5X00121 8-channel RTD subsystem.
The RTD subsystem supports multiple resistance ranges. Examples in the reference table include 100 Ω platinum ranges covering 0–269 °C and 0–561 °C, as well as several 4-wire ranges. The correct range depends on the RTD type and the configured scale number.
Product Introduction
The Emerson Ovation 5X00121G01 is the personality module used with the Ovation 8-channel RTD input subsystem. It interfaces field RTD wiring with the corresponding electronics module, with the complete subsystem converting RTD resistance measurements into digital data for the Ovation controller.
For replacement work, the critical point is the module pairing. The published documentation identifies 5X00121G01 with 5X00119G01, while later Ovation documentation lists compatible 5X00119G01, 5X00119G02, and 5X00119G03 combinations. Do not substitute the PMOD based solely on physical appearance.
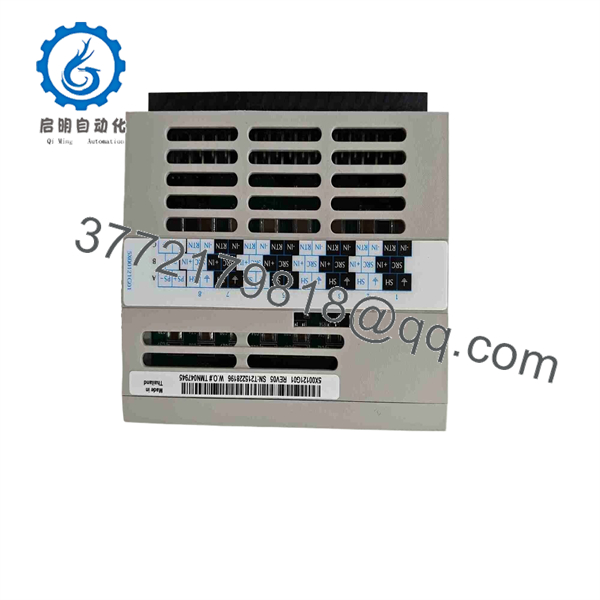
5X00121G01
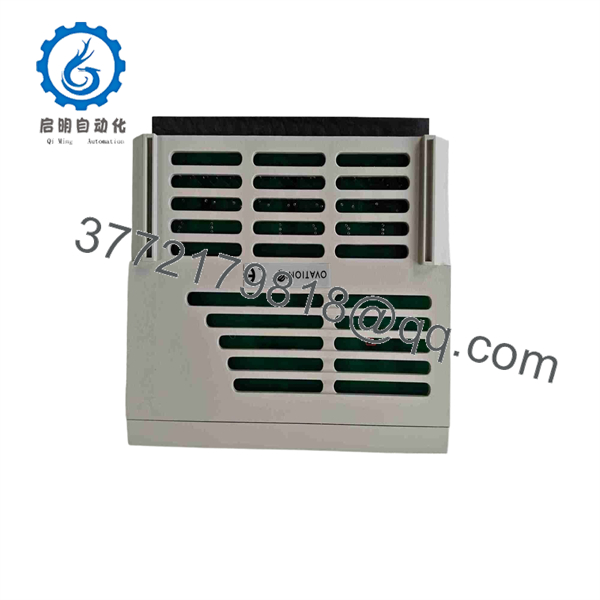
5X00121G01
Installation & Configuration Guide
Stage 1: Pre-Installation Preparation — Approximately 5–10 Minutes
⚠️ Safety First: Notify operations, place the controlled process in its approved safe state, and apply the site’s lockout/tagout procedure before removing the module. Do not assume the RTD circuit is de-energized merely because the controller is stopped.
Tools Required:
- ESD wrist strap
- Appropriate screwdriver
- Digital multimeter
- Wire labels
- Smartphone or camera for configuration photographs
- Approved Ovation engineering/service workstation, where required
Before removal:
- Record the exact module part number: 5X00121G01.
- Record the companion electronics module part number.
- Photograph the terminal wiring and module orientation.
- Record the RTD channel assignments.
- Document the existing Ovation configuration and point/range assignments.
- Retain the removed module until commissioning is complete.
Critical: The 5X00121G01 is not the complete RTD acquisition electronics assembly. Verify the companion 5X00119-series electronics module before ordering or installing a replacement.
Stage 2: Removing the Existing Module — Approximately 5 Minutes
- Place the Ovation I/O subsystem in the approved maintenance state.
- Remove power according to the applicable Ovation installation procedure.
- Verify the relevant supply is de-energized.
- Label each field connection before disconnecting it.
- Photograph the terminal arrangement from several angles.
- Release the module’s mechanical retention mechanism.
- Remove the personality module carefully and straight from its mating interface.
- Inspect the connector, terminal block, and surrounding hardware for contamination, corrosion, bent contacts, or physical damage.
⚠️ Do not discard the old module immediately. Keep it available as the physical reference until all eight RTD channels have been validated.
The Ovation documentation specifically identifies wiring information for systems using the 5X00121G01 personality module and notes that PS+ and PS− are not used by this module.
Stage 3: Installing the Replacement — Approximately 5 Minutes
- Put on the ESD wrist strap and verify grounding.
- Confirm the replacement marking reads 5X00121G01.
- Confirm the companion electronics module is the correct 5X00119-series version for the system.
- Compare the new module with the removed unit before insertion.
- Reproduce the original field wiring exactly.
- Pay particular attention to RTD wire configuration: 3-wire versus 4-wire.
- Seat the personality module completely into its mating position.
- Reconnect the field terminals using the applicable terminal-block torque specification.
Self-Checklist:
- 5X00121G01 verified
- Correct companion electronics module verified
- RTD channel assignments documented
- 3-wire/4-wire configuration confirmed
- Wiring returned to original terminals
- Module fully seated
- No damaged connector pins
- ESD precautions maintained
The published wiring documentation shows dedicated positive/negative input, shield, return, and current-source connections and states that PS+ and PS− are not used by the 5X00121G01 personality module.
Stage 4: Power-On & Testing — Approximately 10 Minutes
- Perform a visual and electrical pre-power inspection.
- Restore power according to the approved Ovation startup procedure.
- Observe the module diagnostic indications.
- Confirm the Ovation controller establishes communication with the RTD subsystem.
- Verify that the configured RTD scale/range matches the field instrument.
- Check all eight channel statuses.
- Compare live temperature values against a known process condition or calibrated test source.
- Confirm there are no channel overrange, underrange, communication, or internal-error indications.
- Allow the system to operate long enough to confirm stable readings.
- Return field devices to normal operation only after the I/O checks pass.
The Ovation documentation describes a configuration/status register at word address 13 (0xD) and identifies module configuration and diagnostic status information.
⚠️ Do not diagnose a failed 5X00121G01 solely from an RTD reading. Check the complete subsystem. A fault can originate in the RTD sensor, field wiring, terminal block, personality module, electronics module, I/O bus, or controller configuration.
Veteran’s replacement rule: Take the wiring photograph before touching the terminals. RTD circuits are especially unforgiving when a replacement gets installed with the wrong wire arrangement.
Frequently Asked Questions (FAQ)
Q1. Is 5X00121G01 the complete 8-channel RTD input card?
Not exactly. This is the important distinction when ordering a replacement. Emerson’s Ovation reference documentation identifies 5X00121G01 as the Personality Module, while 5X00119G01 is identified as the corresponding electronics module in the original documented configuration.
Some aftermarket listings simply call 5X00121G01 an “8-channel RTD input module,” which can create confusion. For a maintenance purchase, match the part number and module role against the existing Ovation hardware.
Q2. Which electronics module works with 5X00121G01?
The original Ovation I/O reference specifies 5X00119G01 with 5X00121G01. Later Ovation documentation lists 5X00119G01, 5X00119G02, and 5X00119G03 combinations with the same personality module. Verify the exact Ovation system revision and certification requirements before substitution.
Q3. Can I hot-swap the 5X00121G01?
Do not assume that it is hot-swappable. The safest replacement procedure is to follow the applicable Ovation installation/service documentation and remove power where the procedure requires it. Pulling an I/O assembly under power without confirmed hot-swap support can create electrical faults or damage connectors.
Q4. What RTD wiring does the Ovation subsystem support?
The 8-channel RTD subsystem supports 3-wire and 4-wire RTD configurations. The reference table provides separate ranges and characteristics for the different wiring arrangements.
Do not change a 3-wire installation to a 4-wire configuration simply because the replacement hardware permits it. The point configuration, field sensor, wiring, and engineering database must agree.
Q5. Is 5X00121G01 obsolete?
This is a legacy Ovation part, and at least one industrial parts distributor explicitly lists it as discontinued. However, reseller lifecycle information is not a substitute for an OEM lifecycle notice, so confirm status against the specific Ovation system revision when planning a long-term spare.
For an installed legacy system, maintaining a tested spare can be more practical than waiting until a failed module creates an outage.
Q6. Will replacing 5X00121G01 erase my Ovation configuration?
The personality module itself does not replace the Ovation controller’s application logic. However, do not treat the physical replacement as configuration-free. Verify the controller’s RTD channel definitions, scale selection, wiring arrangement, and diagnostic status after replacement.
The Ovation reference defines a configuration/status register and identifies on-demand self-calibration through the Ovation controller.
Q7. Why are some listings calling 5X00121G01 an analog output module?
There are conflicting aftermarket descriptions online. One reseller page, for example, incorrectly presents 5X00121G01 as a HART analog-output personality module, while the Ovation I/O reference specifically identifies 5X00121G01 as the personality module for the 8-channel RTD subsystem.
For procurement, the Ovation reference documentation should take precedence over a generic reseller description. If your existing hardware label is 5X00121G01, verify the companion module and cabinet drawings before placing a replacement order.



