
 WhatsApp: +86 16626708626
 Email:
  Phone: +86 16626708626
Description
3. Key Technical Specifications
| Parameter | Value |
|---|---|
| Product Model | ST2206-0848 |
| Manufacturer | Enterasys Networks |
| Product Family | S-Series S140 Class |
| Product Type | Chassis Gigabit Ethernet I/O Module |
| Compatible Chassis | S3, S4, S6, S8 chassis (verify firmware compatibility) |
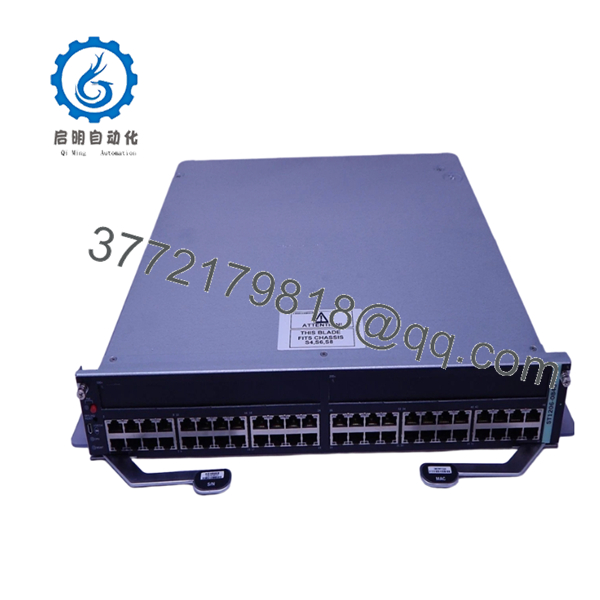
| Ethernet Ports | 48 × 10/100/1000Base-T RJ45 |
| PoE Support | IEEE 802.3af and IEEE 802.3at |
| Option Slots | 2 × Type-2 option module slots |
| Switching Capacity | 120 Gbps |
| Forwarding Performance | 90 Mpps |
| Minimum EOS Firmware | 08.01.01.0016 |
| Recommended Final EOS Firmware | 08.62.04.0001 |
4. Product Introduction
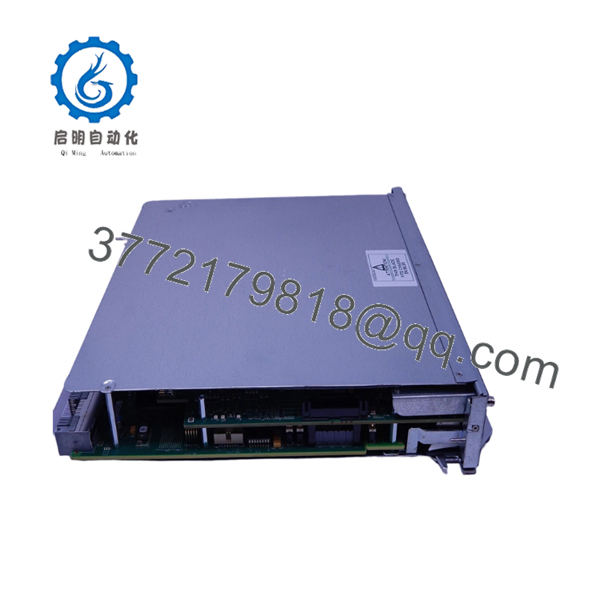
The Enterasys ST2206-0848 is an S140-class Gigabit Ethernet I/O module designed for the Enterasys S-Series modular switching platform. It provides forty-eight 10/100/1000Base-T RJ45 interfaces with IEEE 802.3af/802.3at PoE capability and supports enterprise campus, industrial control, and utility communication networks.
Many production facilities continue operating this module because replacing an entire S-Series chassis is considerably more disruptive than replacing an individual I/O module. Before commissioning, verify EOS firmware compatibility, option module support, and existing network configuration to avoid unnecessary downtime.

- ST2206-0848
- ST2206-0848
5. Installation & Configuration Guide
Stage 1 – Pre-Installation Preparation (Estimated Time: 10 Minutes)
⚠️ Safety First
- Notify plant operations of the scheduled maintenance.
- Confirm the network can tolerate the outage.
- Apply Lock-Out/Tag-Out procedures.
- Disconnect chassis power.
- Wait 5 minutes for internal capacitors to discharge.
Tools Required
- Grounded ESD wrist strap
- PH1 screwdriver
- Fluke 115 digital multimeter
- Cable labels
- Smartphone for documentation
Data Backup
- Export the current switch configuration.
- Record:
- EOS firmware version
- Management IP address
- VLAN database
- Routing configuration
- PoE configuration
- Photograph all installed option modules.
- Document every connected cable.
Stage 2 – Removing the Existing Module (Estimated Time: 5 Minutes)
- Remove the chassis front cover if required.
- Label every connected Ethernet cable.
- Disconnect all network connections.
- Release the module retaining screws.
- Pull the module straight out.
⚠️ Do not rock the module during removal. Excessive side loading can damage the chassis connector.
Inspect the backplane connector for contamination or bent contacts.
Keep the original module until the replacement has operated successfully under production load.
Stage 3 – Installing the Replacement Module (Estimated Time: 10 Minutes)
- Wear an ESD wrist strap.
- Confirm the replacement is ST2206-0848.
- Compare hardware revisions.
- Install the module evenly into the guide rails.
- Tighten retaining screws.
- Install any Type-2 option modules if required.
- Reconnect all Ethernet cables.
Self-Checklist
- Correct model verified
- Firmware documented
- Option modules installed
- Module fully seated
- Cables reconnected
- Retaining screws tightened
Stage 4 – Power-On & Testing (Estimated Time: 10 Minutes)
Pre-Power Check
- Measure chassis supply voltage.
- Verify protective grounding.
- Inspect for accidental short circuits.
Startup Procedure
- Apply power to the chassis.
- Observe Power and Status LEDs.
- Verify module initialization.
- Connect through the management interface.
- Confirm:
- Firmware revision
- Port status
- VLAN assignments
- PoE operation
- Test communication with connected PLCs, HMIs, servers, and SCADA equipment.
⚠️ Troubleshooting
ERR LED remains active
- Check EOS firmware compatibility.
- Verify chassis software supports the installed module.
Ports remain offline
- Verify VLAN membership.
- Inspect option module compatibility.
- Check spanning-tree status.
Engineering Notes from Field Experience
❗ Firmware Revision Mismatch
This is the issue I encounter most often during maintenance windows. A replacement module may physically fit the chassis but fail to initialize because the chassis is running an older EOS release. I’ve seen technicians spend hours replacing cables before discovering the chassis simply needed a firmware upgrade. Record the existing firmware before ordering replacement hardware.
❗ Option Module Compatibility
Type-2 option modules are not universally interchangeable across every hardware generation. Verify both the installed option card and the EOS release before installation.
❗ Cabling Errors
Forty-eight nearly identical RJ45 ports make it surprisingly easy to reconnect cables incorrectly. Photograph the module before removal and label every cable. It takes five extra minutes and often saves hours of troubleshooting.
❗ Power Budget
PoE modules can substantially increase chassis power consumption. Verify available power supply capacity before installing replacement hardware, particularly when multiple PoE modules share the same chassis.
❗ Electrostatic Discharge (ESD)
I’ve watched a replacement module arrive in perfect condition, only to fail because someone handled it without an ESD strap on a dry winter morning. The failure wasn’t immediate—several ports became unreliable after a few hours of operation. Use grounded ESD protection every time.
Keep these checks in mind and you’ll save yourself most of the unnecessary troubleshooting that extends planned maintenance outages.
6. Frequently Asked Questions (FAQ)
Q1. Can I hot-swap the ST2206-0848?
No. Although some modular network platforms advertise hot-swappable hardware, always follow the chassis maintenance procedure recommended for your installation. Removing an I/O module under load can interrupt network services and may destabilize redundant configurations.
Q2. Is the ST2206-0848 obsolete?
Yes. It is a legacy Enterasys S-Series module. New Original (New Surplus) inventory is still available from surplus channels, but production has ended and stock is finite.
Q3. What firmware should I verify before installation?
Document the firmware currently running on the chassis before removing the old module. The ST2206-0848 requires at least EOS 08.01.01.0016, with EOS 08.62.04.0001 being the final recommended release for this module family.
Q4. Will replacing the module erase my switch configuration?
Normally, the configuration resides within the chassis management system rather than the individual I/O module. Even so, always back up the running configuration before maintenance. That backup has saved more than one overnight shutdown.
Q5. Why is New Surplus inventory less expensive than OEM pricing?
New Surplus equipment generally comes from canceled projects, distributor inventory, or unused spare-part stock. The hardware has not been placed into production service, but it may have been stored for several years. Verify serial numbers, inspection records, and functional test reports before deployment.
Q6. What quality inspections should be completed before shipment?
A proper inspection process should include:
- OEM label and serial number verification.
- Anti-counterfeit inspection.
- Visual examination for corrosion, scratches, UV discoloration, or repair marks.
- Installation into a genuine Enterasys S-Series chassis for power-on testing.
- Ethernet port communication verification.
- Continuous operation under load for more than 24 hours.
- Insulation resistance testing where applicable.
- Firmware version documentation.
- QC sign-off with inspection records.
- ESD bag packaging, protective cushioning, and heavy-duty export carton.
Test photographs, startup videos, and inspection reports should be available upon request before shipment.



