
 WhatsApp: +86 16626708626
 Email:
  Phone: +86 16626708626
Description
3. Key Technical Specifications
| Parameter | Value |
|---|---|
| Product Model | VSP 7254XSQ |
| Manufacturer | Extreme Networks |
| Product Family | VSP 7200 Series |
| Product Type | Layer 2/Layer 3 Data Center Ethernet Switch |
| Ethernet Interfaces | 48 × 10 GbE SFP+ |
| Uplink Interfaces | 6 × 40 GbE QSFP+ |
| Switching Capacity | 2.56 Tbps |
| Forwarding Performance | 1,428 Mpps |
| Switching Architecture | Non-blocking, wire-speed |
| Operating System | VOSS (Virtual Services Platform Operating System) |
| Channelization | QSFP+ ports support 4 × 10 GbE breakout |
| Management | CLI, SNMP, SSH, Web Management (configuration dependent) |
| Mounting | 1U Rack Mount |
| Hardware Design | PHYless architecture for reduced latency and lower power consumption |
Compatibility Note: The VSP 7254XSQ supports VOSS software beginning with release 4.2.1 and remains supported through current VOSS 8.5 releases. Verify the installed VOSS version before replacing hardware.
4. Product Introduction
The Extreme VSP 7254XSQ is a high-performance data center Ethernet switch designed for top-of-rack deployments requiring low-latency Layer 2 and Layer 3 switching. It provides forty-eight 10 Gigabit SFP+ interfaces and six 40 Gigabit QSFP+ uplinks for enterprise, cloud, campus core, and industrial data center networks.
Many facilities continue operating the VSP 7254XSQ because its VOSS feature set supports Fabric Connect, SPBM, virtualization, and high-availability network designs. Before installation, verify the VOSS release, optical transceiver compatibility, and existing network configuration to minimize commissioning time.
5. Installation & Configuration Guide
Stage 1 – Pre-Installation Preparation (Estimated Time: 10 Minutes)
⚠️ Safety First
- Notify operations of the planned maintenance.
- Schedule an approved network outage.
- Apply Lock-Out/Tag-Out procedures.
- Disconnect switch power.
- Wait at least 5 minutes before servicing.
Tools Required
- Grounded ESD wrist strap
- PH1 screwdriver
- Fluke 115 digital multimeter
- Fiber cleaning kit
- Cable labels
- Smartphone for documentation
Data Backup
- Save the complete running and startup configuration.
- Record:
- VOSS software version
- Management IP address
- VLAN configuration
- Fabric Connect/SPBM configuration
- MLT/SMLT configuration
- Photograph all fiber connections.
- Label every transceiver and cable.
Stage 2 – Removing the Existing Switch (Estimated Time: 10 Minutes)
- Disconnect power.
- Remove all SFP+ and QSFP+ optics carefully.
- Label every fiber jumper.
- Remove management and console cables.
- Remove rack mounting screws.
- Slide the switch straight forward.
⚠️ Do not pull on installed fiber transceivers. Remove optics first to prevent connector damage.
Inspect power connectors and optical cages before installing the replacement.
Stage 3 – Installing the Replacement Switch (Estimated Time: 10 Minutes)
- Wear an ESD wrist strap.
- Verify the replacement model is VSP 7254XSQ.
- Compare airflow direction (front-to-back or back-to-front).
- Install the switch into the rack.
- Reinstall optics after cleaning connector end faces.
- Restore the saved VOSS configuration if required.
- Reconnect all network links.
Self-Checklist
- Model verified
- Airflow direction matches existing rack
- Firmware documented
- Optics cleaned
- Fiber polarity verified
- Configuration restored
Stage 4 – Power-On & Testing (Estimated Time: 15 Minutes)
Pre-Power Check
- Verify input power.
- Confirm chassis grounding.
- Inspect optical modules.
Startup Procedure
- Apply power.
- Observe system LEDs.
- Connect through the console port.
- Verify:
- VOSS version
- Port status
- Fabric status
- Routing tables
- Management connectivity
- Verify communication with upstream and downstream devices.
- Confirm link aggregation and SPBM services.
⚠️ Troubleshooting
System boots but links remain down
- Verify optical module compatibility.
- Check VOSS licensing.
- Confirm remote port configuration.
Communication failure
- Verify Fabric Connect configuration.
- Check VLAN assignments.
- Inspect MLT/SMLT settings.

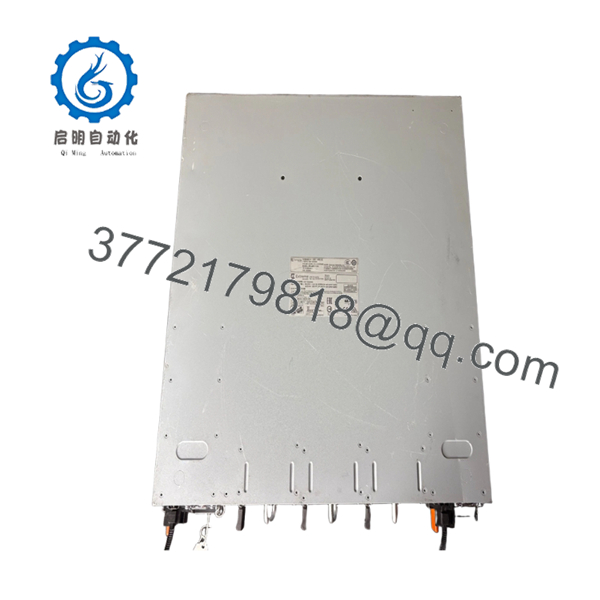
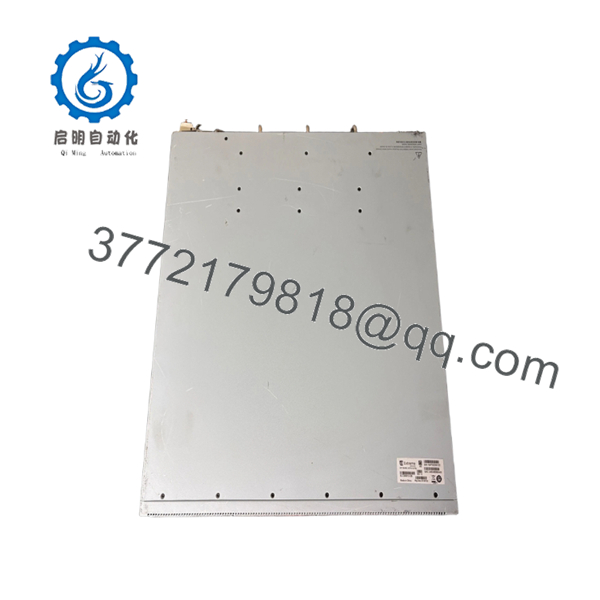
- 7254XSQ
- 7254XSQ
Engineering Notes from Field Experience
❗ Firmware Revision Mismatch
This is probably the most common issue during VSP replacements. I’ve seen two identical VSP 7254XSQ switches refuse to join the same Fabric Connect environment simply because one was running a newer VOSS release. Always document the existing software version before removing the original switch.
❗ Optical Module Compatibility
The 7254XSQ uses a PHYless design. Some legacy SFP+ optics, including certain 10GBASE-LRM and ZR modules, are not supported. Verify every installed transceiver against the VOSS compatibility documentation before installation.
❗ Fiber Identification
Forty-eight SFP+ ports can look identical during an outage. Label every fiber before removal. A crossed transmit/receive pair can easily consume an hour of troubleshooting.
❗ Power and Cooling
Check both available rack power and airflow direction. Installing a front-to-back unit into a back-to-front hot aisle arrangement can create localized overheating even when electrical loading remains within specification.
❗ Electrostatic Discharge (ESD)
A VSP switch contains high-density ASICs and sensitive optical interfaces. I have seen damaged SFP+ cages caused by improper handling rather than installation errors. Always use grounded ESD protection and avoid placing optics directly on conductive surfaces.
Keep these checks in mind and you’ll save yourself most of the unnecessary troubleshooting that extends maintenance windows.
6. Frequently Asked Questions (FAQ)
Q1. Can I hot-swap the VSP 7254XSQ?
No. Although redundant network architectures can reduce service interruption, the switch itself is not intended for removal under power. Schedule maintenance and power the unit down before replacement.
Q2. Does the VSP 7254XSQ support 1 Gb SFP modules?
Yes, but there are limitations. On this model, auto-negotiation is not supported for 1 Gb transceivers, so the remote device must be configured accordingly. Review the VOSS release notes before deployment.
Q3. Is this model still supported?
Yes. The VSP 7254XSQ hardware continues to be supported by current VOSS software releases, although new production availability depends on the specific hardware variant. Verify software compatibility before upgrading.
Q4. Will replacing the switch erase my configuration?
The hardware replacement itself does not preserve configuration. Always back up the running configuration before maintenance and restore it after installation. This is especially important for Fabric Connect, SPBM, and SMLT deployments.
Q5. Why is New Surplus inventory less expensive than factory pricing?
New Surplus equipment generally originates from canceled projects, distributor excess inventory, or unused spare-part stock. The hardware has not been commissioned but may have been stored for several years. Verify serial numbers, inspection reports, and functional test records before installation.
Q6. What inspections should be completed before shipment?
A documented quality process should include:
- OEM serial number and label verification.
- Anti-counterfeit inspection.
- Visual inspection for corrosion, scratches, or repair marks.
- Power-on testing.
- Management interface verification.
- Port communication testing with SFP+ and QSFP+ optics.
- Continuous operation under load for more than 24 hours.
- Firmware version documentation.
- Insulation and grounding verification where applicable.
- QC approval, ESD packaging, bubble-wrap protection, and heavy-duty export carton.
Test reports, startup photographs, and power-on videos should be available upon request before shipment.



