
 WhatsApp: +86 16626708626
 Email:
  Phone: +86 16626708626
Description
Key Technical Specifications
| Parameter | Value |
|---|---|
| Manufacturer | FACTS Engineering |
| Model | F4-16AD-2 |
| PLC Platform | DirectLogic DL405 |
| Module Type | 16-channel analog voltage input module |
| Number of Channels | 16 single-ended inputs |
| Input Signal Range | 0–5 VDC, 0–10 VDC |
| Resolution | 12-bit (1 in 4,096 counts) |
| Input Configuration | Single common terminal |
| Input Impedance | 100 kΩ minimum |
| Conversion Time | 0.4 ms per channel |
| CPU Scan Update | Up to 16 channels per scan on compatible D4-440 and D4-450 CPUs |
| Filtering | Low-pass filter, approximately 20 Hz cutoff |
| Linearity Error | Maximum ±2 counts (0.050% of full scale) |
| Input Stability | ±1 count |
| External Power Supply | 21.6–26.4 VDC |
| Internal Power Requirement | Approximately 80 mA at 5 VDC |
| Terminal Block | Removable terminal block |
| Operating Temperature | 0°C to 60°C |
| Storage Temperature | -20°C to 70°C |
| Installation Location | DL405 local, expansion, and remote I/O bases |
Product Introduction
The FACTS Engineering F4-16AD-2 is a DirectLogic DL405 16-channel analog input module designed to convert field voltage signals into PLC-readable digital values. It accepts 0–5 VDC and 0–10 VDC single-ended inputs for machine monitoring, process measurement, and industrial control applications.
The module provides 12-bit signal resolution and supports high channel density from a single PLC slot. In existing DL405 installations, it is commonly retained for equipment upgrades where replacing the complete control platform would introduce unnecessary downtime and engineering cost.
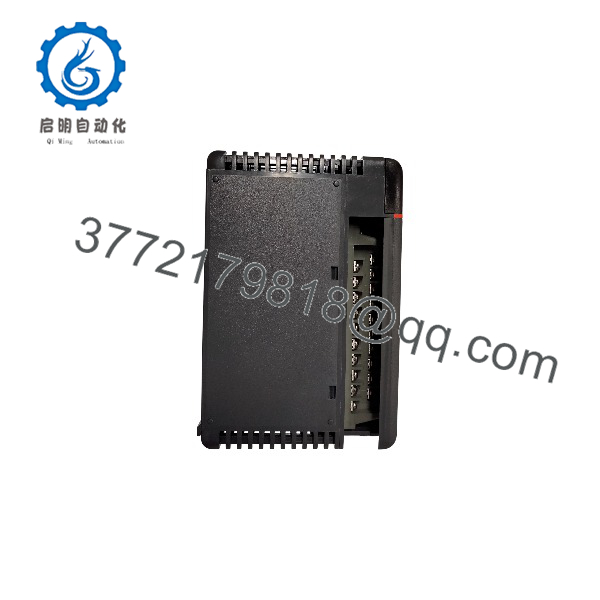
F4-16AD-2
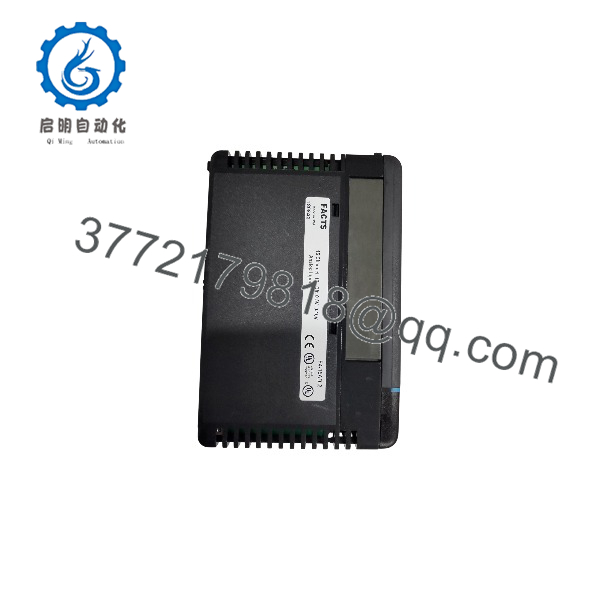
F4-16AD-2
Installation & Configuration Guide
Stage 1: Pre-Installation Preparation (Approx. 10 minutes)
⚠️ Safety First
- Notify operations personnel before removing the PLC module.
- Verify the machine or process is in a safe condition.
- Apply lockout/tagout procedures to the PLC cabinet power source.
- Wait at least 5 minutes for capacitor discharge before touching the rack.
Tools Required
- ESD wrist strap
- PH1 screwdriver
- Digital multimeter
- Wire labels
- Smartphone or camera for documentation
Data Backup
- Export the current PLC program using compatible programming software.
- Record PLC rack position and module address.
- Photograph:
- Terminal wiring
- Module identification label
- Any jumper settings or configuration switches
- Record analog scaling values used in the PLC program.
Stage 2: Removing the Old Module (Approx. 5 minutes)
- Remove the protective cover or front bezel if installed.
- Label each field wire before disconnecting terminals.
- Disconnect wiring carefully. Do not pull directly on terminal conductors.
- Release rack locking tabs.
- Pull the module straight outward to avoid damaging backplane contacts.
- Inspect the rack connector for:
- Bent pins
- Dust contamination
- Oxidation
⚠️ Note: Keep the removed module until the replacement has completed commissioning. The old unit provides a wiring and configuration reference.
Stage 3: Installing the New Module (Approx. 10 minutes)
- Wear an ESD strap before handling the replacement F4-16AD-2.
- Verify the replacement label matches the original model number.
⚠️ Configuration Clone — Critical Step
- Copy all configuration settings from the original installation records.
- Confirm:
- Input range selection
- Channel assignment
- Scaling parameters
- Common terminal wiring
- Insert the module into the DL405 rack.
- Confirm the module seats completely and locking tabs engage.
- Reconnect terminal wiring using correct tightening torque.
Self-Checklist
- Model number verified
- Terminal wiring matched
- Analog range confirmed
- Module fully seated
- Rack locking tabs secured
Stage 4: Power-On & Testing (Approx. 10 minutes)
Pre-Power Check
- Measure the 24 VDC supply rail.
- Verify no short circuit exists between power terminals.
Power-On Procedure
- Power the PLC rack only.
- Observe module status indicators.
- Connect programming software.
- Confirm:
- Correct module recognition
- PLC memory status
- Analog channel data update
- Apply known voltage test signals.
- Verify engineering values match expected scaling.
⚠️ Troubleshooting Note
- Incorrect readings usually indicate scaling or wiring issues.
- Communication faults may indicate rack configuration mismatch.
- If analog values remain fixed, verify input common wiring and signal source.
Frequently Asked Questions (FAQ)
Can the FACTS F4-16AD-2 be hot-swapped under power?
No. The F4-16AD-2 should be replaced with the PLC rack power removed. Removing analog modules under power can create unexpected behavior and may damage backplane connections. Always follow the DL405 installation procedure before replacement.
Is the F4-16AD-2 obsolete, and is it still available?
The F4-16AD-2 belongs to the legacy DirectLogic platform. Existing systems continue to use these modules, but availability depends on remaining inventory. New Original / New Surplus units are typically sourced from stored industrial inventory rather than current production.
Does the F4-16AD-2 support 4–20 mA transmitters?
Not directly. The standard F4-16AD-2 is designed for voltage inputs: 0–5 VDC and 0–10 VDC. A signal converter or different analog module is required for direct current-loop applications.
Will I lose my PLC program when replacing the F4-16AD-2?
No. The PLC program remains stored in the CPU. However, you must verify that the replacement module occupies the same rack position and that analog scaling instructions match the original configuration.
Why is this module usually cheaper than a new OEM list price?
Legacy automation modules are often priced differently from current production hardware because they come from surplus inventory, discontinued stock, or tested used equipment. The important factors are traceability, condition verification, and functional testing before installation.
What should I check before ordering an F4-16AD-2 replacement?
Verify:
- PLC family: DirectLogic
- Exact model: F4-16AD-2
- Input type: Voltage, not current
- Required range: 0–5 VDC or 0–10 VDC
- Rack power capacity
- Existing PLC CPU compatibility
What testing should be completed before installing surplus stock?
A proper verification process should include:
- Visual inspection and serial number recording.
- Power-up test on a compatible rack.
- Channel simulation using known voltage inputs.
- Verification of analog conversion values.
- Documentation of test results.
For industrial replacement parts, a tested module with documented condition reduces commissioning risk compared with an unverified surplus unit.



