
 WhatsApp: +86 16626708626
 Email:
  Phone: +86 16626708626
Description
3. Key Technical Specifications
- Manufacturer: GE (General Electric)
- Model Number: IS200HSLAH1APR2
- Functional Acronym: HSLA
- Product Category: High-Speed Serial Link Interface Module
- Compatible Systems: GE EX2100, EX2100e, Mark VI, Mark VIe, LS2100 platforms
- Communication Interface: High-Speed Serial Link (HSSL)
- Communication Media: Dedicated HSSL cable / Ethernet interface path
- Processor Logic: FPGA-based communication and data routing logic
- Input Voltage: 24 V DC nominal
- Power Consumption: Approx. 8.5 W
- Mounting: Control rack / dedicated GE board assembly mounting
- Indicators: RUN, STATUS, FAIL LED diagnostics
- Operating Temperature: 0 °C to +60 °C typical
- Dimensions: Approx. 14.7 × 5.15 × 11.4 cm
- Weight: Approx. 0.6 kg
4. Product Introduction
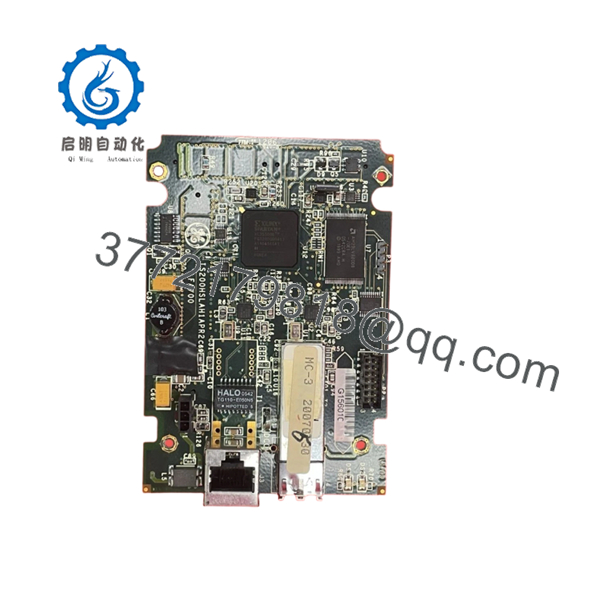
The GE IS200HSLAH1APR2 is a High-Speed Serial Link Interface Module used in GE EX2100 and Mark VI turbine control architectures. It provides communication between control processors and external I/O or related GE control assemblies through the HSSL network interface.
This HSLA module is commonly maintained as a spare for legacy turbine control systems where replacing the original communication board requires matching hardware revision and configuration details. Verify exact revision compatibility with the OEM documentation before installation.

- IS200HSLAH1APR2
- IS200HSLAH1APR2
5. Installation & Configuration Guide
Stage 1: Pre-Installation Preparation (Estimated Time: 10 minutes)
⚠️ Safety First
- Notify operations personnel before removing the module.
- Place the equipment in a safe operating condition.
- Apply lockout/tagout procedures.
- Remove power and wait at least 5 minutes for capacitor discharge.
Tools Required
- ESD wrist strap
- PH1 screwdriver
- Digital multimeter
- Wire labels
- Smartphone/camera for documentation
Data Backup
- Record existing rack position.
- Photograph module labels, connectors, and cable routing.
- Document communication settings and firmware information if available.
- Save current controller configuration.
Stage 2: Removing the Old Module (Estimated Time: 5 minutes)
- Remove front cover or protective bezel if installed.
- Label every communication cable before removal.
- Disconnect connectors carefully. Do not pull on wires.
- Release rack locking hardware.
- Pull the module straight out to avoid damaging backplane contacts.
- Inspect the slot for bent pins, contamination, or mechanical damage.
⚠️ Keep the removed IS200HSLAH1APR2 until the replacement is fully commissioned. It is the fastest reference for jumper positions, labels, and wiring verification.
Stage 3: Installing the New Module (Estimated Time: 10 minutes)
- Wear ESD protection before handling the replacement board.
- Verify the replacement part number matches:
- IS200HSLAH1APR2
- Compare hardware revision markings with the removed module.
- Install the module into the correct rack position.
- Ensure the board seats completely into the backplane.
- Reconnect HSSL and related communication cables.
Configuration Check
- Rack position matches
- Communication cables match original routing
- Connectors fully seated
- Module locking hardware secured
⚠️ Firmware mismatch is a common failure point. I have seen field replacements fail because a newer board revision was installed without checking the existing controller compatibility.
Stage 4: Power-On & Testing (Estimated Time: 15 minutes)
- Check the 24 V DC supply before energizing.
- Power up the control rack only.
- Observe LED status:
- Green RUN: normal operation
- Red FAIL: investigate fault condition
- Verify communication status in GE control software.
- Confirm HSSL communication is active.
- Perform system I/O validation.
⚠️ Troubleshooting Notes
- No communication: verify cable connection, rack location, and controller configuration.
- FAIL LED active: check firmware revision and module diagnostics.
- Intermittent link faults: inspect HSSL cable condition and grounding.
6. Frequently Asked Questions (FAQ)
Q1: Can GE IS200HSLAH1APR2 be hot-swapped under power?
A: Do not assume hot-swap capability. For turbine control hardware, remove power unless the exact rack configuration documentation confirms live replacement. Pulling communication boards under power can damage backplane interfaces.
Q2: Is the IS200HSLAH1APR2 obsolete?
A: This belongs to the legacy GE Mark VI / EX2100 generation. New OEM production availability may be limited, so many sites maintain New Original, New Surplus, or tested refurbished inventory.
Q3: What is the direct replacement for IS200HSLAH1APR2?
A: Replacement depends on the installed control platform, firmware level, and rack configuration. Do not substitute by appearance alone. Confirm with the GE parts list and application manual.
Q4: Will I lose programming when replacing this module?
A: The communication module itself does not normally contain the complete turbine application logic. However, always document the existing configuration before removal because system-specific settings may affect startup.
Q5: Why is surplus pricing lower than OEM list pricing?
A: Legacy industrial parts are often sourced from excess inventory, decommissioned systems, or maintenance stock. The important checks are traceability, testing records, and actual physical condition.
Q6: What condition should I expect when buying this part?
A: Confirm whether the unit is New Original (New Surplus), Factory Sealed, or Refurbished (tested). A proper supplier should provide inspection details, photos, and test documentation.
Q7: What inspection should be performed before installation?
A: Verify serial number, inspect PCB condition, check for corrosion or rework marks, confirm connectors, and test communication functions before placing the module into a critical turbine control system.


