WhatsApp: +86 16626708626
 Email:
 Phone: +86 16626708626
Description
Key Technical Specifications
- Full Model: PCI354-1022-38 (also marked CPCI354-1022-38; Jasper P/N 02088-019)
- Manufacturer: Jasper Electronics (Hybricon brand; Kaparel-era equivalent PS3358)
- Form Factor: 6U CompactPCI plug-in module, 38-pin output configuration
- Input Voltage: 100–240 VAC, 50/60 Hz
- Input Current: 7 A max
- Total Output Power: 350 W max
- Output V1: 5.0 V @ 40 A
- Output V2: 3.3 V @ 40 A
- Output V3: +12.0 V @ 9 A
- Output V4: −12.0 V @ 1 A
- Configuration Suffix: “-38” denotes the 38-pin output connector variant; sibling variants include -47 and -4 series with different pin/holdup options — verify the suffix against your chassis requirement before ordering
- Application: Powers CompactPCI backplanes in Hybricon/Jasper integrated chassis — defense, telecom, and industrial control systems
- Hot Swap: Plug-in cPCI form factor; verify holdup and sequencing behavior against your chassis documentation before any live insertion
- Mounting: Front-panel plug-in, cPCI card cage slot with ejector/injector levers
- Compliance: Designed to cPIC/CompactPCI power supply practice of its era; CE-era marking per original production date
Verify against your chassis power budget and the exact pin-configuration suffix before ordering — the -38, -47, and -4 series are not interchangeable connectors.
Product Introduction
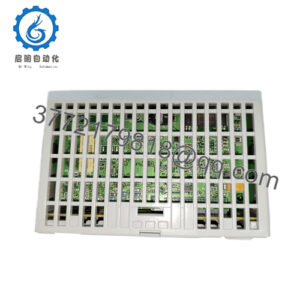
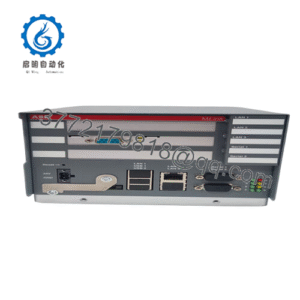
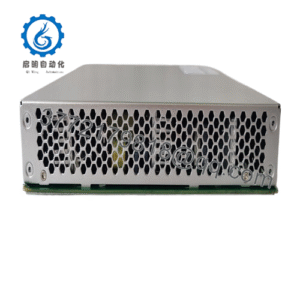
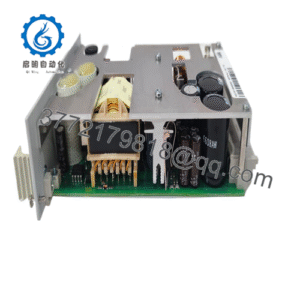
The Jasper Electronics PCI354-1022-38 (Hybricon CPCI354, cross-referenced as Kaparel PS3358) is a 6U CompactPCI plug-in power supply delivering up to 350 W to a cPCI backplane. It accepts 100–240 VAC input at up to 7 A and provides four outputs: 5.0 V at 40 A, 3.3 V at 40 A, +12 V at 9 A, and −12 V at 1 A.
These units power Hybricon and Jasper integrated CompactPCI chassis — card cages full of single-board computers, I/O, and comms cards in defense, telecom, and industrial installations. The dual high-current 5 V/3.3 V rails match the needs of dense cPCI card stacks from that era. Jasper discontinued this family, so genuine remaining stock is the practical path to keeping an installed chassis running, versus retrofitting a modern PSU and re-engineering the backplane power distribution.
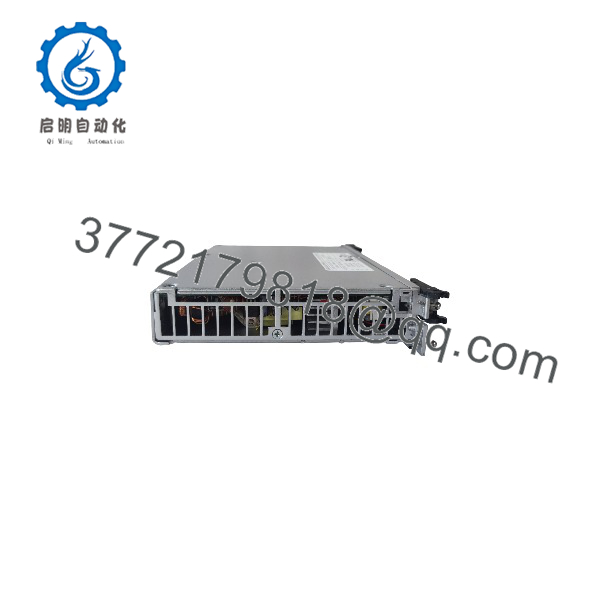
PCI354-1022-38
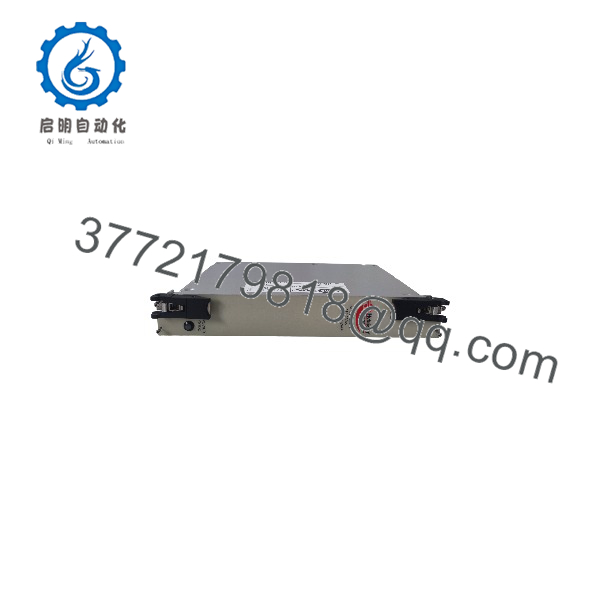
PCI354-1022-38
Installation & Configuration Guide
Stage 1: Pre-Installation Preparation (≈10 minutes)
⚠️ Safety First: Notify operations of downtime. Lock out/tag out the chassis AC input at the wall or PDU branch — not just the front switch. Wait 5 minutes; this supply’s output capacitors and the backplane distribution hold charge after removal. Verify 0 V on the backplane rails with a multimeter before touching anything.
- Tools Required: ESD wrist strap, multimeter (Fluke 115 or equivalent), screwdriver set, smartphone for photos.
- Data Backup: No program or configuration data in this unit — it’s a power supply. Your “backup” is documentation: photograph the front-panel connections (AC inlet, any status/sense connectors, alarm wiring) and record which slot the supply occupies. Note the exact model suffix on the nameplate (-38) — see the verification warning in Stage 3.
Stage 2: Removing the Old Supply (≈10 minutes)
- Confirm AC is locked out and the backplane is discharged (meter check on the 5 V and 3.3 V rails).
- Disconnect the AC input cord at the supply’s inlet and any alarm/status connections. Photograph first.
- Release the cPCI ejector/injector levers evenly — both sides together, in small increments. Do not pull one side first; that cockps the connector and bends pins in the backplane receptacle.
- Slide the supply straight out of the slot.
- Inspect the backplane power connector for bent pins, arcing marks, or discoloration. A heat-marked pin means a resistance problem that will kill the new supply too — fix the connector or slot before installing.
⚠️ Keep the old unit on the bench until the replacement is proven. Comparison of rail behavior is your fastest diagnostic.
Stage 3: Installing the New Supply (≈10 minutes)
- Ground yourself with the ESD strap.
- Verify the nameplate exactly: PCI354-1022-38, input rating matches your AC (100–240 VAC range covers most mains), and output configuration matches the chassis documentation. The “-38” is not cosmetic — the 38-pin output variant differs from the -47 and -4-series siblings in connector and option content. Order against the chassis bill of materials, not from a partial model number.
- No DIP switches or user configuration on this supply — output set points are fixed. All “configuration” is getting the right variant in the right slot.
- Align the supply in the card guides and seat it evenly using both levers until the connector fully engages.
- Reconnect AC input and alarm/status wiring per your photos.
Self-Checklist: [ ] Suffix -38 verified against chassis BOM, [ ] Connector fully seated with both levers latched, [ ] AC cord secured, [ ] Alarm wiring per photo.
Stage 4: Power-On & Testing (≈15 minutes)
- Pre-power check: Meter the AC input at the supply’s inlet for correct voltage. Verify chassis ground continuity.
- With all cPCI boards still in place, restore AC at the locked-out branch. Power-up sequencing: watch the front-panel LED/indicator on the supply — a healthy unit comes up with the rails in spec.
- Meter the backplane rails at a spare slot or test point: 5.0 V ±5%, 3.3 V ±5%, +12 V and −12 V within tolerance. Verify with the card stack loaded — a supply that reads correct unloaded but sags with the boards in has failed output regulation.
- Confirm all boards in the chassis booted normally — watch the SBC’s power-up state and any watchdog LEDs.
- Monitor for 15–30 minutes: check for over-temperature indications, unusual fan noise (if the supply is fan-cooled), and stable rails under load.
- Update the maintenance log: serial number, date, rail measurements at load.
⚠️ Troubleshooting Note: Chassis dead on power-up — reseat the supply with the levers and check the AC inlet fuse before condemning the unit; cPCI connector seating issues look exactly like dead supplies. Rails low under load — measure at the backplane, not just at the supply front panel, to separate connector resistance from supply failure. One board booting erratically after the swap — likely a marginal backplane power pin in that slot, not the supply. Repeated failures in the same slot — the slot’s connector or the chassis airflow is the problem; rotating the failure into a new supply without fixing the cause is how plants burn through their spares.
Total time for an engineer familiar with cPCI hardware: 30–45 minutes including load verification.
Frequently Asked Questions (FAQ)
Q1: Can I hot-swap this supply with the chassis running?
Not without checking your chassis documentation first. While the cPCI form factor is physically plug-in, a single-supply chassis loses all rails the moment you pull it — every board hard-resets and unsaved data is gone. Some Hybricon chassis supported redundant N+1 supply pairs with ORing and holdup, where a live swap is the designed procedure. Know which architecture you have before pulling anything. Honestly, if you’re not certain, treat it as a full downtime event — that’s the safe default.
Q2: Is this part obsolete, and is it genuinely new?
Yes — Jasper Electronics discontinued the CPCI354 family; it’s legacy hardware with no factory production. Our stock is New Original / New Surplus: genuine OEM units from cancelled system builds and distributor liquidations, never installed. Every unit is functionally tested before shipping — AC power-up, all four rails measured at no-load and at load, ripple check, and a minimum 24-hour burn-in — with test photos/videos available on request. Refurbished units are available at lower cost, labeled exactly as refurbished.
Q3: Why do some listings call this a “motion control card”?
Because some third-party resellers copy part numbers into generic templates without knowing what the part is. The PCI354-1022-38 is a 350 W CompactPCI power supply — 100–240 VAC in, 5 V/3.3 V/±12 V out. It has no pulse outputs, no feedback inputs, no motion function whatsoever. If you see it described as a motion control board, that listing is unreliable, and you should apply the same skepticism to their condition claims.
Q4: Is the Kaparel PS3358 the same unit?
Yes — the Kaparel PS3358 350 W AC power supply and the Jasper/Hybricon CPCI354-1022-38 are the same hardware under different corporate names (Kaparel was absorbed into the lineage that later operated under Hybricon/Jasper branding). Verify the output pin configuration matches your chassis if your documentation references the Kaparel part number, but in practice they interchange.
Q5: What’s the difference between the -38, -47, and -4 suffixes?
Output connector and option configuration. The -38 is the 38-pin variant; the -47 (same 350 W rating) and the -4-series (200 W, 175 W classes) differ in connector, pinout options, and power class. They are not drop-in interchangeable — a -47 in a chassis wired for a -38 may not engage the correct pins. Always order against the exact suffix on the removed unit or the chassis BOM. This is the single most common ordering error on this family.
Q6: Why is your price lower than some marketplace listings?
Because remaining stock of discontinued parts moves through surplus channels, and we buy that inventory at negotiated prices — cancelled system builds, distributor clearances — and price it to move. Same OEM part, functionally tested and warranted by us rather than the manufacturer. We state condition plainly on every listing: New Original, New Surplus, or Refurbished. No clones, no re-labeled pulls dressed as new.
Q7: What warranty do you offer?
New Original / New Surplus: 1-year replacement warranty. Refurbished: 6 months. Every unit ships with a test report covering rail voltages at no-load and load, ripple, and burn-in hours. Warranty failures are replaced, no restocking fees.