
 WhatsApp: +86 16626708626
 Email:
  Phone: +86 16626708626
Description
Key Technical Specifications
| Parameter | Value |
|---|---|
| Manufacturer | KEBA |
| Model | FM265/A |
| Product Type | PROFIBUS interface slave module |
| Product Series | KeConnect C2 |
| Communication Protocol | PROFIBUS DP / DPV1 |
| Communication Mode | Slave interface |
| Transmission Rate | 9.6 kbit/s to 12 Mbit/s |
| Maximum Cable Length | 100 m at 12 Mbit/s; 1,200 m at 9.6 kbit/s |
| Power Supply | 24 V DC and 5 V DC from K-Bus |
| Maximum 5 V Power Consumption | 1.4 W |
| Status Indicators | STATUS LED, BUSFAULT LED |
| Electrical Isolation | Signal lines galvanically isolated |
| Maximum Modules per CPU | 1 FM265/A per CPU module |
| Operating Temperature | +5 °C to +55 °C |
| Storage Temperature | −40 °C to +70 °C |
| Humidity Range | 10% to 95% RH, non-condensing |
| Dimensions | Height 120 mm; depth 100 mm; width 32.5 mm including K-Bus plug |
| Weight | Approximately 140 g |
The KEBA FM265/A is a PROFIBUS DP slave communication module for the KeConnect C2 automation platform. It enables cyclic process data exchange and acyclic parameter communication between KEBA controllers and PROFIBUS field devices. The module supports DPV1 communication and transmission speeds from 9.6 kbit/s up to 12 Mbit/s.
Product Introduction
The KEBA FM265/A is a PROFIBUS interface module used to connect KEBA control systems with PROFIBUS DP networks. It is commonly installed in industrial automation equipment where communication between controllers, drives, remote I/O stations, and machine components is required.
The module provides DPV1 communication, LED-based diagnostics, and galvanic isolation on PROFIBUS signal lines. For legacy KEBA systems, FM265/A remains a commonly sourced spare part when maintaining existing KeConnect C2 installations. Verify the exact CPU platform and firmware compatibility before replacement.
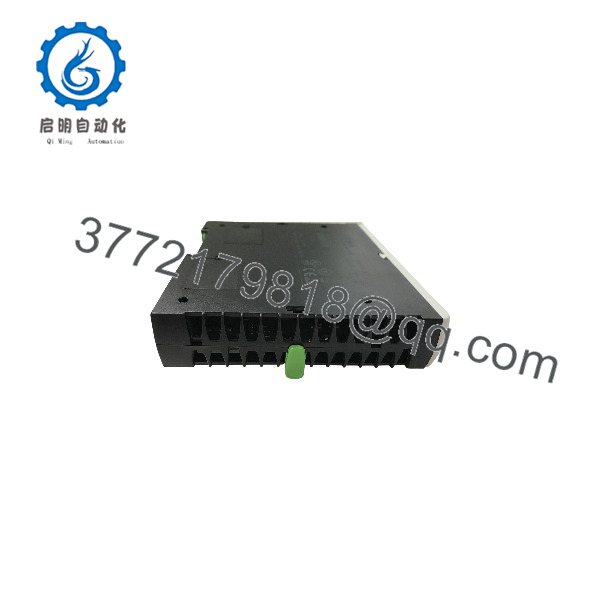
FM265/A
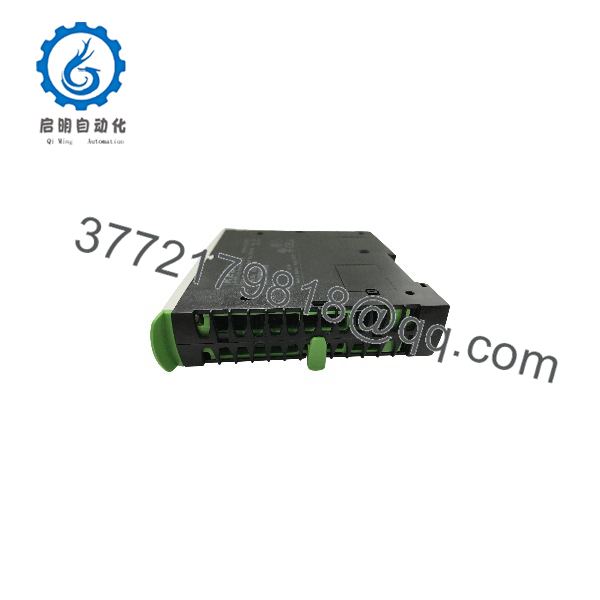
FM265/A
Installation & Configuration Guide
Stage 1: Pre-Installation Preparation — Approximately 15 Minutes
⚠️ Safety First: Notify machine operations before replacing the communication module. Stop the equipment in a controlled condition, isolate cabinet power according to the site’s LOTO procedure, and wait at least 5 minutes for stored energy discharge.
Tools Required:
- ESD wrist strap
- Digital multimeter
- Small screwdriver
- Wire labels
- PROFIBUS connector tool
- Laptop with KEBA configuration software
- Smartphone for reference photographs
Data Backup:
- Record the existing FM265/A hardware identification label.
- Document the CPU model and firmware version.
- Save PROFIBUS configuration parameters.
- Record:
- PROFIBUS station address
- Baud rate
- Master configuration
- GSD file version
- Photograph:
- PROFIBUS connector wiring
- Module position on the K-Bus
- Address switches or configuration settings
⚠️ Important: A communication module replacement can fail even when the hardware is correct if the PROFIBUS address or master configuration does not match the original installation.
Stage 2: Removing the Old Module — Approximately 5 Minutes
- Switch off cabinet power completely.
- Verify the 24 V DC supply is at 0 V using a multimeter.
- Remove the PROFIBUS connector carefully.
- Label the network cable position.
- Release the module locking mechanism.
- Pull the /A straight away from the K-Bus connection.
- Inspect the K-Bus contacts for contamination or mechanical damage.
⚠️ Note: Keep the original module until communication testing is complete. The old unit provides a reference for address settings and hardware identification.
Stage 3: Installing the New /A — Approximately 10 Minutes
- Verify the replacement part number matches /A.
- Confirm the module belongs to the correct KEBA KeConnect C2 system.
- Check PROFIBUS address settings against the original module.
- Install the module onto the K-Bus connection.
- Press firmly until the module is fully seated.
- Reinstall the PROFIBUS connector.
- Confirm cable shielding and termination resistor settings.
Configuration Clone Checklist:
- /A model verified
- PROFIBUS address copied
- Master configuration checked
- GSD file confirmed
- Cable termination verified
- K-Bus connection secure
Stage 4: Power-On & Testing — Approximately 15 Minutes
- Check for wiring errors before applying power.
- Energize the KEBA controller rack.
- Observe module LEDs:
- STATUS LED indicates module operation.
- BUSFAULT LED indicates PROFIBUS communication issues.
- Connect engineering software.
- Verify module recognition.
- Confirm PROFIBUS communication with the master.
- Check cyclic process data exchange.
- Test connected field devices.
- Monitor communication stability.
⚠️ Troubleshooting Note:
- BUSFAULT LED active: Check PROFIBUS address, baud rate, connector wiring, and termination.
- Module not detected: Check K-Bus seating and CPU compatibility.
- Intermittent communication: Inspect cable shielding, grounding, and electromagnetic interference sources.
The /A supports PROFIBUS transmission rates up to 12 Mbit/s and provides diagnostic LEDs for field troubleshooting.
Frequently Asked Questions (FAQ)
Can the KEBA /A be hot-swapped?
No. The /A should be replaced with cabinet power removed. Removing a K-Bus communication module under power can damage the module or affect the controller system state.
Is the KEBA /A obsolete?
The /A belongs to the older KeConnect C2 product family. It is commonly maintained as a spare part for existing machines rather than selected for new system designs. Availability depends on remaining inventory and supplier stock.
What communication protocol does /A use?
The /A uses PROFIBUS DP with DPV1 functions. It supports cyclic process data exchange and acyclic parameter access between KEBA controllers and PROFIBUS devices.
Will I lose PLC programming when replacing /A?
Normally, no. The /A is a communication interface module, not the main controller CPU. However, PROFIBUS configuration parameters, addresses, and master settings must match the original installation.
Can I replace /A with another PROFIBUS module?
Do not assume direct compatibility. The replacement must match the KEBA controller family, K-Bus interface, firmware requirements, and PROFIBUS configuration. A physically similar module may not operate correctly.
Why is /A available at a lower price than a new OEM component?
Industrial automation spare parts often come from unused original inventory, machine upgrades, or system decommissioning projects. Price differences usually reflect stock condition, testing scope, warranty coverage, and availability.
What should I verify before purchasing a used /A?
Request:
- Actual module photos
- Front label and serial number
- Condition statement:
- New Original / New Surplus
- Refurbished (tested)
- PROFIBUS communication test record
- Warranty terms
For production equipment, verify the exact hardware revision before installation. A matching part number alone does not guarantee successful commissioning.



