
 WhatsApp: +86 16626708626
 Email:
  Phone: +86 16626708626
Description
Key Technical Specifications
| Parameter | Value |
|---|---|
| Manufacturer | KUKA Roboter GmbH |
| Model | KSD1-16 |
| Product Type | Servo Drive Module |
| Application | Industrial robot axis amplifier |
| Series | KSD Servo Drive |
| Common Part Number | 00-122-285 |
| Rated Current | 8 A |
| Maximum Current | 16 A |
| Output Voltage | 0–480 VAC |
| DC Link Voltage | 0–770 VDC |
| Interface | KUKA internal drive communication |
| Communication | Ethernet / KUKA controller bus dependent |
| Cooling | Integrated heat sink, cabinet cooling |
| Mounting | KUKA robot controller cabinet |
| Weight | Approximately 1.36–1.81 kg depending on specification source |
| Dimensions | Approximately 88 mm × 240 mm × 180 mm |
| Protection | Cabinet installation, IP20 environment |
Specifications vary slightly by KSD1-16 revision and associated KUKA controller platform. Confirm the complete identification label before ordering a replacement.
Product Introduction
The KUKA KSD1-16 is a servo drive module used in KUKA industrial robot controllers to regulate axis motor power and motion response. It provides current-controlled servo amplification for robot axes and external motion units in compatible KUKA systems.
This module is commonly maintained as a spare part for legacy KUKA robotic cells. Successful replacement depends on matching the controller generation, drive configuration, axis assignment, firmware compatibility, and motor feedback wiring.
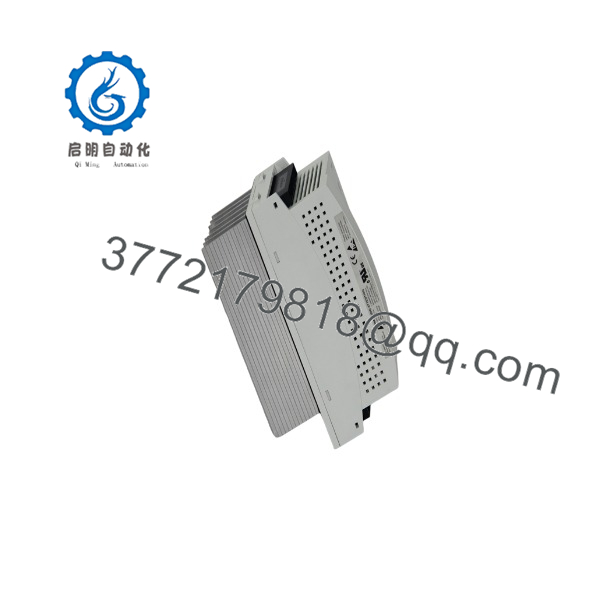
KSD1-16
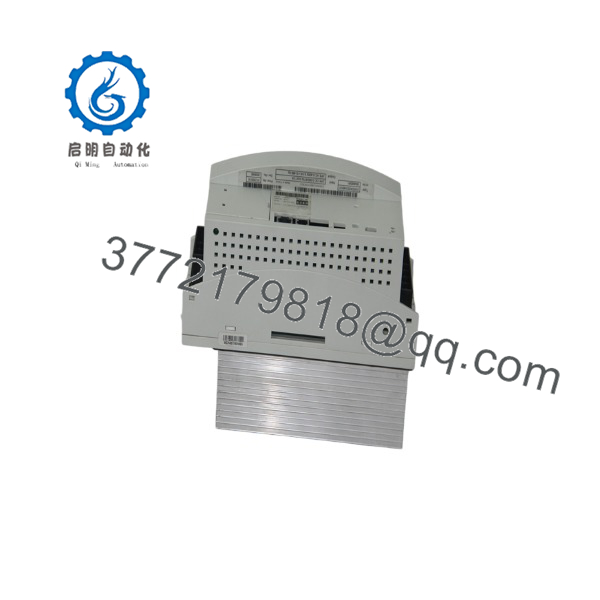
KSD1-16
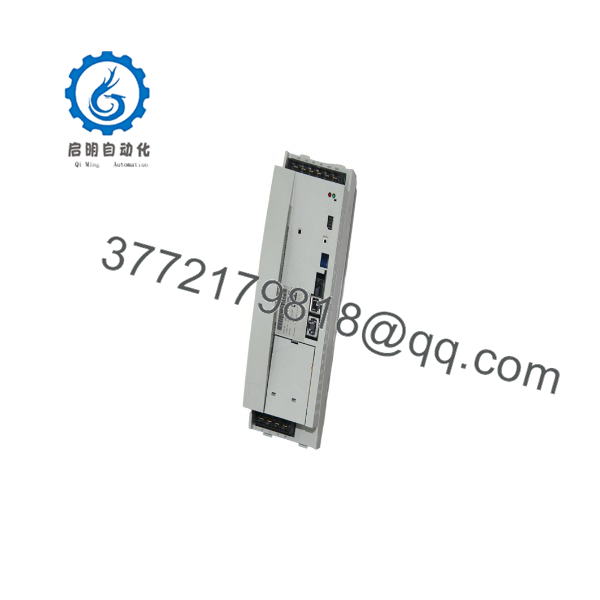
KSD1-16
Installation & Configuration Guide
Stage 1: Pre-Installation Preparation — 10–15 minutes
⚠️ Safety First
- Notify production and robot operators before maintenance.
- Move the robot into a safe mechanical position.
- Apply lockout/tagout to the robot controller power supply.
- Disconnect incoming AC power.
- Wait for DC bus discharge according to KUKA maintenance procedures.
- Verify voltage absence with a suitable multimeter.
Tools Required
- ESD wrist strap
- PH1 screwdriver
- Digital multimeter
- Wire labels
- Smartphone for reference photos
- KUKA maintenance laptop (if parameter verification is required)
Data Backup
- Record the complete KSD1-16 label information.
- Photograph module location inside the KRC cabinet.
- Record axis assignment.
- Photograph all power and communication connections.
- Save robot controller parameters.
- Record controller model and software version.
⚠️ Do not replace a KSD1-16 based only on the front label. Verify the complete KUKA controller configuration first.
Stage 2: Removing the Old Module — 5–10 minutes
- Open the KUKA controller cabinet.
- Confirm DC bus voltage has discharged.
- Identify the failed KSD1-16 module.
- Label motor power and feedback connections.
- Disconnect the module connectors carefully.
- Release the mechanical retaining hardware.
- Remove the drive module straight from the mounting position.
- Inspect connectors and the drive bus interface.
⚠️ Keep the failed module until commissioning is complete. It provides a reference for wiring and configuration.
Stage 3: Installing the New Module — 10 minutes
- Wear an ESD wrist strap.
- Confirm replacement model is .
- Compare the module label with the removed unit.
- Verify current rating and controller compatibility.
Configuration Clone (Critical)
- Confirm axis assignment.
- Verify motor data.
- Confirm encoder/feedback connection.
- Verify controller software compatibility.
- Confirm drive bus recognition.
- Insert the module into the correct cabinet position.
- Secure mounting hardware.
- Reconnect motor power cables.
- Reconnect communication and feedback connectors.
- Verify grounding.
Self-Checklist
- Correct model verified
- Axis assignment confirmed
- Motor wiring checked
- Feedback wiring checked
- Drive seated correctly
- Grounding verified
Stage 4: Power-On & Testing — 15–30 minutes
- Perform a final wiring inspection.
- Restore controller power.
- Observe KUKA controller startup diagnostics.
- Check drive module status.
- Verify axis recognition.
- Clear only confirmed faults.
- Test axis movement at reduced speed.
- Verify encoder feedback.
- Run a controlled robot program.
⚠️ Troubleshooting Note
- Drive not detected: Check module seating and KUKA drive bus connection.
- Axis fault immediately after startup: Check motor cable, encoder cable, and axis assignment.
- Overcurrent fault: Verify motor phase wiring and correct KSD rating.
- Position error: Check feedback wiring and calibration parameters.
Frequently Asked Questions (FAQ)
Can I hot-swap the KUKA ?
No. The is a high-energy servo drive module. Remove power and verify DC bus discharge before replacement. Live removal can damage the module and expose personnel to hazardous voltage.
Is the obsolete?
Yes. The belongs to older KUKA robot controller generations. Availability typically comes from surplus inventory, tested refurbished stock, or machine recovery channels.
Is a complete ordering number?
It identifies the servo module family, but the complete system match requires checking the controller type, software version, axis assignment, and related drive modules.
Can I replace KSD1-08 with ?
Not automatically. Although both belong to the KSD1 family, current ratings differ. A higher-current module may require controller verification and parameter checks before use.
Will I lose robot programs when replacing the ?
Normally, the robot program is stored in the KUKA controller, not the servo drive module. However, axis configuration and calibration data must be verified after replacement.
Why is available below OEM pricing?
Legacy robot spare parts are often sourced from removed production cells, surplus warehouses, or repair inventories. Price depends on condition: New Original, New Surplus, and Refurbished (tested) units should be evaluated separately.
What information should I provide when ordering a ?
Provide:
- Complete label photo
- KUKA controller model (KRC1/KRC2/etc.)
- Robot model
- Axis location
- Software version
- Existing wiring photos
These details prevent installing a physically similar drive that is not compatible with the existing robot system.



