
 WhatsApp: +86 16626708626
 Email:
  Phone: +86 16626708626
Description
Key Technical Specifications
| Parameter | Value |
|---|---|
| Part Number | R7D-AP01H |
| Series | SmartStep A |
| Output Power | 100 W |
| Input Voltage | Single-phase 200-230 VAC, 50/60 Hz |
| Applicable Motor | Omron R7M-A series AC servo motor |
| Command Interface | Pulse train (sign + pulse, or 90° phase difference) |
| Feedback | Incremental encoder |
| Control Method | All-digital PWM, IGBT-based |
| Braking | Built-in regenerative braking |
| Gain Tuning | Auto-tuning, electronic gear ratio |
| Protective Functions | Overcurrent, overvoltage, undervoltage, overload, encoder error |
| Mounting | Panel/surface mount |
| Lifecycle Status | Discontinued (Omron-announced) |
Product Introduction & Supply Chain Strategy
The R7D-AP01H is a single-axis SmartStep A servo driver built to run Omron R7M-A servo motors in closed-loop position, speed, or torque mode, taking pulse-train commands directly from a PLC or motion controller. Its compact footprint and pulse-train interface made it a standard fit on pick-and-place, indexing, and labeling equipment.
Omron has discontinued the R7D-AP line, routing new-system buyers toward the R7D-BP/R88D-GT/R88D-KT platforms — but those parameter sets and mounting dimensions aren’t drop-in compatible with an existing R7M-A machine. Securing New Surplus R7D-AP01H stock now avoids a parameter-remapping retrofit later and keeps TCO well below a controller-and-motor swap forced by a stock-out.
Installation & Configuration Guide
Stage 1: Pre-Installation (Prep & Safety)
Lock out and de-energize the 200-230 VAC supply feeding the drive; servo bus capacitors hold a charge after power-down, so wait the manufacturer’s specified discharge time before opening the terminal cover. Put on a grounded ESD wrist strap. Photograph the terminal block wiring and the pulse/encoder connector pinout before disconnecting.
Stage 2: Removal
Disconnect the motor power leads, encoder cable, and pulse-command connector in that order. Release the panel mounting screws and lift the driver straight off its mounting surface, avoiding strain on the connector pins.
Stage 3: Installation (Clone & Seat)
Mount the replacement R7D-AP01H in the same panel location, maintaining clearance for convection cooling. Reconnect the encoder cable and pulse-command connector exactly as photographed, then land the motor power leads in the correct phase order.
Stage 4: Power-On & Testing
Verify the 200-230 VAC input rail is present and correctly phased before energizing the drive. Watch the front-panel display or status LEDs for a fault code on power-up; an encoder-error or overcurrent indication usually points to a wiring mismatch rather than a bad module. Command a low-speed jog and confirm smooth rotation before returning the axis to automatic operation.
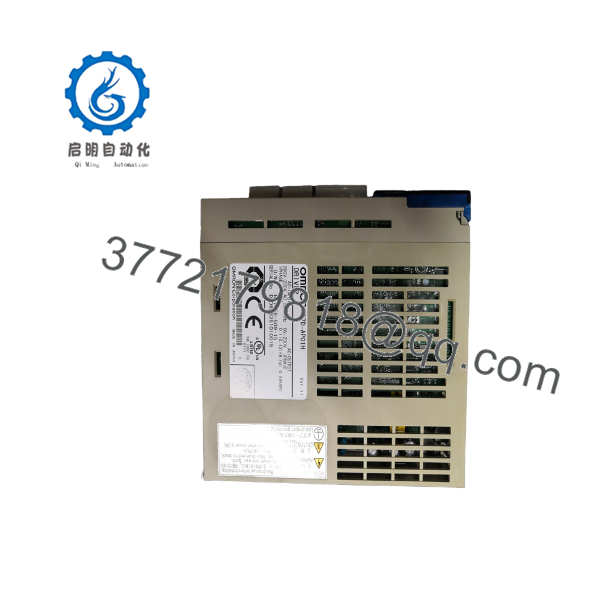
R7D-AP01H
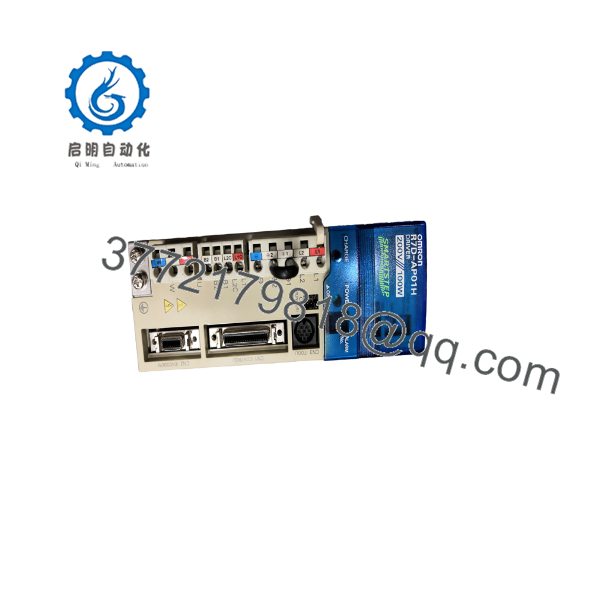
R7D-AP01H
Firmware/Software Versions & Upgrade Notes
The R7D-AP01H does not use field-loadable firmware in the PLC sense — its control logic is fixed at manufacture, and configuration lives in the driver’s internal parameter set rather than a flashable image. What matters during a swap is parameter set transfer: back up the outgoing driver’s full parameter list (gain settings, electronic gear ratio, pulse-command scaling) using a Digital Operator or CX-Drive software before removal, then load the identical parameter set into the replacement unit.
Do not assume factory-default parameters will match your machine’s tuned settings — a mismatched gear ratio or gain value can cause overshoot or nuisance overcurrent trips on first power-up. If migrating to a replacement R7D-BP or R88D-KT driver instead of a like-for-like R7D-AP01H, treat it as a full re-commissioning, not a drop-in swap, since parameter numbering and default gains differ between the two families.
Frequently Asked Questions (FAQ)
Is this actually a new unit, or is it refurbished?
It’s New Surplus — original OEM manufacture from unused Omron channel inventory, never installed or run in a live system. It’s not a pulled, repaired, or cosmetically restored unit.
Why is this discontinued, and what’s the replacement path?
Omron discontinued the SmartStep A (R7D-AP) line in favor of the R7D-BP and R88D-GT/KT families paired with R88M-G/R88M-K motors. Those replacements are not parameter- or dimension-compatible with an existing R7M-A motor, which is why buying remaining stock is usually cheaper than a full axis retrofit.
Can I hot-swap this driver while the machine is running?
No. Always lock out the 200-230 VAC supply and allow the bus capacitors to discharge fully before disconnecting or connecting any wiring.
Will I need to re-tune the drive after installation?
If you transfer the exact parameter set from the outgoing unit (gain values, electronic gear ratio, pulse scaling), the axis should run without re-tuning. Skipping that step means starting from factory defaults, which rarely matches a machine’s original commissioning.
What’s the warranty on a New Surplus unit?
We back New Surplus units with a 1-2 year warranty — a fraction of the cost of chasing a full servo system retrofit and well short of the risk profile on an unverified used unit with no warranty at all.
How do I confirm this unit is genuine Omron and not counterfeit?
Every unit ships with an OEM packing slip, a verifiable Omron serial number, and our QC test report confirming power-on self-test and pulse-command response checks passed.



