
 WhatsApp: +86 16626708626
 Email:
  Phone: +86 16626708626
Description
Key Technical Specifications
| Parameter | Value |
|---|---|
| Model | AC7-00712-1113 |
| Manufacturer | Peritek |
| Product Family | AC7 Series |
| Product Type | Industrial automation module |
| Part Number | AC7-00712-1113 |
| Application | Industrial control / automation equipment |
| Hardware Revision | Not verified from available public documentation |
| Supply Voltage | Not verified |
| Communication Interface | Not verified |
| I/O Configuration | Not verified |
| Operating Temperature | Not verified |
| Dimensions | Not verified |
| Weight | Not verified |
| Lifecycle | Legacy / limited availability |
Verification note: I would not publish voltage, I/O count, communication protocol, memory, or environmental ratings for this part without the OEM datasheet or a clear photograph of the nameplate and connector side. The public sources I found only establish the Peritek AC7-00712-1113 part-number association; they do not substantiate those engineering parameters.
Product Introduction
The Peritek AC7-00712-1113 is an industrial automation component identified in industrial spare-parts inventories as a Peritek AC7-series module. It is relevant primarily to legacy equipment where maintaining the original hardware is preferable to modifying an established control-system architecture.
Because detailed OEM specifications are not readily available in the public documentation located for this exact part number, replacement should be based on the complete part number, board revision, connector arrangement, and the original equipment documentation rather than on a generic AC7-series description.
Installation & Configuration Guide
Stage 1: Pre-Installation Preparation — About 10 Minutes
⚠️ Safety First: Place the controlled equipment in its approved safe state and follow the plant’s lockout/tagout procedure before removing the existing module.
Tools Required:
- ESD wrist strap
- Digital multimeter
- Appropriate screwdriver
- Wire labels
- Smartphone or camera
- Existing equipment drawings
Data Backup:
- Record the complete AC7-00712-1113 part number.
- Photograph the front, rear, connectors, and nameplate.
- Record any PCB revision or serial number.
- Photograph all wiring before disconnection.
- Document switch, jumper, or rotary-selector positions.
- Preserve the existing controller configuration where applicable.
Stage 2: Removing the Old Module — About 5 Minutes
- Confirm the equipment is in a safe state.
- Isolate the applicable power source.
- Verify the circuit is de-energized with an appropriate meter.
- Label every connection.
- Disconnect cables without pulling on individual conductors.
- Release the module’s mounting hardware.
- Remove the module straight from its mounting position.
- Inspect the mating connector and backplane for damage or contamination.
⚠️ Keep the original AC7-00712-1113 until commissioning is complete. With a legacy component for which public technical documentation is limited, the original unit is an important reference for configuration and physical installation.
Stage 3: Installing the New Module — About 5 Minutes
- Establish ESD protection.
- Verify the replacement part number character-by-character.
- Compare the PCB revision and connector arrangement with the original.
- Check for bent pins, corrosion, or physical damage.
- Install the replacement in the original mounting position.
- Reconnect the wiring according to the photographs and drawings.
- Recheck every connection before energizing the equipment.
Self-Checklist:
- Exact part number verified
- PCB revision checked
- Connector arrangement matches
- Wiring verified
- Mounting hardware secured
- Configuration switches documented
Stage 4: Power-On & Testing — About 10-15 Minutes
- Perform a final visual inspection.
- Check the relevant supply rail before powering the module.
- Energize the system according to the OEM procedure.
- Observe status indicators, if fitted.
- Confirm the host controller recognizes the hardware.
- Verify connected signals or communications.
- Perform a controlled functional test.
- Compare measured behavior against the original module’s documented operating values.
⚠️ Do not infer normal operation from power-up alone. A legacy board can power correctly while still having an incompatible revision, configuration, or interface.
Troubleshooting Note: If the replacement does not initialize, first compare the exact part number, revision, connector pinout, power requirements, and configuration settings. Do not modify wiring until the original documentation has been checked.
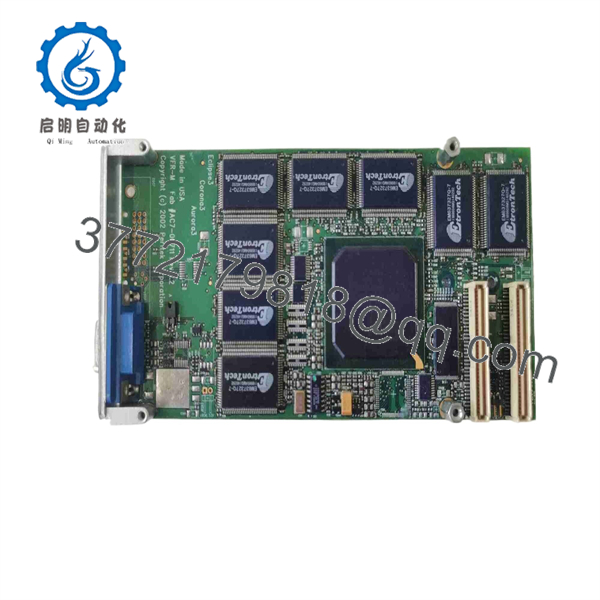
AC7-00712-1113
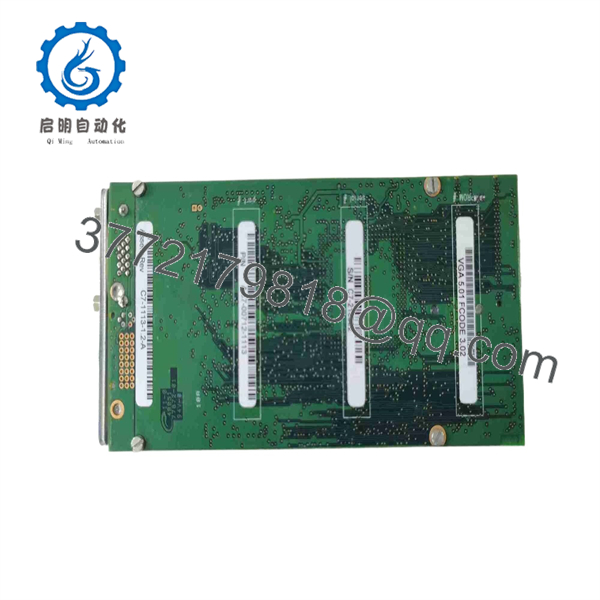
AC7-00712-1113
Frequently Asked Questions (FAQ)
What is Peritek ?
It is a Peritek AC7-series industrial automation component identified by the exact part number . Public industrial spare-parts sources associate the number with Peritek.
What are the exact electrical specifications?
They are not sufficiently verified from the public sources located for this exact part number. I would not recommend publishing assumed voltage, current, I/O count, or communications data on a product page without OEM documentation.
Is obsolete?
It appears to be a legacy/limited-availability industrial spare part, but I did not find a reliable OEM lifecycle notice establishing a formal discontinuation date. Treat availability as supplier-dependent rather than claiming a definitive obsolete status.
Can I substitute another AC7-series module?
Not without checking the complete part number and hardware revision. The suffix should be treated as part of the identification. Similar-looking AC7 modules should not be assumed electrically or mechanically interchangeable.
What should I provide when requesting a replacement?
Provide the complete number, photographs of the nameplate and connectors, PCB revision, equipment manufacturer/model, and the position where the module is installed. Those details substantially reduce the risk of receiving a superficially similar but incompatible board.
Should I buy New Original or Refurbished?
For a legacy control system, either can be appropriate depending on availability and risk tolerance. For New Original/New Surplus, request photographs of the actual unit and original labels. For Refurbished/Tested, request the test procedure, test results, warranty terms, and evidence that the exact part number was tested rather than a similar AC7-series board.
Why are detailed specifications difficult to verify for this part?
The exact appears in multiple industrial spare-parts inventories, but the public pages located do not reproduce a reliable OEM datasheet for this specific configuration. For an engineering product page, it is safer to mark unsupported parameters as “Not verified” than to fill them with specifications from a different AC7 variant.



