WhatsApp: +86 16626708626
 Email:
 Phone: +86 16626708626
Description
Key Technical Specifications
| Parameter | Value |
| Backplane Current Load | 800 mA at 5 V DC; 0 mA at 24 V DC |
| Operating Temperature | 0 to 60°C (32 to 140°F) |
| Storage Temperature | -40 to 85°C (-40 to 185°F) |
| Relative Humidity | 5% to 95% non-condensing |
| Communication Port | One PROFIBUS DP-V1 Master port (DB9 female connector) |
| Configuration Port | RS-232 DB9 or Mini-USB depending on hardware revision |
| Baud Rate Support | Up to 12 Mbps (auto-detecting) |
| Enclosure Type | Standard Rockwell Automation CompactLogix single-slot module |
| LED Indicators | Module Status, Backplane Transfer Status, PROFIBUS Communication Status |
| Conformal Coating | Standard IPC-A-610 Class 2 protection against harsh environments |
Product Introduction & Supply Chain Strategy
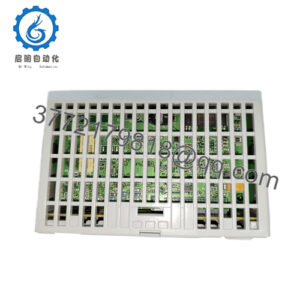
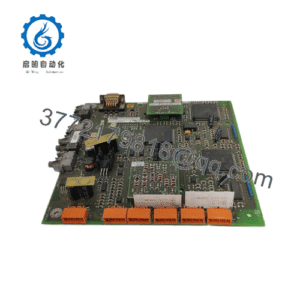
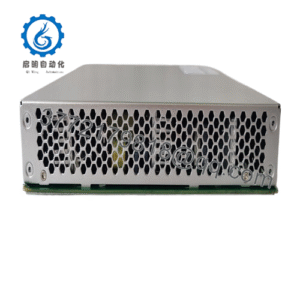
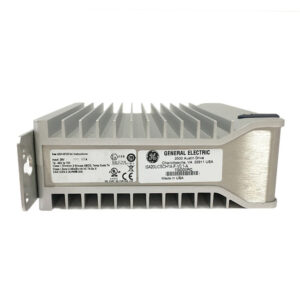
The ProSoft Technology MVI69-PDPMV1 is a dedicated PROFIBUS DP Master module designed for Rockwell Automation CompactLogix controllers. It functions as a high-performance network scanner, facilitating cyclic and acyclic (V1) data exchange between the CompactLogix processor and various PROFIBUS-enabled field devices such as drives, valves, and remote I/O nodes.
Procuring this module as genuine New Surplus ensures absolute reliability for your automation architecture. Refurbished PROFIBUS communication cards often contain degraded physical layer transceiver chips and worn backplane contacts that cause sudden network dropouts and bus faults. Keeping a factory-fresh spare unit on your shelf minimizes financial exposure to unplanned downtime and guarantees long-term plant performance.
Installation & Configuration Guide
1.Pre-Installation (Prep & Safety):Tools needed: ESD wrist strap, DB9 PROFIBUS cable, screwdriver.
Execute a lock-out/tag-out (LOTO) procedure on the CompactLogix chassis power supply. Put on a grounded ESD wrist strap before handling electronic hardware. Save a backup of your current controller program and document the PROFIBUS node addresses and baud rate settings.
Verification: Confirm chassis power LEDs are fully off and system voltage reads 0 V DC.
2.Removal:Hardware extraction.
Disconnect the PROFIBUS cable and configuration cable from the front panel. Pull the locking tab on the module and carefully slide the MVI69-PDPMV1 straight out of the CompactLogix rack slot.
Verification: Visually inspect the backplane connector pins inside the chassis slot to ensure they remain straight and undamaged.
3.Installation (Clone & Seat):Hardware mounting.
Align the new surplus module with the appropriate chassis slot guides (ensuring correct distance rating relative to the power supply) and push it straight in until the locking mechanism clicks securely. Reconnect the PROFIBUS cable using the supplied adapter if needed.
Verification: Check that the module is flush with adjacent cards and the locking latch is fully engaged.
4.Power-On & Testing:System startup.
Restore power to the CompactLogix chassis. Observe the startup LED sequence to verify successful backplane communication and PROFIBUS token ring establishment. Download or verify the configuration file via ProSoft Configuration Builder (PCB) and Studio 5000 Logix Designer.
Verification: Confirm that the module OK LED glows solid green and network status indicators show active data communication with all slave nodes.
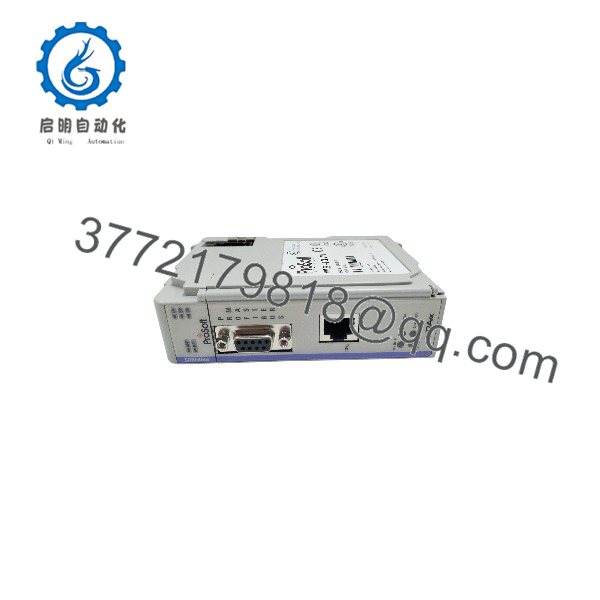
MVI69-PDPMV1
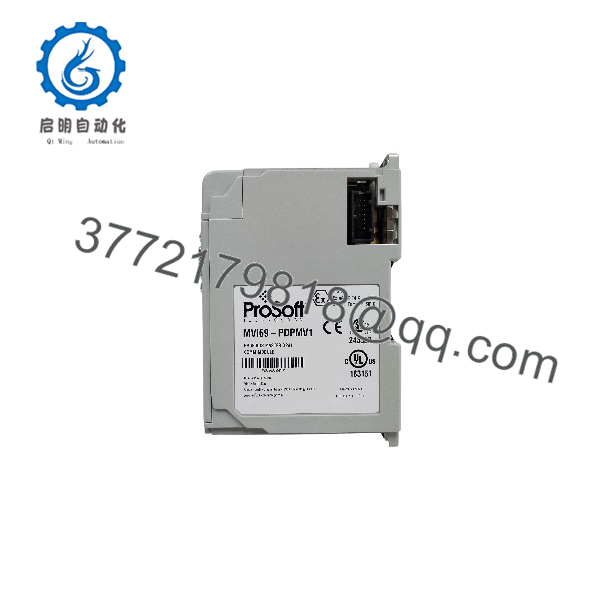
MVI69-PDPMV1
Firmware/Software Versions & Upgrade Notes
- Recommended Firmware: Version 1.04 or later ensures stable PROFIBUS DPV1 messaging execution and resolves memory handling issues found in legacy revisions.
- Compatibility Notes: Compatible with CompactLogix controllers supporting ladder logic integration via ProSoft Configuration Builder (PCB) and sample ladder files.
- Upgrade Risk Warning: Avoid updating module firmware during active production runs. Always perform offline configuration transfers to prevent unexpected bus interruptions on active PROFIBUS loops.
Frequently Asked Questions (FAQ)
Is this MVI69-PDPMV1 module genuinely new and unused?
Yes. This unit is a Brand New Surplus item, delivered in original OEM packaging with pristine backplane pins and zero operating hours.
Why choose New Surplus over refurbished alternatives?
Refurbished communication cards frequently feature worn electronic components and degraded transceivers that cause erratic network dropouts. New Surplus provides 100% OEM reliability, avoiding costly emergency downtime.
What warranty comes with this module?
Every unit is backed by a full 1-year replacement warranty, ensuring total peace of mind for your spare inventory.
Can I hot-swap the module in an active rack?
No. CompactLogix systems and the MVI69-PDPMV1 do not support hot-swapping. You must power down the chassis before installing or removing the module to prevent electrical damage.
How do I configure the PROFIBUS network parameters?
You can configure network architecture, node addresses, and data mappings using ProSoft Configuration Builder (PCB) connected via the module’s configuration port.