
 WhatsApp: +86 16626708626
 Email:
  Phone: +86 16626708626
Description
3. Key Technical Specifications
- Supply Voltage: 24 V DC (typical industrial control supply)
- Power Consumption: ~5–10 W (varies by configuration)
- I/O Interface: Mixed analog/digital signal processing (OEM-specific pinout)
- Communication: Proprietary backplane or serial interface (system dependent)
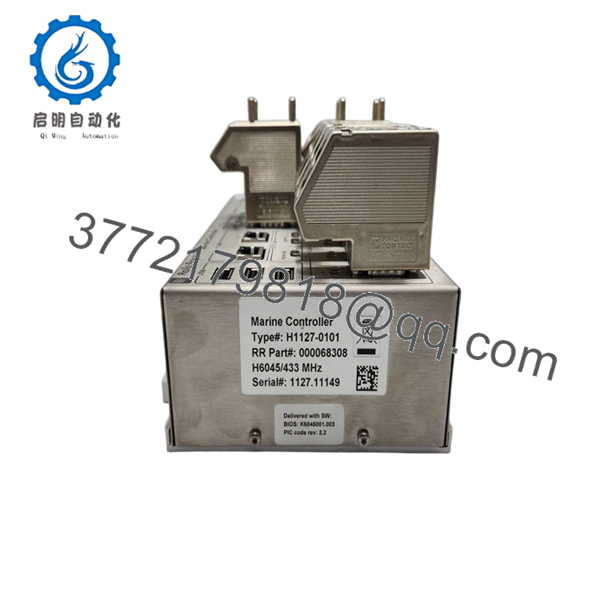
- Firmware Version: Rev 2.2 (as marked on PCB)
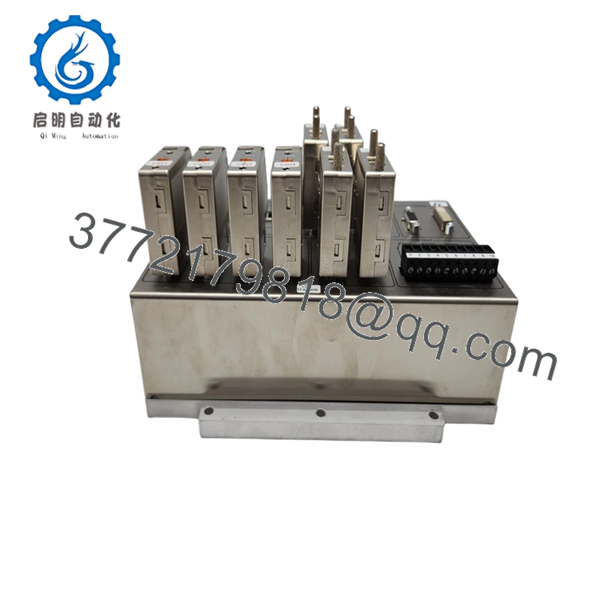
- Mounting Type: Rack-mounted / card slot insertion
- Operating Temperature: −20 to +60°C (typical for control cabinets)
- Storage Temperature: −40 to +85°C
- PCB Revision: 000068308 Rev 2.2
- Dimensions: Approx. Eurocard format (verify exact mechanical drawing)
- Weight: ~0.3–0.6 kg
- Compliance: Designed to meet IEC industrial control standards (application dependent)
⚠️ Note: Rolls-Royce control modules are often part of closed OEM systems (e.g., turbine or marine control platforms). Verify exact compatibility with system documentation before procurement.
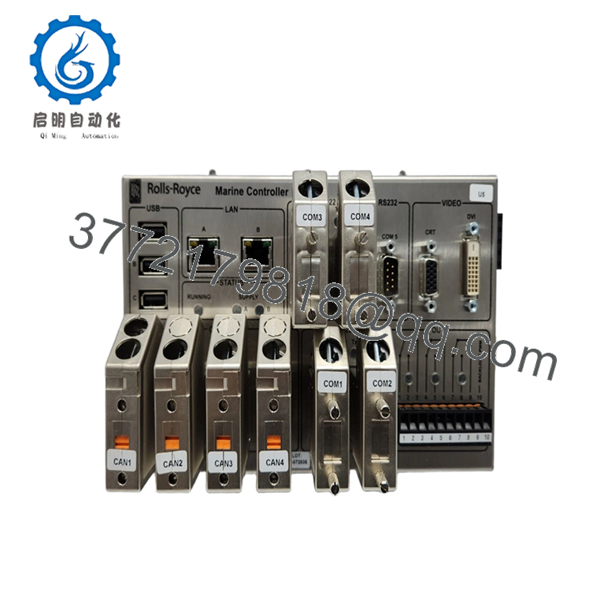
4. Product Introduction
The Rolls-Royce H1127-0101 (000068308 Rev 2.2) is an OEM industrial control PCB used in turbine or marine automation systems for signal processing and control interfacing within a proprietary rack architecture. It typically operates as part of a larger distributed control environment rather than a standalone PLC module.
In field deployments, these boards are selected for strict integration with Rolls-Royce control ecosystems where firmware alignment and backplane compatibility are non-negotiable. The Rev 2.2 hardware revision indicates incremental design updates, often tied to firmware stability or component lifecycle changes.

- H1127-0101 000068308
- H1127-0101 000068308
- H1127-0101 000068308
5. Installation & Configuration Guide
Stage 1: Pre-Installation Preparation (Estimated Time: 10 minutes)
- ⚠️ Safety First: Notify operations, isolate system, apply lockout/tagout, wait 5 minutes for discharge.
- Tools Required: ESD wrist strap, PH1 screwdriver, multimeter, labeling tags, smartphone.
- Data Backup:
- Export controller configuration from host system
- Record rack slot position
- Photograph wiring and connector orientation
- Document firmware version from existing module
Stage 2: Removing the Old Module (Estimated Time: 5–10 minutes)
- Remove cabinet cover or access panel.
- Label all connectors before removal.
- Disconnect wiring carefully—do not force ribbon or edge connectors.
- Release locking mechanism and pull straight out to avoid bending backplane pins.
- Inspect rack connector for contamination or damage.
- ⚠️ Note: Keep the old module onsite until commissioning is complete.
Stage 3: Installing the New Module (Estimated Time: 10 minutes)
- Wear ESD protection before handling the PCB.
- Verify model and revision match exactly (H1127-0101 / Rev 2.2).
- Insert module firmly into the rack—ensure full seating.
- Reconnect all interfaces exactly as documented.
- Secure any retaining screws or locking tabs.
Self-Checklist:
- Correct model installed
- Connectors fully seated
- No bent pins
- Proper grounding confirmed
Stage 4: Power-On & Testing (Estimated Time: 10–15 minutes)
- Pre-Power Check: Verify 24 V DC rail stability and absence of short circuits.
Power-On Steps:
- Energize control rack only.
- Observe board indicators (if present).
- Connect to system HMI or engineering station.
- Confirm module recognition in system diagnostics.
- Run controlled functional test (no field load initially).
- ⚠️ Troubleshooting Note:
- No detection → Check backplane connector alignment
- Fault status → Likely firmware mismatch or incompatible revision
- Intermittent faults → Inspect grounding and shielding
6. Frequently Asked Questions (FAQ)
Q1: Can this module be hot-swapped under power?
No. Rolls-Royce control racks typically do not support hot-swapping. Pulling a live board risks backplane arcing or firmware corruption. Always power down first.
Q2: Is this model obsolete, and is it genuinely new?
This type of module is often tied to long-lifecycle systems (marine or turbine). It may be classified as limited availability. “New Original (New Surplus)” means unused OEM stock, not newly manufactured.
Q3: What happens if I install a different revision (e.g., Rev 2.1 vs 2.2)?
That’s where problems start. Even minor revision changes can affect firmware compatibility. I’ve seen systems reject a board entirely due to revision mismatch. Match both model and revision whenever possible.
Q4: Will I lose configuration data when replacing this board?
Most Rolls-Royce systems store logic in a central controller, not the interface board. However, calibration or addressing data may reside locally. Always back up before removal.
Q5: Why is availability inconsistent for this module?
These are not mass-market PLC parts like Siemens S7 or ABB AC800M modules. They’re OEM-specific, produced in smaller batches, often tied to project-based manufacturing.
Q6: What’s the biggest installation mistake to avoid?
❗ Connector misalignment or forcing the board into the rack.
These edge connectors are not forgiving. If it doesn’t slide in cleanly, stop and realign. I’ve seen backplanes damaged beyond repair from rushed installs.
Q7: Do you provide test documentation?
Yes. Each unit undergoes functional verification on a compatible test rack. Test reports, photos, and videos are available upon request.


