
 WhatsApp: +86 16626708626
 Email:
  Phone: +86 16626708626
Description
Key Technical Specifications
- Product Range: Modicon Quantum
- Product Type: Analog input module
- Number of Inputs: 8
- Input Signal: Thermocouple / millivolt
- Channel Configuration: Isolated analog inputs
- Application: Industrial temperature measurement
- Installation: Quantum I/O rack
- Module Format: Standard Quantum module
- System Compatibility: Modicon Quantum automation platform
- Replacement Status: Verify lifecycle status and regional availability before procurement
Technical caution: The exact thermocouple types, input ranges, resolution, accuracy, cold-junction compensation characteristics, and isolation ratings should be confirmed against the OEM documentation for the specific 140ATI03000 revision before engineering a replacement. The supplied source instructions require technical claims to be supportable and compatibility uncertainties to be explicitly identified.
Product Introduction
The Schneider Electric 140ATI03000 is a Modicon Quantum analog input module intended for temperature and low-level analog signal acquisition. It is designed for integration into Quantum control systems where thermocouple or millivolt measurements are required.
For a legacy Quantum installation, the key procurement issue is not simply matching the part number. Verify the installed Quantum CPU, rack configuration, field wiring, channel configuration, firmware requirements, and the exact input-signal requirements before substitution.
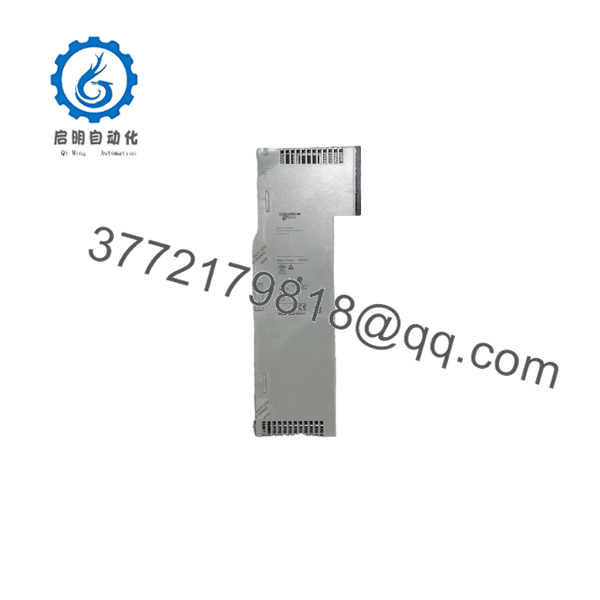
140ATI03000
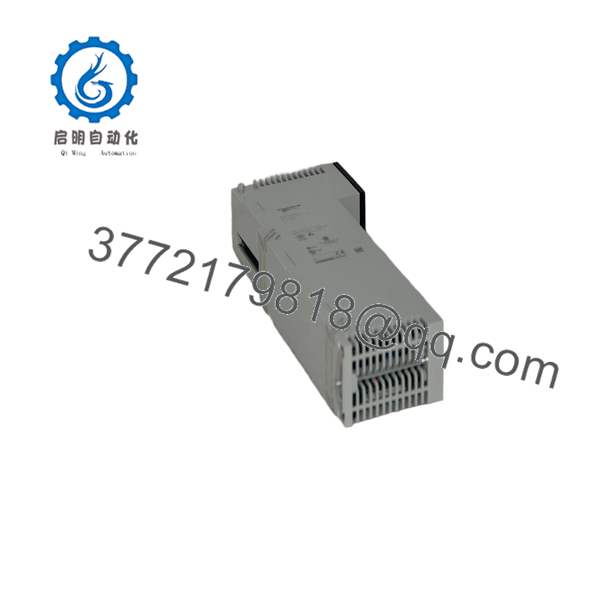
140ATI03000
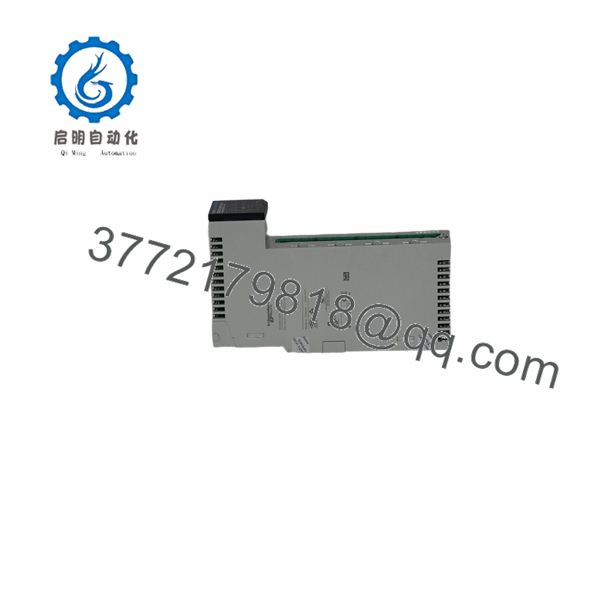
140ATI03000
Installation & Configuration Guide
Stage 1: Pre-Installation Preparation — Approximately 5–10 minutes
⚠️ Safety First: Place the controlled process in its approved safe state. Follow the plant’s lockout/tagout procedure before removing the Quantum module.
Tools Required:
- ESD wrist strap
- Appropriate screwdriver
- Digital multimeter
- Wire labels
- Smartphone or camera
Before removal:
- Confirm the existing module is 140ATI03000.
- Record the Quantum rack and slot position.
- Photograph the module label and field wiring.
- Record every channel’s thermocouple type or millivolt configuration.
- Back up the PLC application and current hardware configuration.
- Record any channel scaling, alarms, filtering, or diagnostic settings.
- Photograph DIP switches or jumpers if present.
Stage 2: Removing the Old Module — Approximately 5 minutes
- De-energize the rack using the approved shutdown procedure.
- Verify the supply is de-energized.
- Label field conductors before disconnecting them.
- Photograph the terminal connections again immediately before removal.
- Disconnect the field wiring without pulling or twisting the conductors.
- Release the module retaining mechanism.
- Pull the module straight out of the rack.
- Inspect the backplane connector for contamination or mechanical damage.
- Keep the original module until commissioning is complete.
⚠️ Do not rely on wire color alone. Thermocouple circuits are polarity-sensitive, and incorrect wiring can produce erroneous temperature readings even when the PLC reports the channel as healthy.
Stage 3: Installing the New Module — Approximately 5 minutes
- Put on the grounded ESD wrist strap.
- Verify the replacement part number: 140ATI03000.
- Compare the replacement with the removed module.
- Confirm that the module belongs in the intended Quantum rack position.
- Carefully insert the module into the backplane connector.
- Engage the retaining mechanism.
- Reconnect each field conductor according to the photographs and wiring documentation.
- Check terminal security before applying power.
Self-Checklist:
- Exact 140ATI03000 part number verified
- Correct rack and slot
- Thermocouple type documented
- Polarity verified
- Field wiring secured
- Module fully seated
Stage 4: Power-On & Testing — Approximately 10–15 minutes
- Check the wiring before energizing the rack.
- Restore rack power according to the commissioning procedure.
- Check module status LEDs.
- Confirm that the Quantum controller recognizes the module.
- Verify the configured channel types and ranges.
- Compare the displayed temperature against a known reference.
- Check each active channel individually.
- Confirm that open-circuit or sensor-fault diagnostics operate correctly.
- Verify engineering-unit scaling in the control application.
- Return field devices to normal operation only after the readings are validated.
⚠️ If a temperature value is plausible but consistently wrong, check the thermocouple type and polarity before changing PLC scaling. A configuration mismatch can look like a calibration problem.
Frequently Asked Questions (FAQ)
What is the Schneider 140ATI03000 used for?
The 140ATI03000 is a Modicon Quantum analog input module intended for acquiring temperature-related signals such as thermocouple inputs and low-level millivolt signals.
How many channels does the 140ATI03000 have?
The module is specified as an 8-channel analog input module. Confirm the exact channel configuration against the OEM documentation before using it in a new engineering design.
Can I replace a 140ATI03000 with another Quantum analog input module?
Not automatically. The input technology, thermocouple types, channel isolation, scaling, wiring, and PLC configuration must all match. A module with a similar physical appearance is not necessarily electrically equivalent.
Do I need to record the thermocouple type before replacement?
Yes. Record the sensor type for every active channel. Also document polarity and the existing PLC scaling. This is one of the easiest ways to prevent an apparently successful hardware replacement from producing incorrect process temperatures.
Will replacing the module erase my PLC program?
Removing the I/O module does not normally mean that the PLC application itself is erased. However, you should always back up the running application and hardware configuration before beginning the replacement.
Is a used 140ATI03000 acceptable as a plant spare?
It can be, provided its condition and testing history are documented. For a critical spare, distinguish clearly between Factory Sealed, New Original/New Surplus, and Refurbished (tested) stock. The supplied procurement framework specifically requires condition to be stated rather than described vaguely.
What should I verify before purchasing a 140ATI03000?
At minimum, verify the exact part number, physical condition, channel requirements, thermocouple compatibility, Quantum rack configuration, availability, lead time, and warranty terms. For an obsolete or hard-to-source module, request photographs of the actual unit and its identification label before placing the order.



