
 WhatsApp: +86 16626708626
 Email:
  Phone: +86 16626708626
Description
Key Technical Specifications
| Parameter | Value |
|---|---|
| Product Range | Modicon Quantum |
| Product Type | CPU processor module |
| Model | 140CPU31110 |
| Processor | Intel 486-class processor |
| User Memory | 2 MB |
| Program Memory | 2 MB |
| Programming Software | Concept / ProWORX |
| Network | Modbus Plus |
| Ethernet | Not integrated |
| Serial Communication | Modbus communication capability |
| Rack Architecture | Quantum local rack |
| CPU Position | Rack-mounted processor |
| Application | PLC machine and process control |
| Mounting | Quantum backplane |
| Operating Temperature | 0 to 60 °C typical Quantum environment |
| Lifecycle | Legacy / discontinued family |
The supplied product-page specification requires exact model identification, compatibility notes, lifecycle transparency, and supportable technical claims rather than unsupported specifications.
Product Introduction
The Schneider Electric 140CPU31110 is a processor module for the Modicon Quantum PLC platform. It executes the control application and coordinates the Quantum rack’s I/O and communication functions. The module belongs to the earlier Quantum CPU generation and is intended primarily for maintaining existing legacy control systems.
For replacement work, the critical checks are the installed Quantum rack, CPU firmware, application software, memory requirements, Modbus Plus configuration, and existing communication architecture. Do not substitute a later Quantum CPU solely because its physical form factor appears similar.
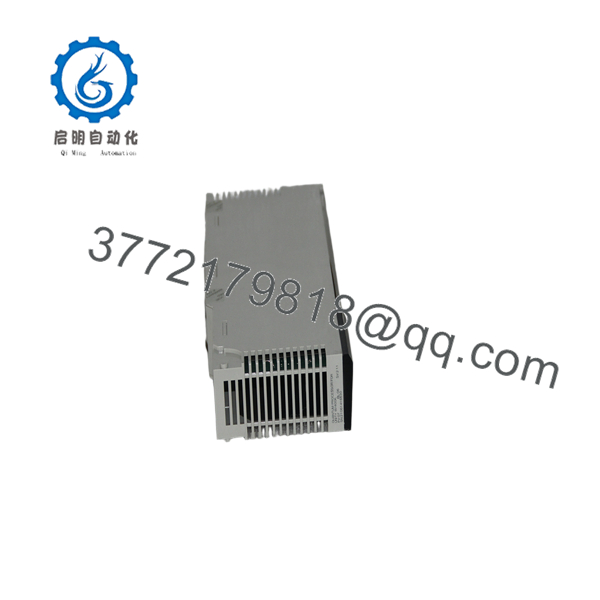
140CPU31110
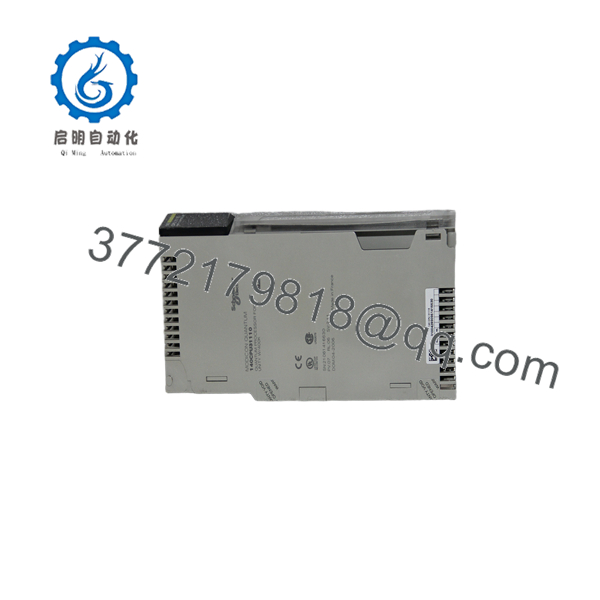
140CPU31110
Installation & Configuration Guide
Stage 1: Pre-Installation Preparation — Approximately 5–10 Minutes
⚠️ Safety First: Place the controlled process in its approved safe state. Follow the plant’s lockout/tagout procedure before removing the CPU.
Tools Required:
- ESD wrist strap
- Appropriate screwdriver
- Digital multimeter
- Wire labels
- Smartphone or camera
- Programming computer
- Existing Quantum project backup
Before removal:
- Confirm the exact CPU part number: 140CPU31110.
- Record the Quantum rack and CPU slot.
- Back up the running PLC application.
- Record the existing CPU firmware revision.
- Document the Modbus Plus network address.
- Photograph communication cabling and switch/jumper settings.
- Record any memory configuration or installed options.
- Save the current hardware configuration.
⚠️ Do not pull the CPU until the application backup has been verified. The CPU is the controller, not simply another I/O module.
Stage 2: Removing the Old CPU — Approximately 5 Minutes
- Shut down the controlled process according to the approved procedure.
- De-energize the Quantum rack.
- Verify that the rack is electrically safe.
- Photograph the CPU front panel and identification label.
- Label communication connections.
- Disconnect Modbus Plus and other connected cables.
- Release the CPU’s mechanical retaining mechanism.
- Pull the module straight out of the backplane.
- Inspect the connector and backplane for contamination or damage.
- Keep the original CPU available until commissioning is complete.
Stage 3: Installing the Replacement CPU — Approximately 5 Minutes
- Put on the grounded ESD strap.
- Verify the replacement is 140CPU31110.
- Compare the hardware revision with the removed CPU.
- Confirm the CPU is suitable for the existing Quantum rack.
- Insert the processor carefully into the backplane connector.
- Engage the retaining mechanism.
- Reconnect Modbus Plus and other communication cables.
- Verify network addressing and physical connections.
- Confirm that the CPU is fully seated.
Self-Checklist:
- Exact CPU part number verified
- Firmware requirement documented
- Modbus Plus address recorded
- Application backup completed
- Communication cables correctly identified
- CPU fully seated
- Rack retaining mechanism secured
Stage 4: Power-On & Commissioning — Approximately 10–20 Minutes
- Perform a final wiring inspection.
- Power the Quantum rack.
- Observe the CPU status LEDs during startup.
- Connect the programming workstation.
- Confirm the CPU is recognized.
- Verify the firmware revision.
- Check the Modbus Plus network address.
- Download the saved application only if required.
- Verify PLC operating mode.
- Check communication with representative I/O and supervisory devices.
- Perform a controlled I/O test.
- Return the process to normal operation after confirming stable CPU operation.
⚠️ Firmware mismatch is a common source of replacement problems. Record the original firmware before removal and verify software compatibility before downloading an existing project to a replacement CPU.
Frequently Asked Questions (FAQ)
What is the Schneider 140CPU31110?
The 140CPU31110 is a Modicon Quantum PLC CPU module used to execute the control application and manage the Quantum automation system.
How much memory does the 140CPU31110 have?
The 140CPU31110 is associated with the early Quantum CPU family and is commonly specified with 2 MB of user memory. Verify the exact hardware revision and OEM documentation when memory capacity is a critical project requirement.
Does the 140CPU31110 have Ethernet built in?
No. The 140CPU31110 is an earlier Quantum processor and should not be treated as an Ethernet-integrated CPU. Existing systems commonly rely on Modbus Plus and separate communication hardware for network connectivity.
Can I directly replace a 140CPU31110 with a newer Quantum CPU?
Not without checking the application. CPU generations can differ in firmware, memory architecture, programming-software compatibility, communication behavior, and system configuration. A physical fit does not establish application compatibility.
Will replacing the 140CPU31110 erase my PLC program?
The replacement CPU will not automatically contain the program from the removed CPU. Back up the running application before removing the original processor. The replacement must then be configured and loaded using the appropriate Quantum programming environment.
What should I record before removing the original CPU?
At minimum, record the exact part number, hardware revision, firmware revision, application backup, Modbus Plus address, communication connections, rack position, and relevant configuration settings. These records substantially reduce commissioning time when maintaining an older Quantum installation.
Is the 140CPU31110 still available as new equipment?
This is a legacy Quantum CPU, so current OEM availability should not be assumed. If purchasing surplus stock, specify the condition precisely: Factory Sealed, New Original/New Surplus, or Refurbished (tested). Request photographs of the actual CPU label and, for refurbished equipment, a functional test report.
For a critical plant spare, retain the removed CPU until the replacement has successfully loaded the application and passed communication and process-I/O testing.



