
 WhatsApp: +86 16626708626
 Email:
  Phone: +86 16626708626
Description
Key Technical Specifications
| Parameter | Value |
|---|---|
| Manufacturer | Schneider Electric / Telemecanique |
| Model | TSXASY410 |
| Product Family | Modicon TSX Premium |
| Product Type | AS-Interface Master Module |
| Network | AS-Interface (AS-i) |
| Interface Role | AS-i Master |
| PLC Platform | TSX Premium |
| Mounting | TSX Premium rack |
| Communication | AS-i fieldbus |
| Application | Distributed sensors and actuators |
| Configuration | PLC-based configuration |
| Status Diagnostics | Module/network diagnostics |
| Lifecycle | Legacy |
Compatibility note: The exact Premium processor, rack configuration, firmware, and PL7 project version should be checked before replacement. The supplied source establishes the required approach of verifying model numbers, firmware, protocol configuration, and physical compatibility rather than assuming a legacy module is a drop-in replacement.
Product Introduction
The Schneider Electric TSXASY410 is an AS-Interface master module designed for integration with Modicon TSX Premium PLC systems. It provides the PLC with an interface to AS-i field devices such as distributed sensors and actuators.
For a legacy Premium installation, the important point is compatibility with the existing rack, processor, application configuration, and AS-i network. Before replacement, document the existing module configuration and verify the exact hardware and firmware requirements rather than relying on the model number alone.
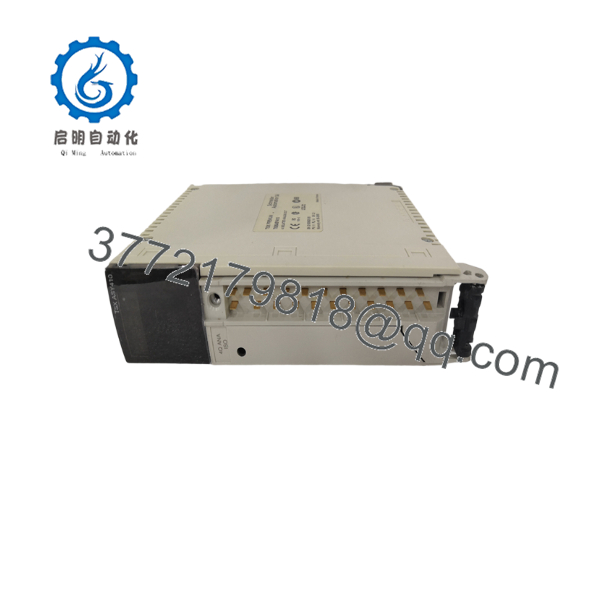
TSXASY410
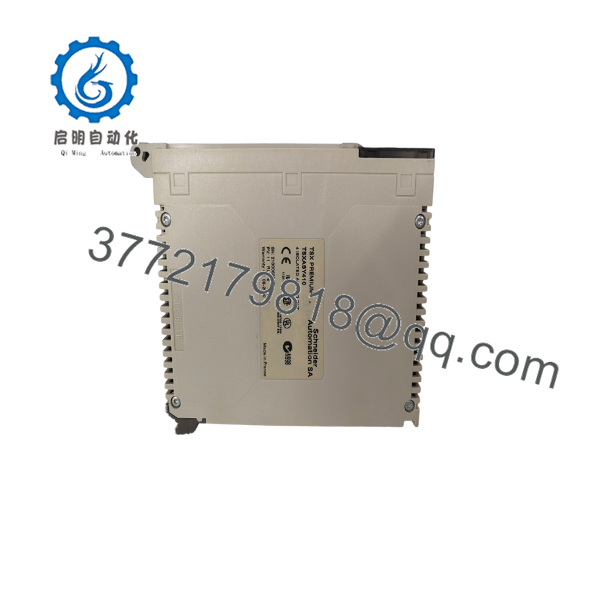
TSXASY410
Installation & Configuration Guide
Stage 1: Pre-Installation Preparation — Approximately 5–10 Minutes
⚠️ Safety First: Notify operations, place the controlled process in a safe state, and follow the site’s lockout/tagout procedure before removing the module.
Tools Required:
- ESD wrist strap
- Appropriate screwdriver
- Digital multimeter
- Wire labels
- Smartphone for configuration photographs
Data Backup:
- Confirm the replacement is exactly TSXASY410.
- Record the Premium rack and module position.
- Photograph the existing wiring and AS-i connections.
- Record network addresses and configuration parameters.
- Save the current PLC application/project.
- Record the existing firmware and diagnostic status.
The source specifically recommends documenting firmware, configuration settings, DIP switches/jumpers where applicable, and communication parameters before replacement.
Stage 2: Removing the Old Module — Approximately 5 Minutes
- Remove power according to the site’s approved LOTO procedure.
- Remove the appropriate rack cover or access components.
- Label communication and field wiring.
- Disconnect the AS-i/network wiring carefully.
- Release the module’s rack locking mechanism.
- Pull the module straight out without forcing the backplane connector.
- Inspect the rack connector for bent contacts, contamination, or damage.
⚠️ Keep the original TSXASY410 available until the replacement has completed commissioning.
Stage 3: Installing the New Module — Approximately 5–10 Minutes
- Put on a grounded ESD wrist strap.
- Verify the replacement marking: TSXASY410.
- Confirm the module belongs in the intended TSX Premium rack position.
- Clone the existing configuration from your photographs and project documentation.
- Seat the module firmly in the rack.
- Reconnect the AS-i wiring.
- Verify all connections before restoring power.
Self-Check:
- Correct TSXASY410 model
- Correct rack position
- AS-i wiring verified
- Configuration documented
- Module fully seated
- ESD precautions followed
Stage 4: Power-On & Testing — Approximately 10 Minutes
- Check the applicable supply rails before powering the rack.
- Restore power.
- Observe module and PLC diagnostic indicators.
- Connect the programming/configuration software.
- Verify the Premium PLC recognizes the module.
- Check the AS-i network configuration.
- Verify communication with connected AS-i devices.
- Test representative inputs and outputs.
- Return the process to normal operation only after the network passes functional testing.
⚠️ If communication does not start, check the module position, AS-i wiring, network configuration, PLC configuration, and firmware compatibility before replacing additional hardware. Firmware mismatch and incorrect communication configuration are specifically identified as common replacement risks in the supplied engineering guidance.
Frequently Asked Questions (FAQ)
Can the be hot-swapped?
Do not assume it can. For a legacy TSX Premium installation, use the documented shutdown and LOTO procedure unless the specific hardware documentation explicitly authorizes live replacement.
What does the do?
It functions as an AS-Interface master for a Modicon TSX Premium PLC system, allowing the controller to communicate with AS-i field devices.
Is compatible with every TSX Premium PLC?
Not necessarily. Verify the exact Premium processor, rack, firmware, project configuration, and module compatibility before ordering. A matching part number alone does not establish complete system compatibility.
Will replacing the module erase my PLC program?
Replacing an I/O communication module does not inherently mean the PLC application is erased. However, you should back up the PLC project before shutdown and document the existing module configuration. The supplied guidance explicitly recommends exporting running logic and documenting configuration before physical replacement.
What should I check if the AS-i network does not communicate after replacement?
Start with the physical AS-i connection and module seating. Then verify the PLC configuration, network parameters, device addressing, and firmware. Do not immediately assume the replacement module is defective.
Is obsolete?
It belongs to the legacy TSX Premium generation. Because lifecycle status and available stock can vary by market, confirm the actual condition and availability of the specific unit before purchase.
Why can a legacy cost less than current Schneider hardware?
Legacy inventory can include new surplus, used, or refurbished units acquired from different supply channels. Condition matters. For a procurement decision, confirm whether the unit is factory sealed, new surplus, or refurbished/tested, and request serial-number and test documentation where appropriate.



