
 WhatsApp: +86 16626708626
 Email:
  Phone: +86 16626708626
Description
Key Technical Specifications
| Parameter | Value |
|---|---|
| Manufacturer | Teledyne DALSA |
| Part Number | CR-GEN0-M6400R3 |
| Model Designation | Genie M6400 |
| Sensor Type | Monochrome CMOS / CCD Image Sensor |
| Resolution | 6.4 Megapixels (High-Resolution Matrix) |
| Data Interface | Gigabit Ethernet (GigE Vision Standard, RJ-45 with screw locks) |
| Frame Rate | Up to full resolution acquisition speed over 1 Gbps bus |
| Lens Mount | C-Mount |
| Auxiliary I/O & Power | Hirose 12-pin connector (Opto-isolated Inputs/Outputs, External Trigger) |
| Power Supply | 12 VDC to 24 VDC external power via Hirose connector |
| Software Support | Teledyne DALSA Sapera LT SDK / GigE Vision Compliant |
| Operating Temperature | 0 to 45 °C (32 to 113 °F) |
Product Introduction & Supply Chain Strategy
The Teledyne DALSA CR-GEN0-M6400R3 (Genie M6400) is an industrial-grade GigE Vision monochrome camera designed for high-precision machine vision inspection, automated quality control, and semiconductor assembly systems. It captures sharp image frames over long cable distances utilizing standard Gigabit Ethernet infrastructure.
Sourcing this unit as New Surplus directly mitigates the elevated Total Cost of Ownership (TCO) tied to unverified used cameras or full inspection system redesigns. This product is a Brand New Surplus unit. It is not used, not pulled from a decommissioned plant, and not refurbished. All modules undergo rigorous quality verification to ensure OEM-level reliability. Keeping 1–2 backup units in safety buffer stock prevents production line halts caused by sudden camera sensor or communication failures.
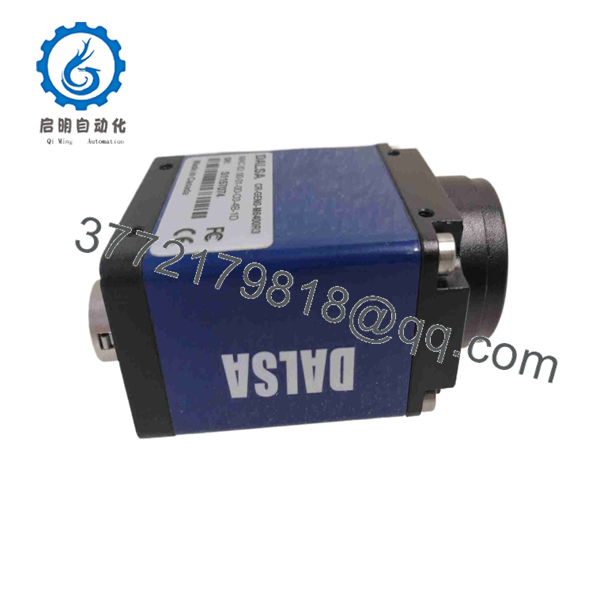
CR-GEN0-M6400R3
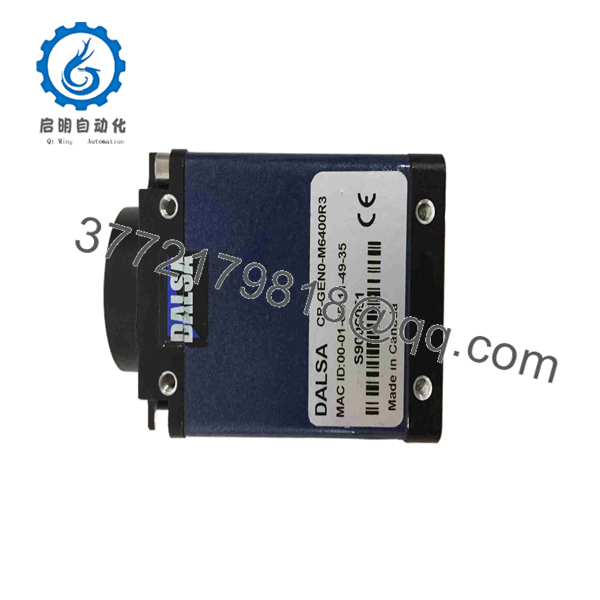
CR-GEN0-M6400R3
Installation & Configuration Guide
1
Stage 1: Pre-Installation (Prep & Safety)
Prerequisite & LOTO
1.Stage 1: Pre-Installation (Prep & Safety):Prerequisite & LOTO.
Isolate 12–24 VDC auxiliary power supply lines to the camera enclosure. Strap on a grounded ESD wrist band before unboxing the unit. Record the camera MAC address printed on the side label and document existing optical focus/aperture settings on the C-mount lens.
Verification: Confirm zero DC voltage across Hirose power connector leads using a digital multimeter.
2
Stage 2: Removal
3 min
2.Stage 2: Removal:3 min.
Unscrew the locking RJ-45 network cable and 12-pin Hirose I/O connector. Carefully unscrew the C-mount lens and unbolt the camera body from its vibration-isolation mounting bracket.
Verification: Inspect optical window and cable connectors for dust, oil contamination, or mechanical stress.
3
Stage 3: Installation (Clone & Seat)
5 min
3.Stage 3: Installation (Clone & Seat):5 min.
Mount the new CR-GEN0-M6400R3 camera securely onto the inspection bracket. Thread the C-mount lens onto the front housing until fully seated. Re-attach the RJ-45 network cable and 12-pin Hirose connector, locking all screw fasteners.
Verification: Confirm network link lights illuminate on the rear RJ-45 jack once cables are secured.
4
Stage 4: Power-On & Testing
Commissioning
4.Stage 4: Power-On & Testing:Commissioning.
Re-apply 12–24 VDC power. Launch the Teledyne DALSA Sapera Network Configuration Tool to assign a static IP address matching your host vision controller subnet, then trigger continuous frame acquisition.
Verification: Verify that the camera streams clear image frames in Sapera CamExpert without frame drops or GigE packet loss.
Firmware/Software Versions & Upgrade Notes
- Recommended Software Suite: Teledyne DALSA Sapera LT SDK V8.x or higher, or GigE Vision 1.2 compliant vision software (Halcon, LabVIEW, Cognex VisionPro).
- Network Configuration: Ensure Network Interface Card (NIC) jumbo frames are set to 9000 bytes on the host PC to maximize image packet throughput and prevent packet dropped-frame errors.
- Upgrade/Downgrade Warning: Modifying camera internal firmware over unstable network connections risks corrupting the flash memory. Always archive current camera configuration files (.ccf) before updating firmware or swapping vision hardware.
Frequently Asked Questions (FAQ)
Is this DALSA CR-GEN0-M6400R3 camera brand new or refurbished?
This product is a Brand New Surplus unit. It is not used, not pulled from a decommissioned plant, and not refurbished. All modules undergo rigorous quality verification to ensure OEM-level reliability. It ships in original protective packaging.
Why should we purchase New Surplus instead of a refurbished camera?
Refurbished vision cameras often exhibit sensor degradation, burn-in pixels, or weakened Hirose power pins caused by continuous industrial heat cycling. A failing camera sensor introduces noise into image algorithms, leading to false inspection rejects and unpredicted line shutdowns. Purchasing New Surplus ensures full optical clarity and factory-fresh performance.
How is the unit verified prior to shipping?
Every Genie M6400 unit undergoes an inbound quality process. This includes visual inspection of the optical window and mount threads, anti-counterfeit serial verification, GigE network handshake testing, and ESD-safe repackaging.
Is this camera powered over Ethernet (PoE) or external power?
The Genie M6400 requires external DC power (12–24 VDC) supplied via its 12-pin Hirose connector. Verify your power wiring harness before connecting the camera.
What warranty coverage is included?
We back this New Surplus DALSA camera with a full 1-year replacement warranty, eliminating long OEM procurement lead times.



