
 WhatsApp: +86 16626708626
 Email:
  Phone: +86 16626708626
Description
3. Key Technical Specifications
| Parameter | Value / Description |
|---|---|
| Manufacturer | Bosch Rexroth |
| Model Code | 4WE6Y2-62EG24N9K4V |
| Valve Type | Direct-operated directional spool valve |
| Nominal Size | NG6 / Size 6 (CETOP 3 / ISO 4401-03) |
| Spool Symbol | Y (specific flow pattern – confirm against drawing) |
| Component Series | 6X (60–69, interchangeable mounting dimensions) |
| Actuation | Solenoid, wet-pin, high-power |
| Coil Voltage | 24 V DC |
| Electrical Connection | K4 (DIN EN 175301-803 / Form A connector) |
| Manual Override | N9 (concealed / protected) |
| Seals | FKM (Viton) – suitable for a wide range of fluids |
| Max. Operating Pressure | 350 bar (P, A, B); 210 bar (T) typical |
| Max. Flow | Approx. 60–80 L/min (depending on ΔP and viscosity) |
| Mounting | Subplate, ISO 4401-03 / NFPA D03 |
| Hydraulic Fluids | Mineral oils, some biodegradable and synthetic fluids (confirm compatibility) |
Exact flow curves, pressure drop, and switching times are application-dependent. Always refer to the official Bosch Rexroth datasheet for the precise type code.
4. Product Introduction
The Bosch Rexroth 4WE6Y2-62EG24N9K4V is a direct-operated solenoid directional spool valve in the widely used Size 6 (NG6) family. It controls the start, stop, and direction of hydraulic fluid flow in industrial systems.
The “Y” spool designation defines the specific port connections in the actuated and de-energized positions. The valve uses a 24 V DC high-power wet-pin solenoid with a standard DIN connector and is fitted with FKM seals for broader fluid compatibility. It mounts on a standard ISO 4401-03 / CETOP 3 subplate and is commonly applied in machine tools, presses, mobile equipment, and general industrial hydraulics.
5. Installation & Configuration Guide
Stage 1: Pre-Installation Preparation (≈10–15 min) ⚠️ Safety First: Depressurize the entire hydraulic circuit. Lock out the pump and any accumulators. Verify zero pressure at the valve ports. Tools Required: Appropriate hex keys or sockets for mounting bolts, torque wrench, clean lint-free rags, hydraulic fluid compatible with FKM seals. Documentation: Photograph the existing valve orientation, electrical connector, and any identification tags. Confirm the subplate porting matches the new valve.
Stage 2: Removing the Old Valve (≈5–10 min)
- Disconnect the electrical connector.
- Remove the four mounting bolts evenly.
- Lift the valve straight off the subplate.
- Inspect the subplate surface and O-ring grooves for damage or debris. ⚠️ Cap open ports immediately to prevent contamination.
Stage 3: Installing the New Valve (≈10 min)
- Verify the new valve is the correct 4WE6Y2-62EG24N9K4V configuration (spool, voltage, seals).
- Clean the subplate mounting surface thoroughly.
- Install new O-rings if required (use only seals compatible with the system fluid).
- Position the valve and tighten the mounting bolts evenly to the manufacturer’s recommended torque (typically in a cross pattern).
- Reconnect the electrical connector and ensure it is locked. Self-Checklist: [ ] Correct type code [ ] Clean mounting surface [ ] Bolts torqued evenly [ ] Connector secure.
Stage 4: Power-On & Testing (≈15–20 min) Pre-Power Check: Confirm system fluid level and cleanliness. Power-On Steps:
- Restore hydraulic power at low pressure if possible.
- Cycle the valve electrically and verify correct actuator movement or flow direction.
- Check for external leakage at the subplate interface and solenoid.
- Gradually increase to normal operating pressure and re-check.
- Confirm no abnormal noise, heat, or pressure spikes. ⚠️ Troubleshooting Note: Failure to shift is most often caused by incorrect voltage, poor electrical connection, contamination, or excessive tank-line pressure. Verify coil resistance and supply voltage first.
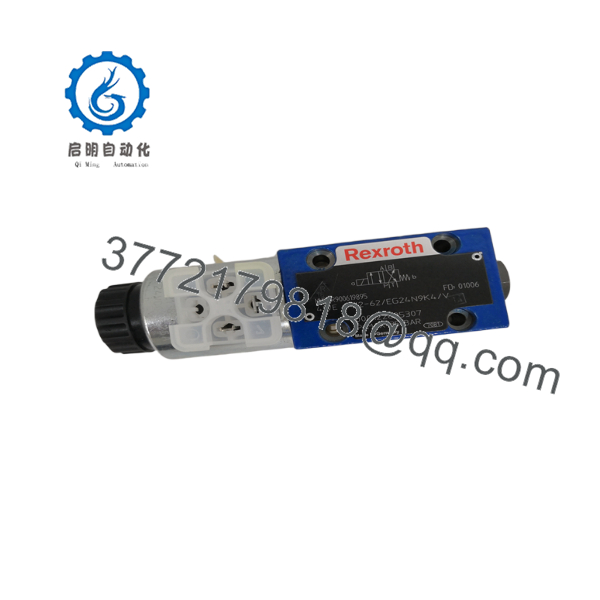
4WE6Y2-62EG24N9K4V
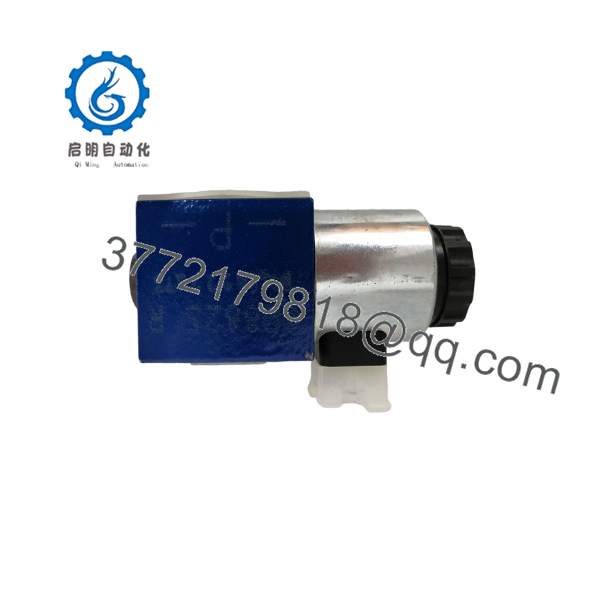
4WE6Y2-62EG24N9K4V
6. Frequently Asked Questions (FAQ)
Q: Can this valve be mounted in any orientation? Yes, the valve can generally be mounted in any position. The solenoid can often be rotated 90° for cable routing convenience—confirm on the specific unit.
Q: What does the “Y” in the model code mean? It identifies the spool flow pattern. The exact connections (which ports are open or blocked in each position) must be verified against the official Rexroth symbol chart or the system schematic. Do not assume interchangeability with other letters (E, J, H, etc.).
Q: Are the seals compatible with my hydraulic fluid? This version uses FKM (Viton) seals, which offer good resistance to many mineral oils, phosphate esters, and some synthetic fluids. Always confirm chemical compatibility with the specific fluid in use.
Q: Is a connector included? The K4 designation indicates the valve is prepared for a DIN EN 175301-803 connector. The mating connector (with cable) is normally ordered separately.
Q: What is the difference between series 6X and older series? Series 6X (60–69) maintains the same mounting dimensions as earlier series, allowing direct replacement in most cases. Internal improvements may exist; verify performance data if the application is critical.
Q: Why is the price sometimes lower than current list? These valves are widely available as new surplus or from authorized distribution channels. Pricing reflects market conditions, stock age, and supplier margins rather than a change in OEM specification.
Q: What should I check before installation? Confirm the full type code matches the system requirement, inspect the subplate surface, use correct O-rings, and verify coil voltage. After installation, perform a low-pressure functional test before returning the machine to full production.



