WhatsApp: +86 16626708626
 Email:
 Phone: +86 16626708626
Description
Key Technical Specifications
- Device Type: Coriolis Mass Flow and Density Meter
- Measurement Parameters: Mass flow rate, volume flow rate, density, and process temperature
- Wetted Materials: 316L Stainless Steel (or alloy C22 variant dependent on process build)
- Process Connection: Flanged / threaded process connection options per build code
- Communication Protocols: HART, Modbus, 4–20 mA active/passive outputs
- Enclosure Rating: NEMA 4X / IP66 / IP67
- Operating Temperature: −40 to +125 °C (sensor dependent)
- Maximum Working Pressure: Up to 100 bar (1,450 psi) standard rating class
- Mounting Type: Inline process pipeline installation
- Dimensions: Standard compact Coriolis meter profile
- Weight: 8.5 kg (approximate base meter weight)
Product Introduction
The Emerson MFM600N0P1 is a precision industrial mass flow and density measurement device engineered by Micro Motion. It delivers multi-variable process data—simultaneously tracking mass flow, volumetric flow, fluid density, and temperature—without requiring separate instrumentation loops.
Maintenance teams and process engineers select this meter for critical fluid custody transfer, batching, and chemical dosing applications. Its robust Coriolis design features no moving parts to wear down, ensuring long-term measurement stability in demanding process environments.
MFM600N0P1
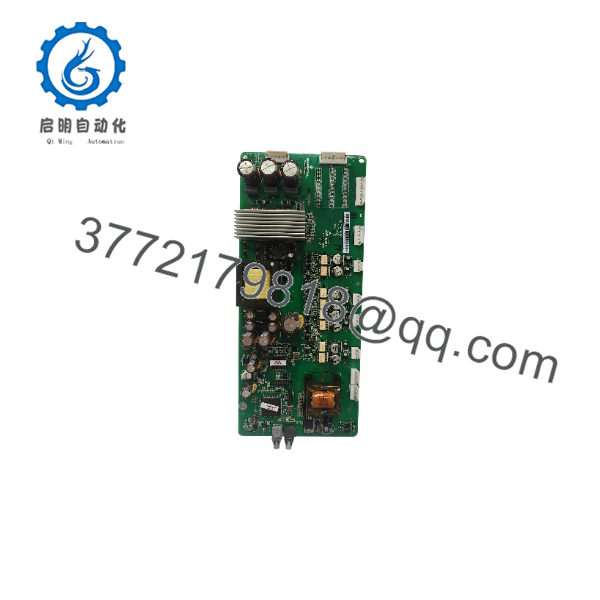
MFM600N0P1
Installation & Configuration Guide
Stage 1: Pre-Installation Preparation
- ⚠️ Safety First: Notify operations of process line shutdown, depressurize and drain the target piping section, execute Lock Out/Tag Out (LOTO) on local electrical power and fluid feed valves, and allow process lines to reach ambient temperature.
- Tools Required: ESD grounding wrist strap, calibrated torque wrench, flange gasket sets, Digital Multimeter (Fluke 115 or equivalent), Allen key set.
- Data Backup: Record current transmitter configuration parameters, scale ranges, and HART/Modbus address settings using Emerson AMS Device Manager or a Field Communicator before unhooking wiring.
Stage 2: Removing the Old Meter
- Verify zero pressure and zero flow across the target pipeline spool piece.
- Disconnect incoming power and signal wiring from the transmitter terminal housing, labeling all cable cores clearly.
- Loosen flange bolts evenly across the inlet and outlet process connections. Support the weight of the meter body before removing the final bolts.
- Carefully extract the meter from the pipeline and inspect mating flange faces for corrosion, scaling, or pitting.
- Self-Check: Ensure old gasket material is completely scraped off the mating pipeline flanges without damaging the sealing surfaces.
Stage 3: Installing the New Meter
- Ground yourself with an ESD wrist strap and verify that the replacement part number on the nameplate matches your specification sheet.
- Gasket & Alignment: Insert new, chemically compatible gaskets between the pipeline flanges and align the MFM600N0P1 flow direction arrow with the actual media flow path.
- Install flange bolts hand-tight, then torque them sequentially in a criss-cross pattern to manufacturer specifications to ensure an even seal.
- Reconnect power and signal cables to the transmitter terminals, making certain that cable shields are grounded properly at the cable gland entry.
- Self-Check: Confirm that all flange bolts are torqued evenly and wiring terminals are clamped securely.
Stage 4: Power-On & Testing
- Pre-Power Check: Inspect wiring polarity and use a multimeter to verify supply voltage matches the transmitter input requirements.
- Power-On Steps:
- Restore electrical power to the transmitter loop.
- Observe the local display or diagnostic LEDs (Confirm normal startup sequence and absence of internal error flags).
- Perform a zero-flow calibration (zeroing) once the pipeline is filled with process fluid and isolated with zero flow conditions.
- Verify live process variable readings against control room DCS indicators.
- ⚠️ Troubleshooting Note: If the meter reports an unstable flow reading or a drive gain fault, check for trapped gas bubbles in liquid lines, ensure rigid pipe support brackets are secure, and verify that pipe stress is not distorting the meter body.
Frequently Asked Questions (FAQ)
Can this flow meter be serviced or uninstalled under pressure?
Honestly, unbolting a Coriolis flow meter while process lines are pressurized or filled with hazardous media will cause catastrophic fluid release, severe injury, and environmental contamination. Always isolate, drain, and depressurize the pipeline completely before loosening any process flanges.
Is this model obsolete, and is it genuinely new?
Micro Motion Coriolis meters are actively supported core measurement platforms within Emerson’s industrial automation portfolio. Units designated as “New Original” or “New Surplus” are factory-fresh hardware items that have never been placed into active process service, sourced from verified industrial reserve stocks and project overruns.
What is the direct replacement if this exact model is out of stock?
You must verify line size, process connection rating, wetted material compatibility (316L vs. Alloy C22), and hazardous area certification approvals before substituting any Micro Motion meter variant. Mismatches in flange ratings or wetted materials can lead to rapid process corrosion or mechanical failure.
Will I lose my meter configuration parameters if power is cut?
No. The configuration data, calibration factors, and output scaling parameters are stored in non-volatile memory on the transmitter electronics. Power loss will not erase your settings, though performing a physical electronics module replacement requires re-entering or downloading the specific sensor calibration factor (K-factor) from the meter tag.
Why is your price lower than the OEM factory list price?
Surplus automation providers acquire brand-new excess inventory from plant modernizations, engineering redesigns, and canceled capital projects. Bypassing traditional multi-tier distribution channels allows us to offer maintenance teams immediate component availability at significantly reduced price points.